Dressing up the Cover – Part 4
This is Part 4 of the Dressing up the Cover tutorial and previously we covered Creating a New Image and Placing Lady Shade.
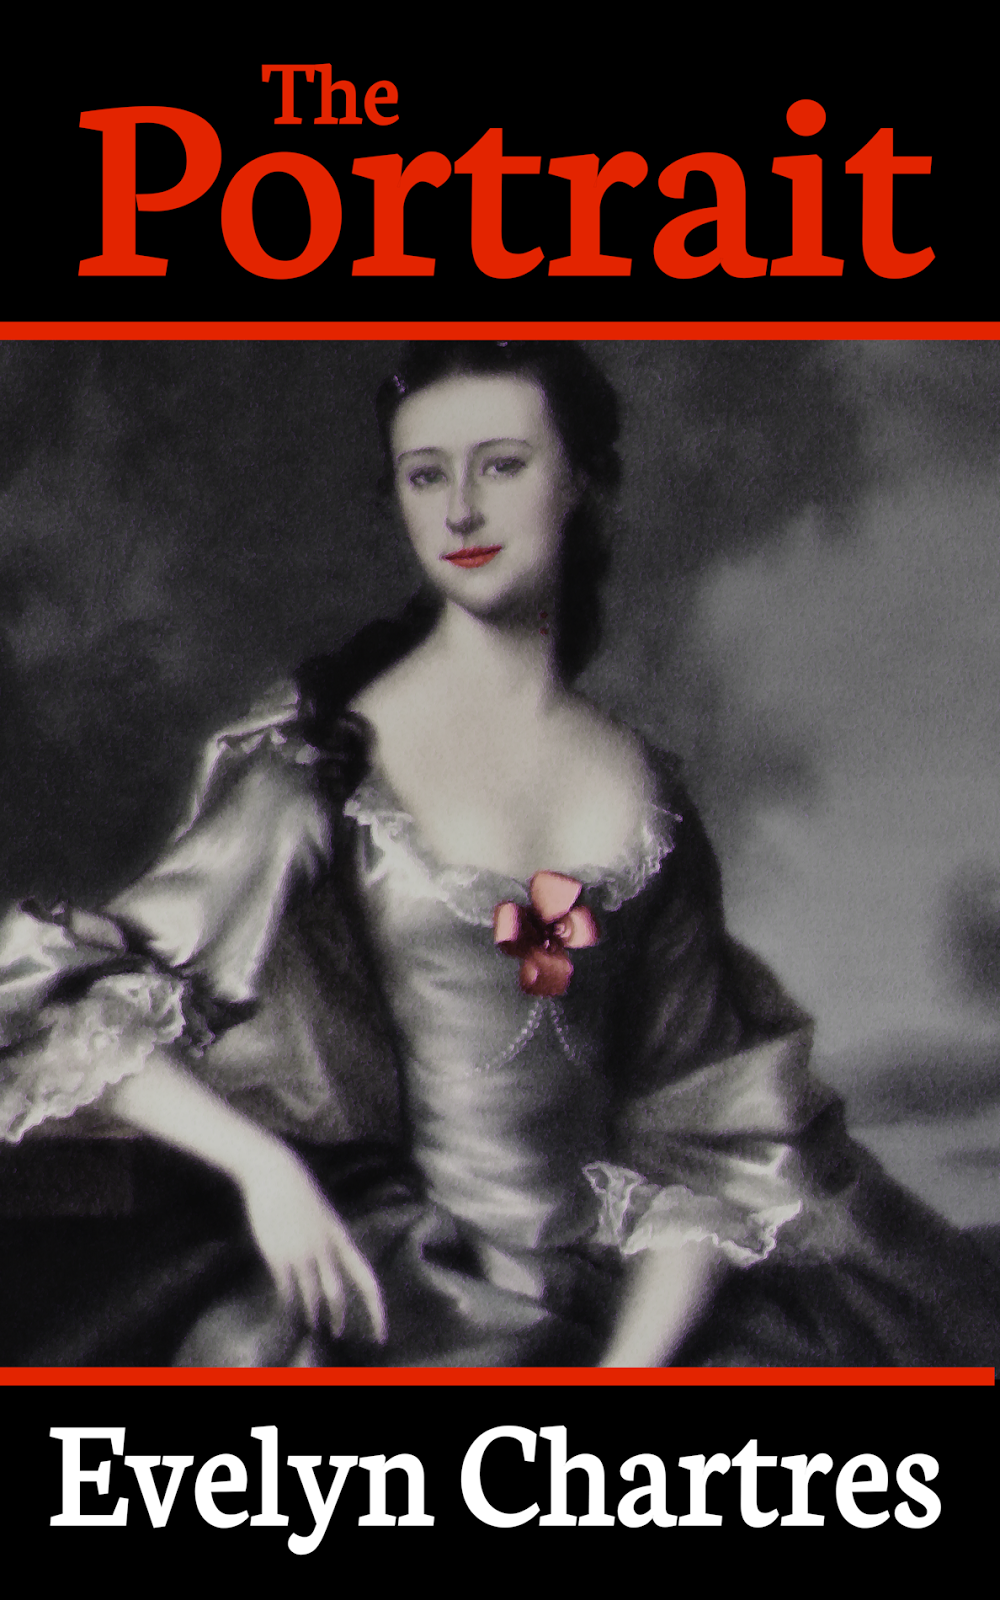
To continue with our design, we need to add two rectangles that have a Black Border and Fill. From the Tools Bar, select the Rectangle Tool.
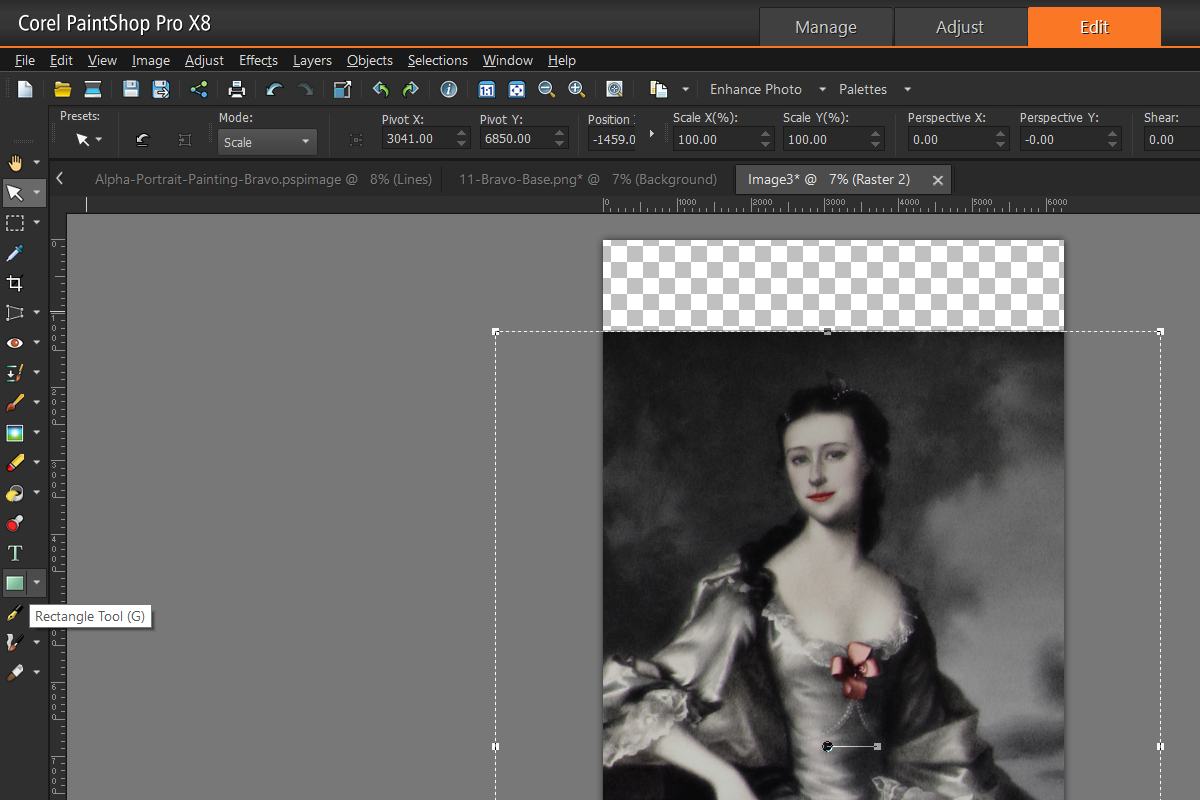
Create two new Rectangles, one at the top and the second at the bottom and have them in the same Vector Layer to manage. Also ensure the Lady Shade layer is just above the Background Layer else the rectangles will be obscured.
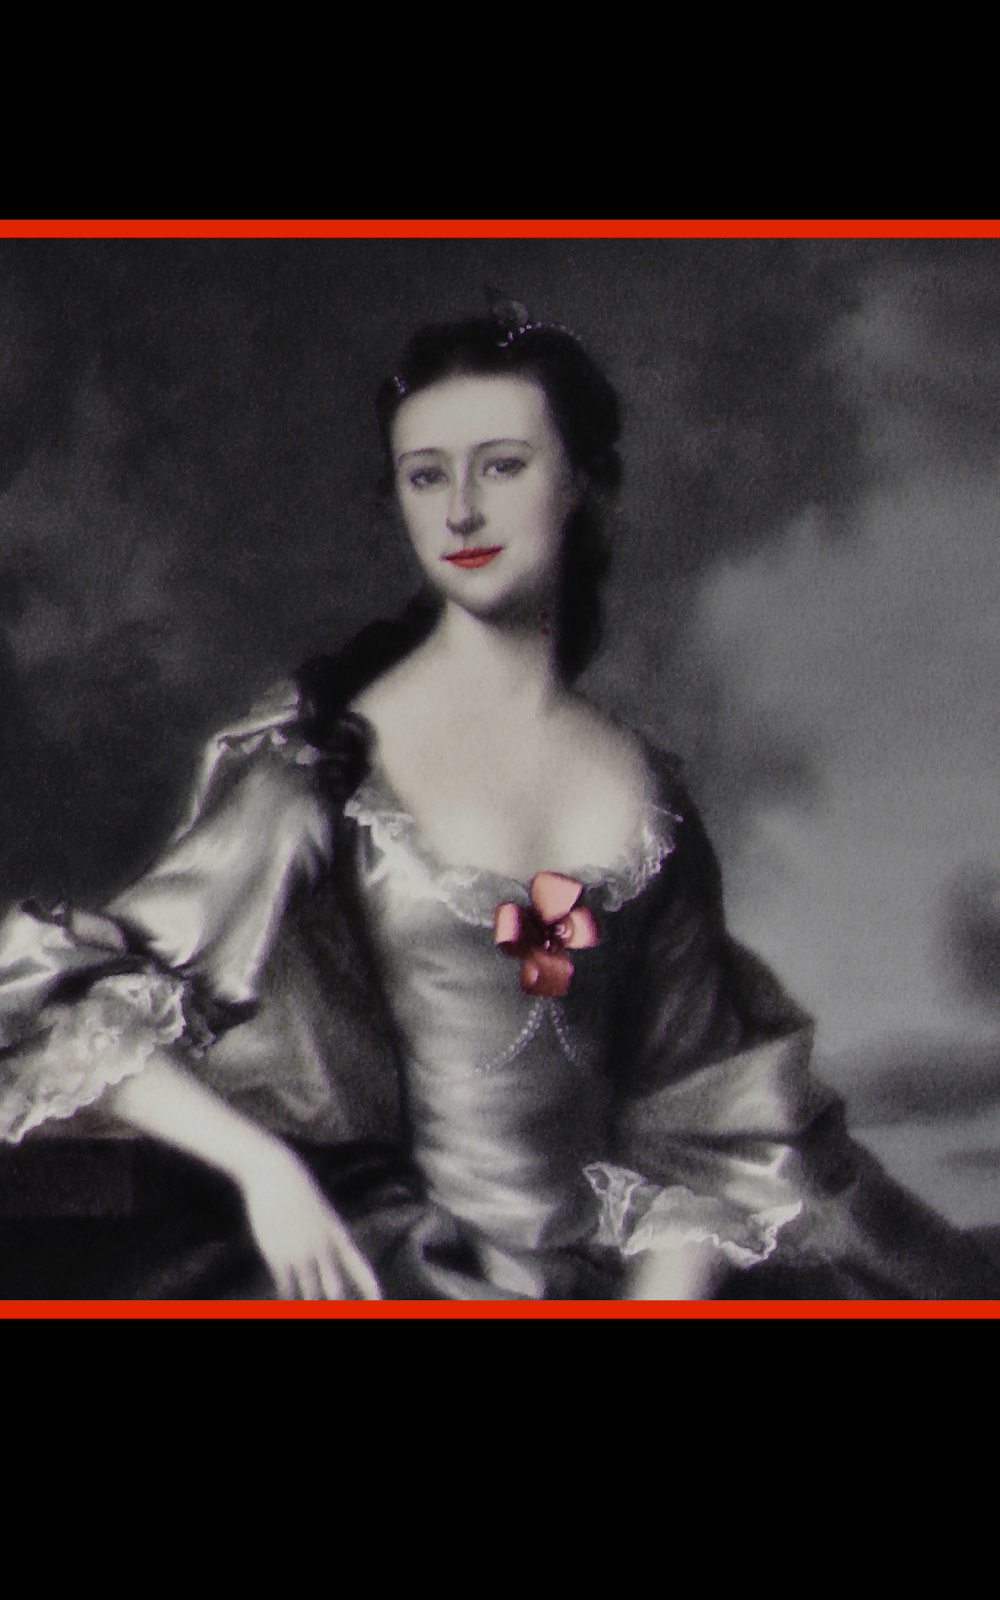
Now create a Rectangle that has a Red Border and Fill. This one will be small and narrow to create a transition between the Lady Shade Layer and the Filler Layer. Duplicate this Rectangle using CTRL-C/CTRL-V combinations then move them over the transition points.
These two Rectangles should be grouped as this permits the application of consistent Layer Styles later on. This Borders Layer should then be placed on top the Filler Layer.
The image should appear like the one shown below.
Now it is time to add text. For now, we will work on the Title and the Author’s Name. These elements are prominently found on covers, although the prominence of the Author’s Name tends to vary with name recognition.
From the Tools Bar select the Text Tool.
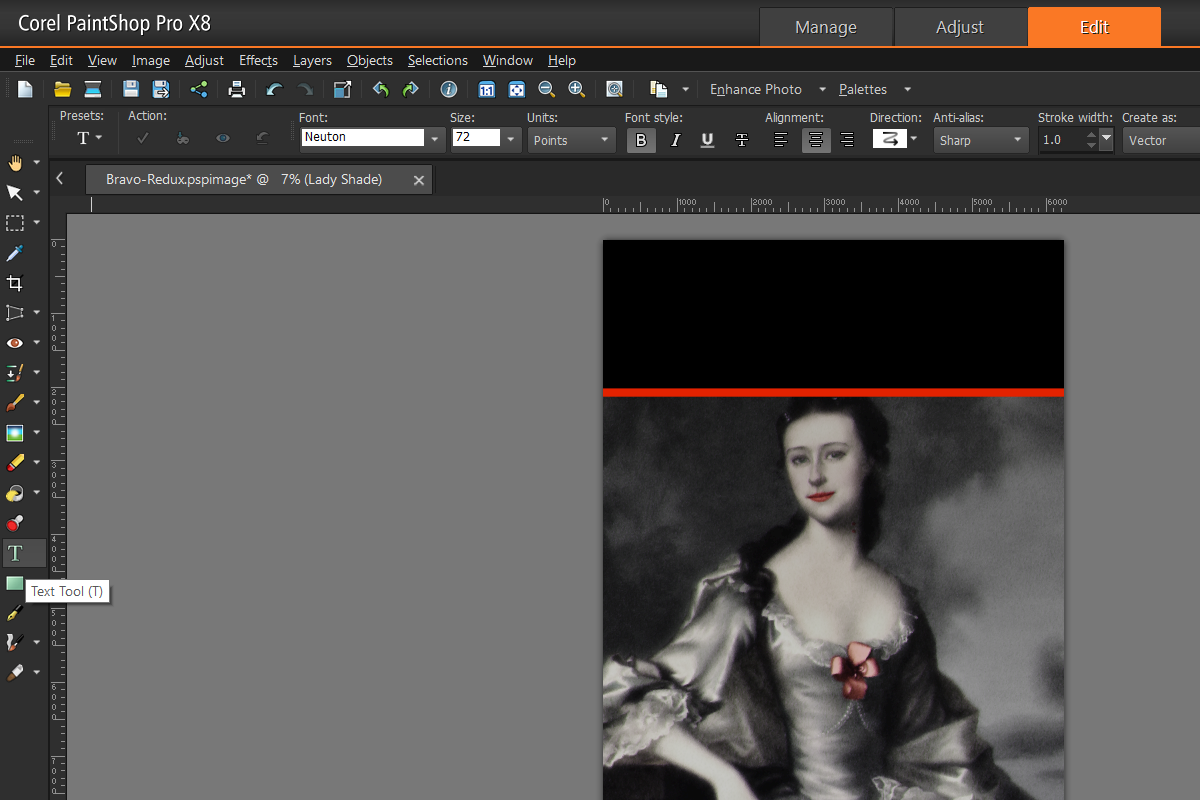
As seen above, the Neuton Font was used for both the Title and Author’s Name. Since we are working at high resolutions, setting the Font Size to 72 Points and Bold is enough to both select and adjust at a later time.
Because Layer Styles will be used later on, the Title and Author’s Name are broken into smaller chunks. The image below denotes the different segments by alternating colours.
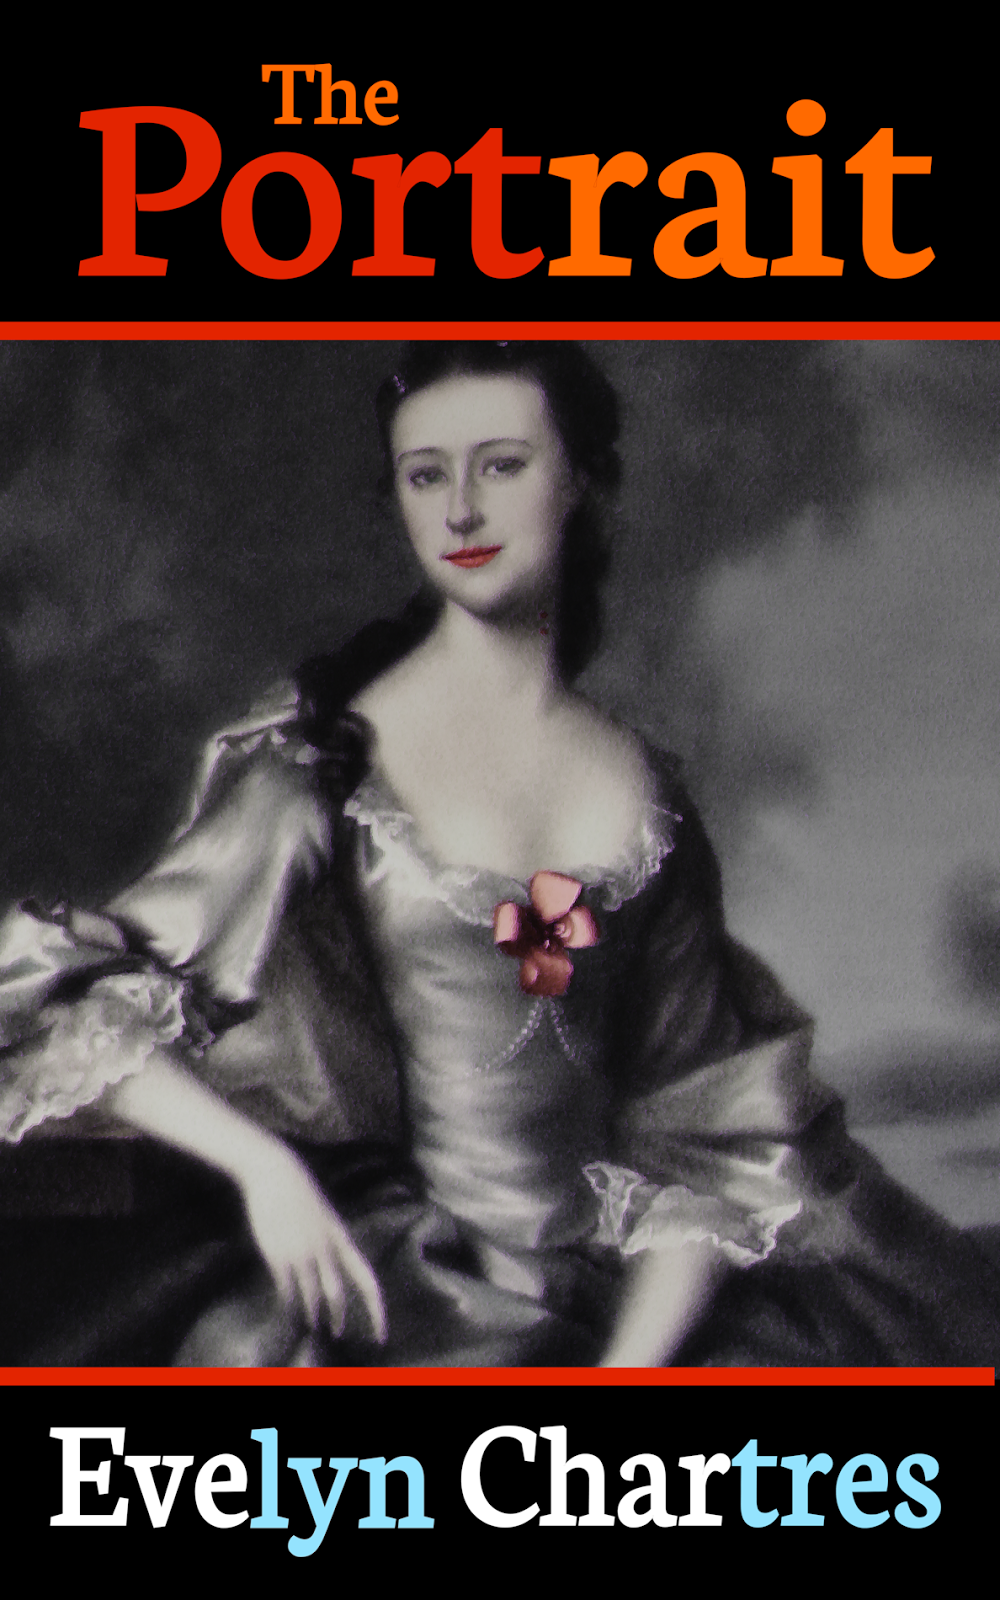
Using the tricks learned in Higher Resolution Blues, we lined up then Link the layers for both the Title (3) and Author’s Name (4).
|
Note Make sure to line up the individual elements before making any alterations. Once dimensions change, replicating the change in individual components is difficult to achieve. To adjust a line, select all layers by holding down the SHIFT key. |
Experiment with these Text Lines until it looks like the image below. Be aware that you may need to move the Border Layers in addition to adjusting the Filler Layers to achieve this result.
|
Note When you want to resize a Text Line, always do so from the Corners. Using the other methods will stretch and skew the Text Line. |
In Part 5, we will Add the Tagline then Adjust Layer Styles.
![]() Borders and Text by Evelyn Chartres is licensed under a Creative Commons Attribution-ShareAlike 4.0 International License.
Borders and Text by Evelyn Chartres is licensed under a Creative Commons Attribution-ShareAlike 4.0 International License.


Leave a Reply