Digital Alchemy – Part 1
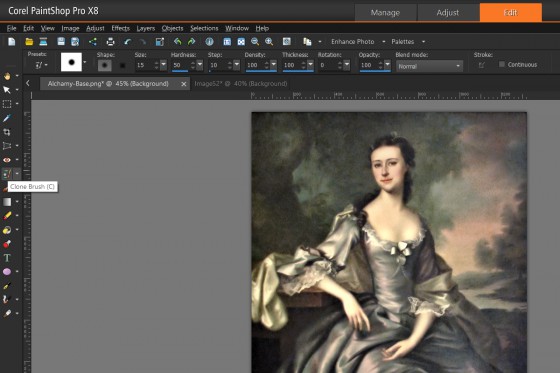
This is Part 1 of the Digital Alchemy Tutorial and in the our previous tutorial Creating the Base we generated the image below.
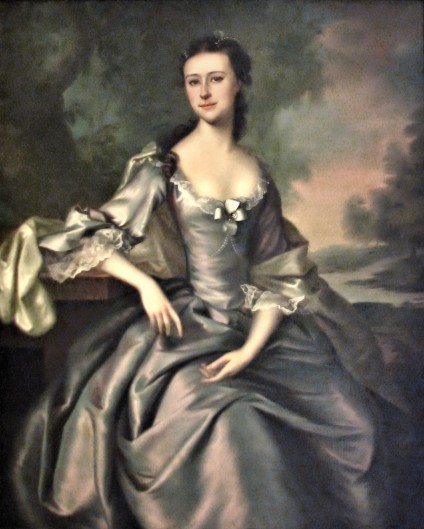
These steps will separate the Lady from the rest of the painting. This enables us to process the image individually on her vice the rest of the background.
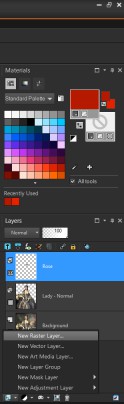
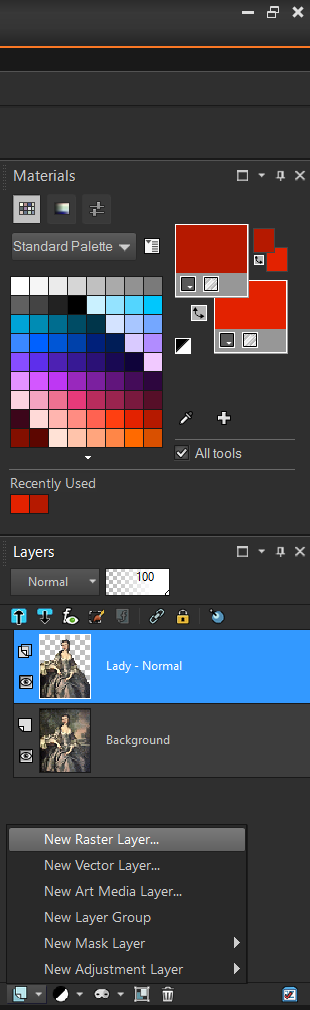
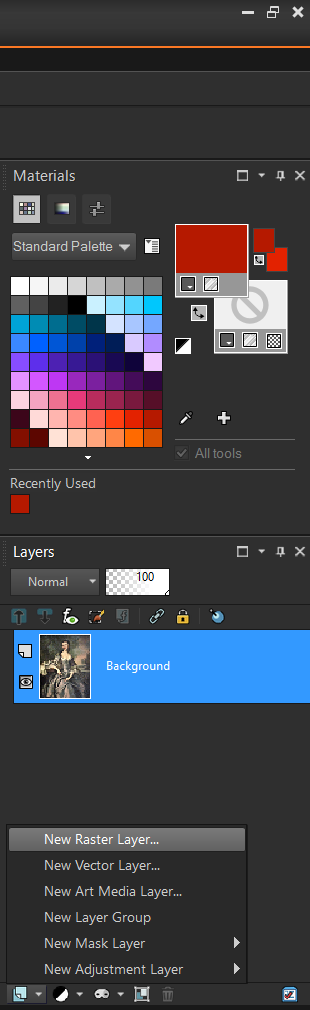
The first step is to create a new layer. Within your Layers Palette, you will notice a little button on the lower left corner. Click on the New Layer button then select New Raster Layer.

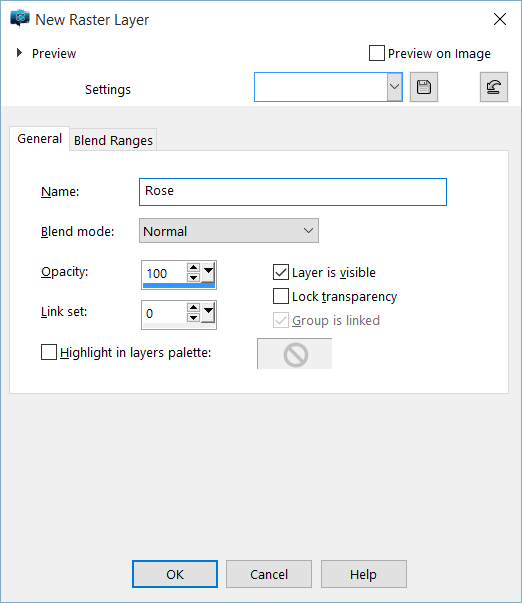
This will bring open a New Raster Layer window. You can put in a name to identify the layer, or you can opt to use the default. Personally, I find providing a meaningful name makes finding layers with greater ease, especially if they are not visible.
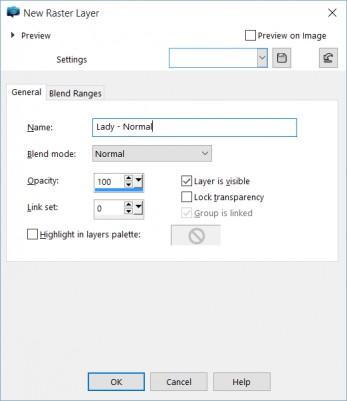
The rest of the defaults are fine, so click on OK and a new layer will appear within the Layers Palette. Now select the Background then use CTRL-C to copy the Background layer.
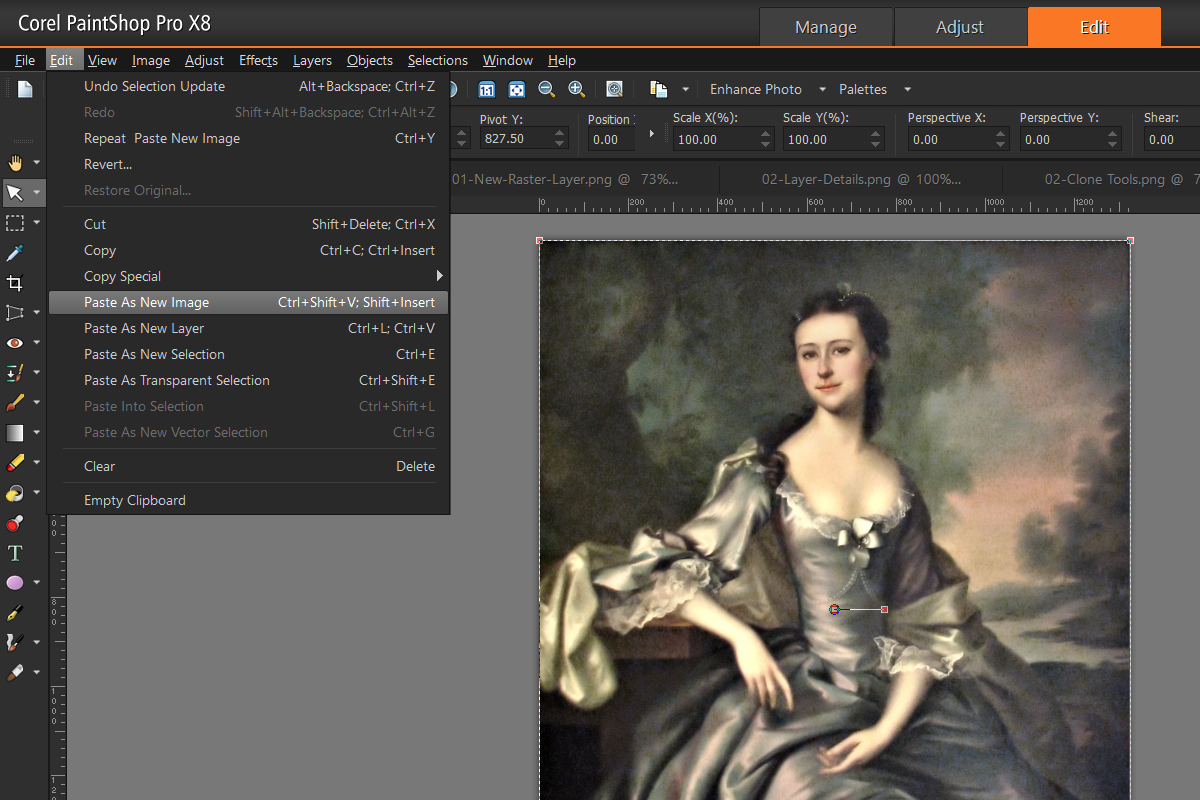
The next step is to create a new image from the background as shown below. From the Edit menu, select Paste as New Image.

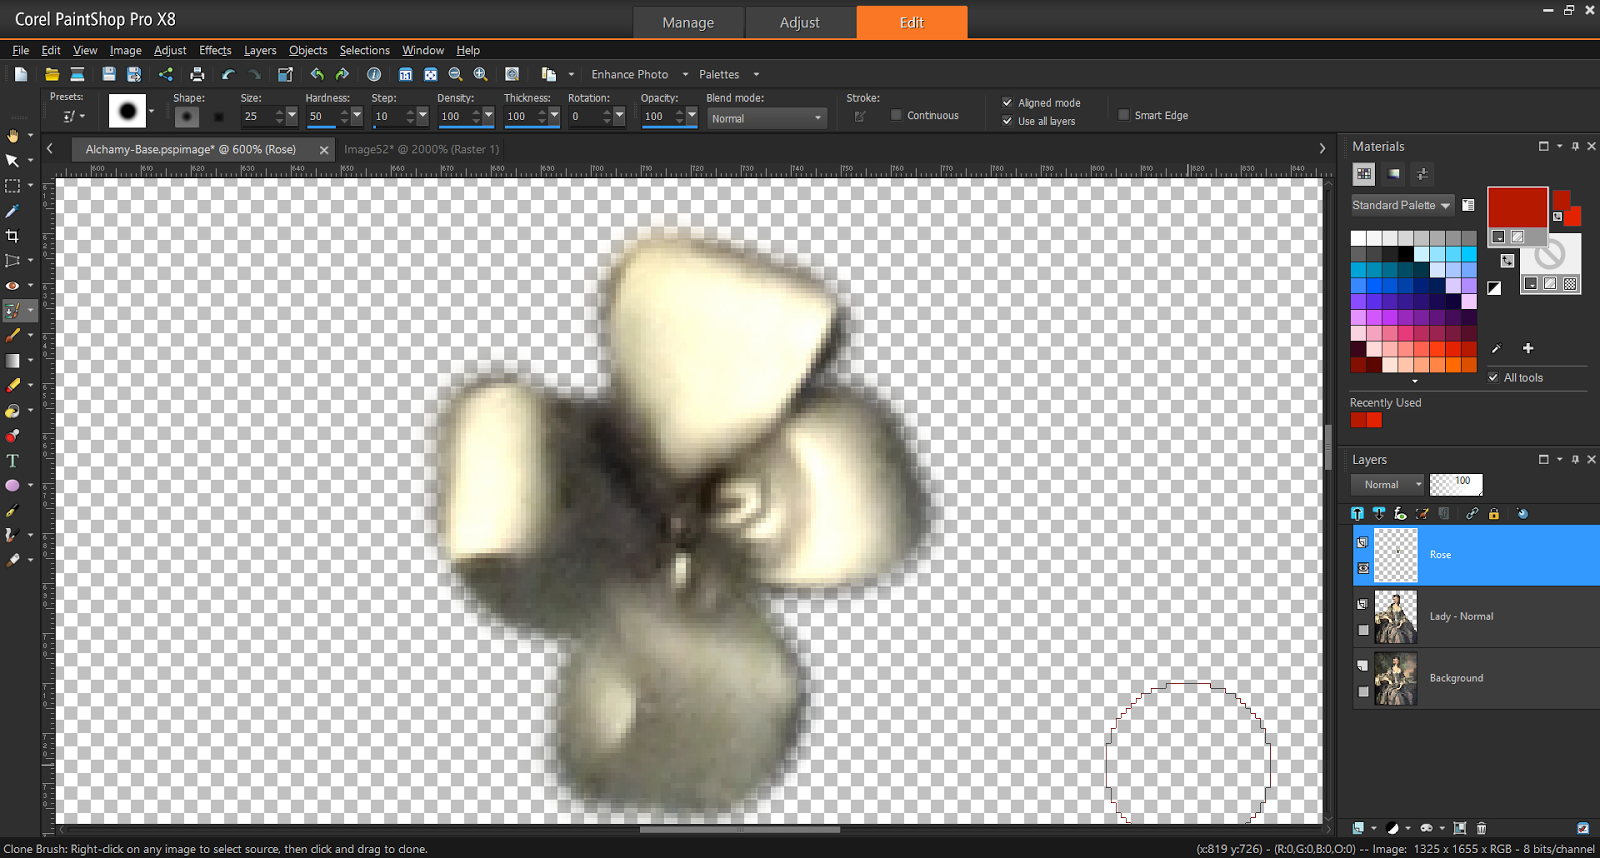
This will create a new image, click on this new image tab then select Clone Brush from the Tools Bar.
The key to using the clone brush is selecting the appropriate Source and Target. This selection is critical when copying parts of an image onto another layer. A shift by a few pixels will result in the entire image being shifted in lock-step.
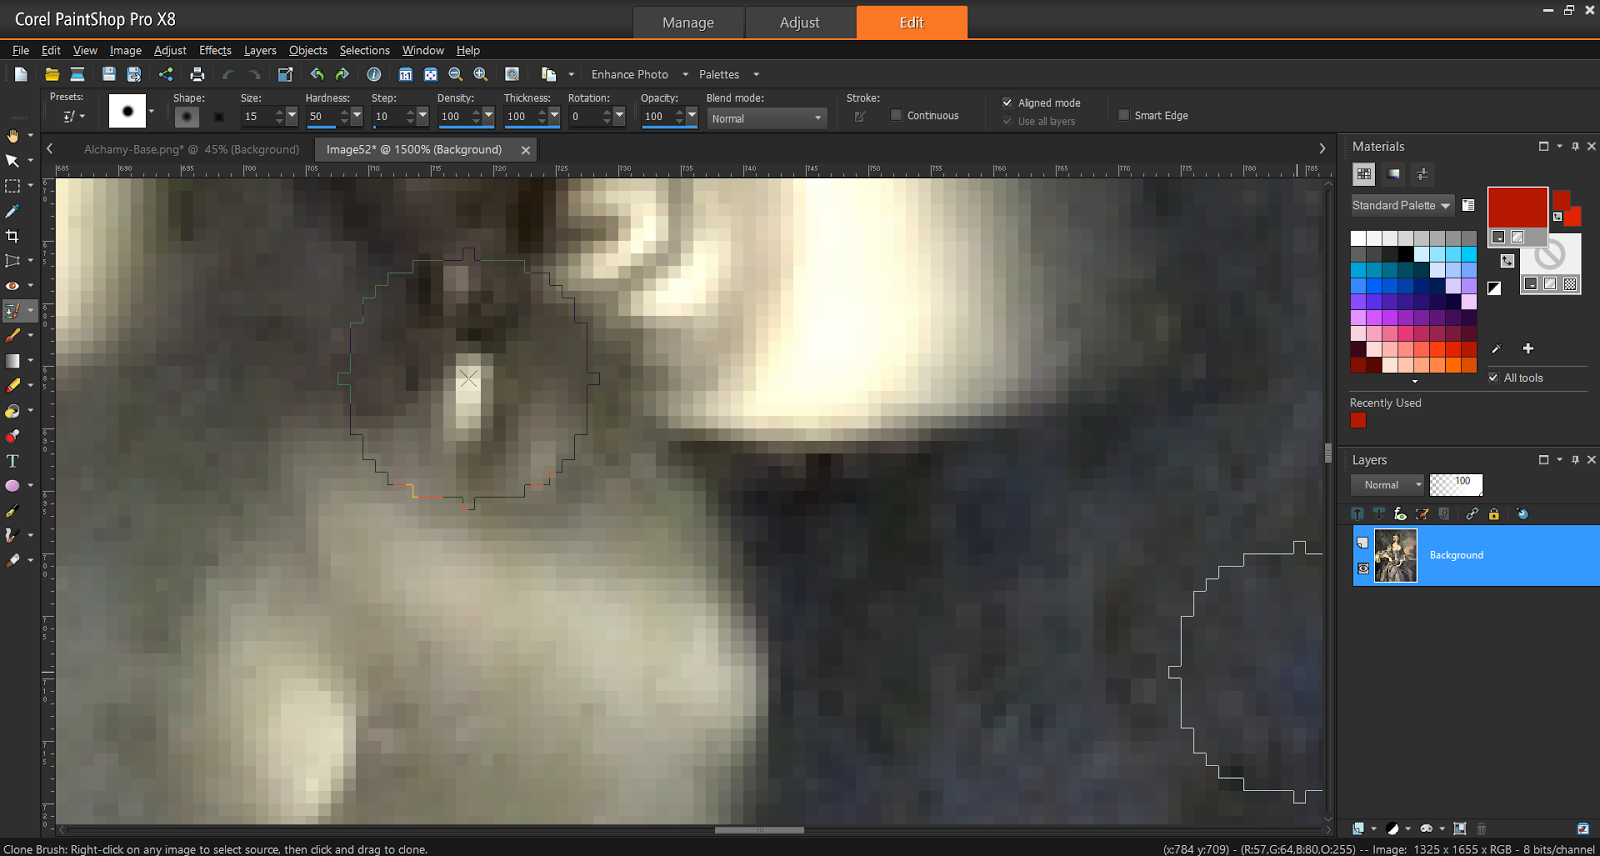
In this situation, we are using the copied background to populate the new layer we created, so we need a focal point. An ideal point can be readily identified, as in glint in the eyes or a key feature in the flower on her chest. Zoom in on her flower and you will see a cluster of pixels that are easy to identify.
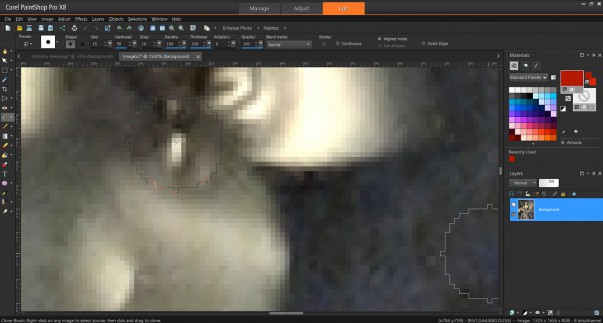
Here we have a zoomed-in view. We hovered over a cluster of identifiable pixels then clicked on the right-mouse button. This will select the source image on the copied image.
Now Select the image we are working with on then select the Lady — Normal layer we created. Zoom-in similarly, to how you did for the copied image, then left-mouse click over the same area you selected within the Lady — Normal layer to start cloning.
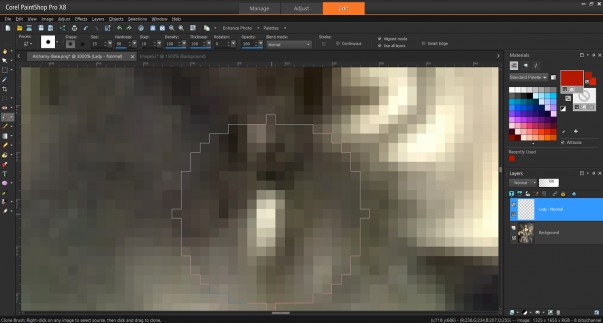
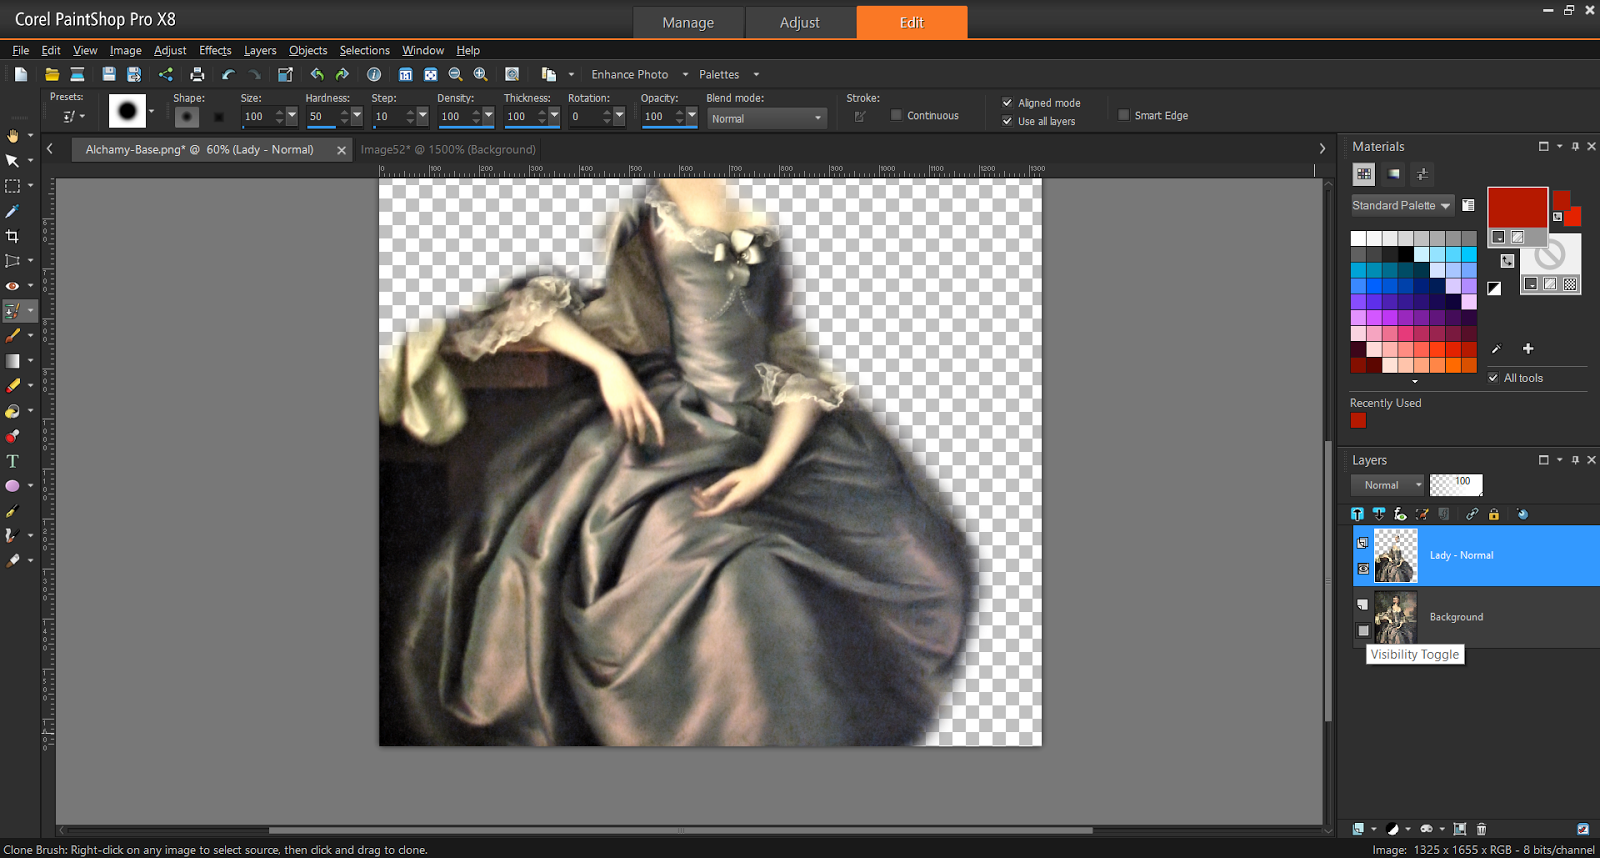
For now, keeping the Background layer visible is important for the initial alignment. You can select visibility be clicking on the little Eye Icon besides a layer within the Layers Palette. Once the Source and Target are aligned, left-mouse click over the layer to transpose the lady.
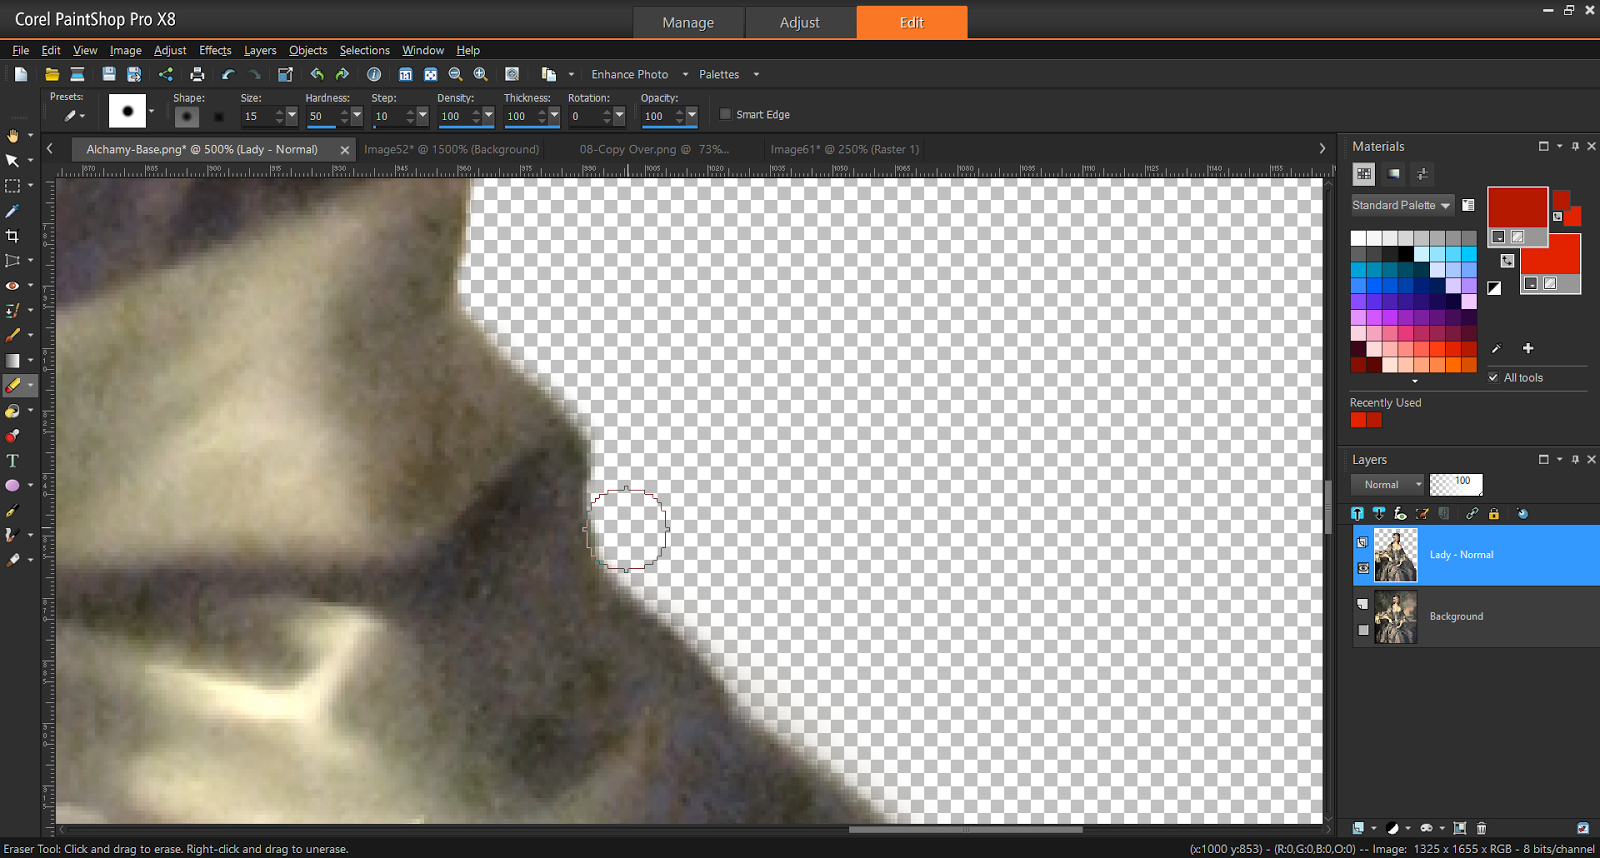
Initially select a large Brush Size and Shape to cover more area then switch to a smaller size to fine tune. Later, it may be beneficial to toggle Visibility of the Background layer. This outlines areas that needs work, such as holes in the copy.
If at any time you have gone over where you expect, you can undo quickly by pressing CTRL-Z.
|
Tip
Use short and concise changes for your detailed work. The Undo function reverses whatever was committed when you last clicked. |

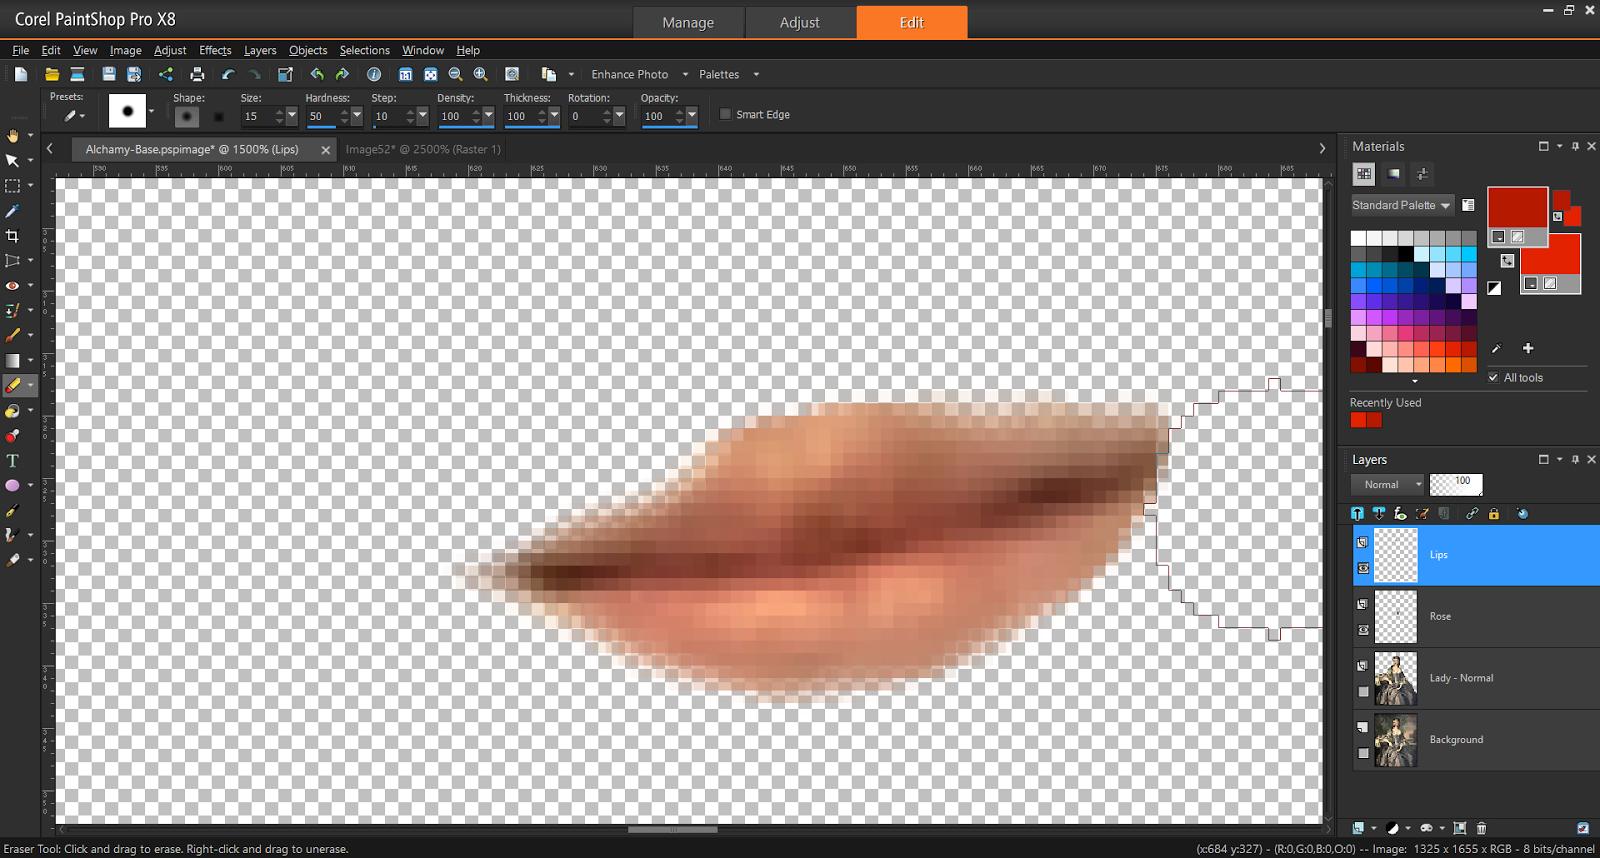
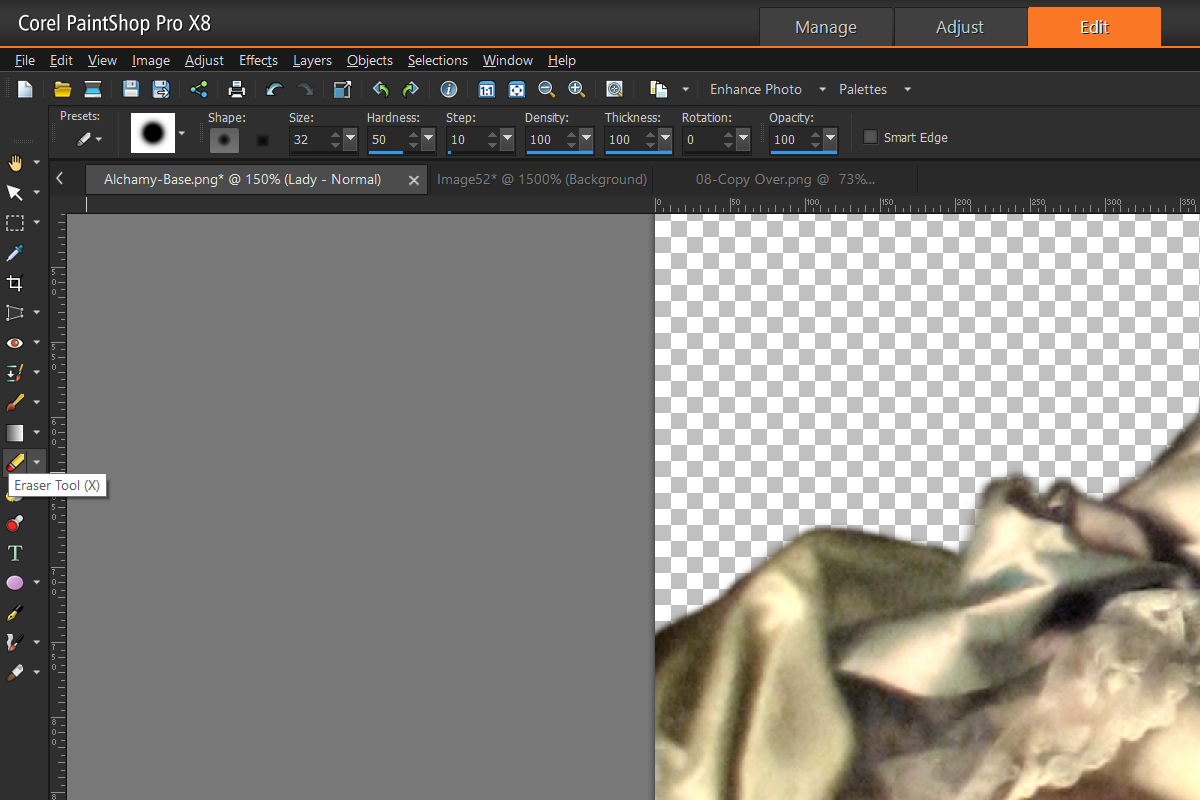
As long as you do not switch tools, the Target and Source points will remain intact. When content with the bulk of the work, you can use the Eraser Tool from the Tools Bar to make any additional corrections.

Erasing will work the same way as it did for Cloning, remember to use an appropriately-sized brush and Undo when necessary.
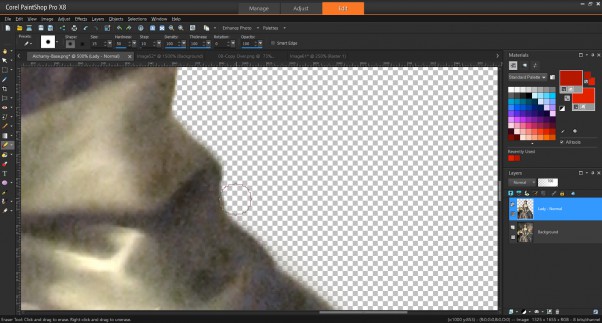
When complete, you end up with a copy of the Lady that can be manipulated independently from the rest of the image. We do not want to cut her out of the background completely so that we can use blending effects later.
|
Note
You can opt to create a duplicate layer of Lady by duplicating the background then removing the excess using the Eraser Tool. It is up to you on how you want to complete this step. |
Next in Part 2 we will Isolate the Rose.