Creating the Base – Part 1
This is part 1 of the Creating the Base tutorial.
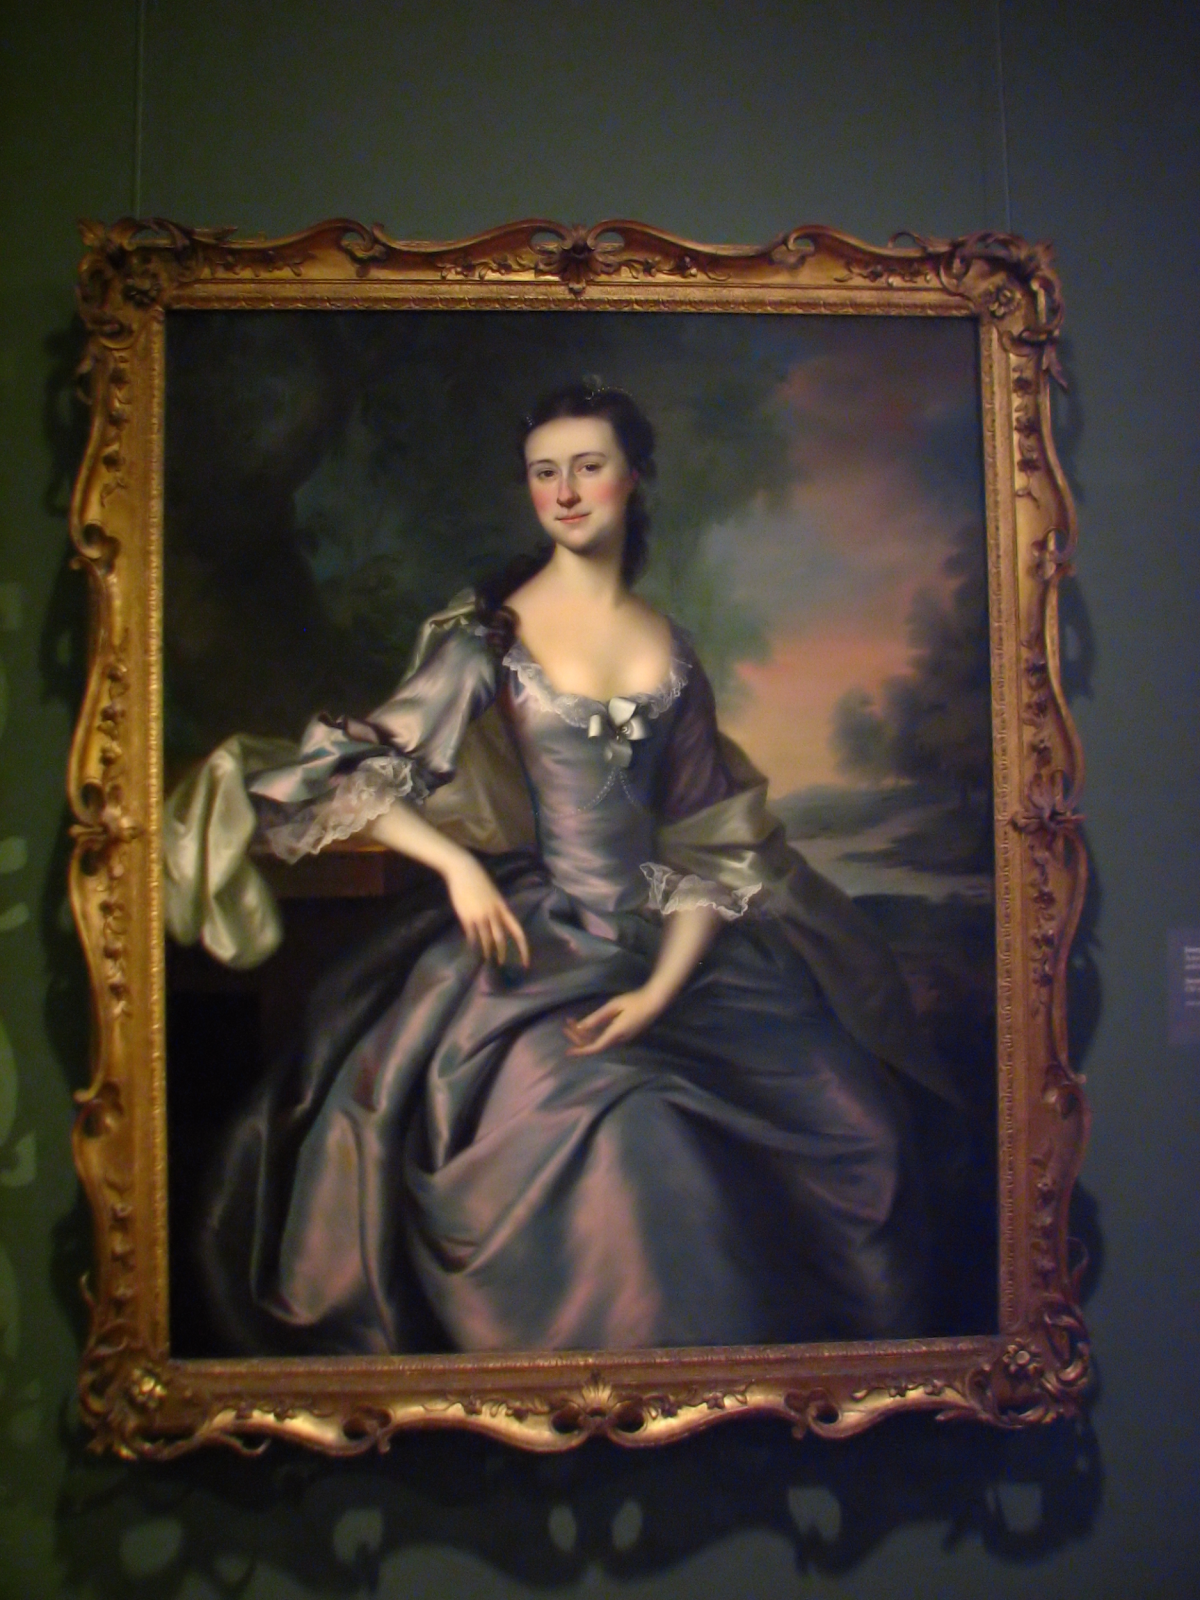
The First step is to find an image that will form the basis for your cover. For The Portrait, I rummaged through my photography collection and came across this picture featured below.

This shot suited my needs since it fit in roughly with the era one of the character’s was based in. For more information on the featured painting, you can visit theSusan Apthorp (Mrs. Thomas Bulfinch) painting found through the Boston Museum of Fine Arts website.
Copyright law can be difficult to interpret and varies from country to country. While this painting falls outside normal copyright laws, in some jurisdictions the picture can be copyrighted as a new work. The referenced work is likely copyrighted, so I used my own picture as a precaution.
The picture is unfortunately low-resolution (5 MP) compared to modern cameras, even when compared to high-end smartphone. In addition, noise was introduced due sensitivity (200 ISO) of the light sensor to avoid using a flash.
Fortunately, there are ways to deal with the noise and we will deal with the limited resolution later. From the Adjust menu, select the Digital Noise Removal.
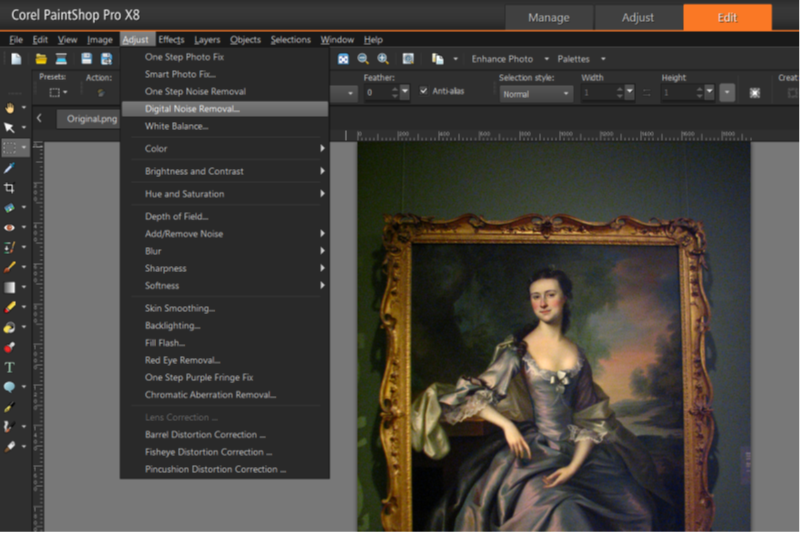
This will bring up a new window which shows a Before and After shot along with various options. One of the more important features of this capability is the ability to adjust the sampling locations.

In my case, I found that the defaults were sufficient. Click on the OK button to remove residual noise in the shot and generate the result shown below.
Next in Part 2 we will experiment with Fill Light and Clarity.
![]() Let’s Begin by Evelyn Chartres is licensed under a Creative Commons Attribution-ShareAlike 4.0 International License.
Let’s Begin by Evelyn Chartres is licensed under a Creative Commons Attribution-ShareAlike 4.0 International License.


Leave a Reply