Creating the Base – Part 2
This is part 2 of the Creating the Base tutorial and in Part 1 we performed Initial Cleanup Operations.
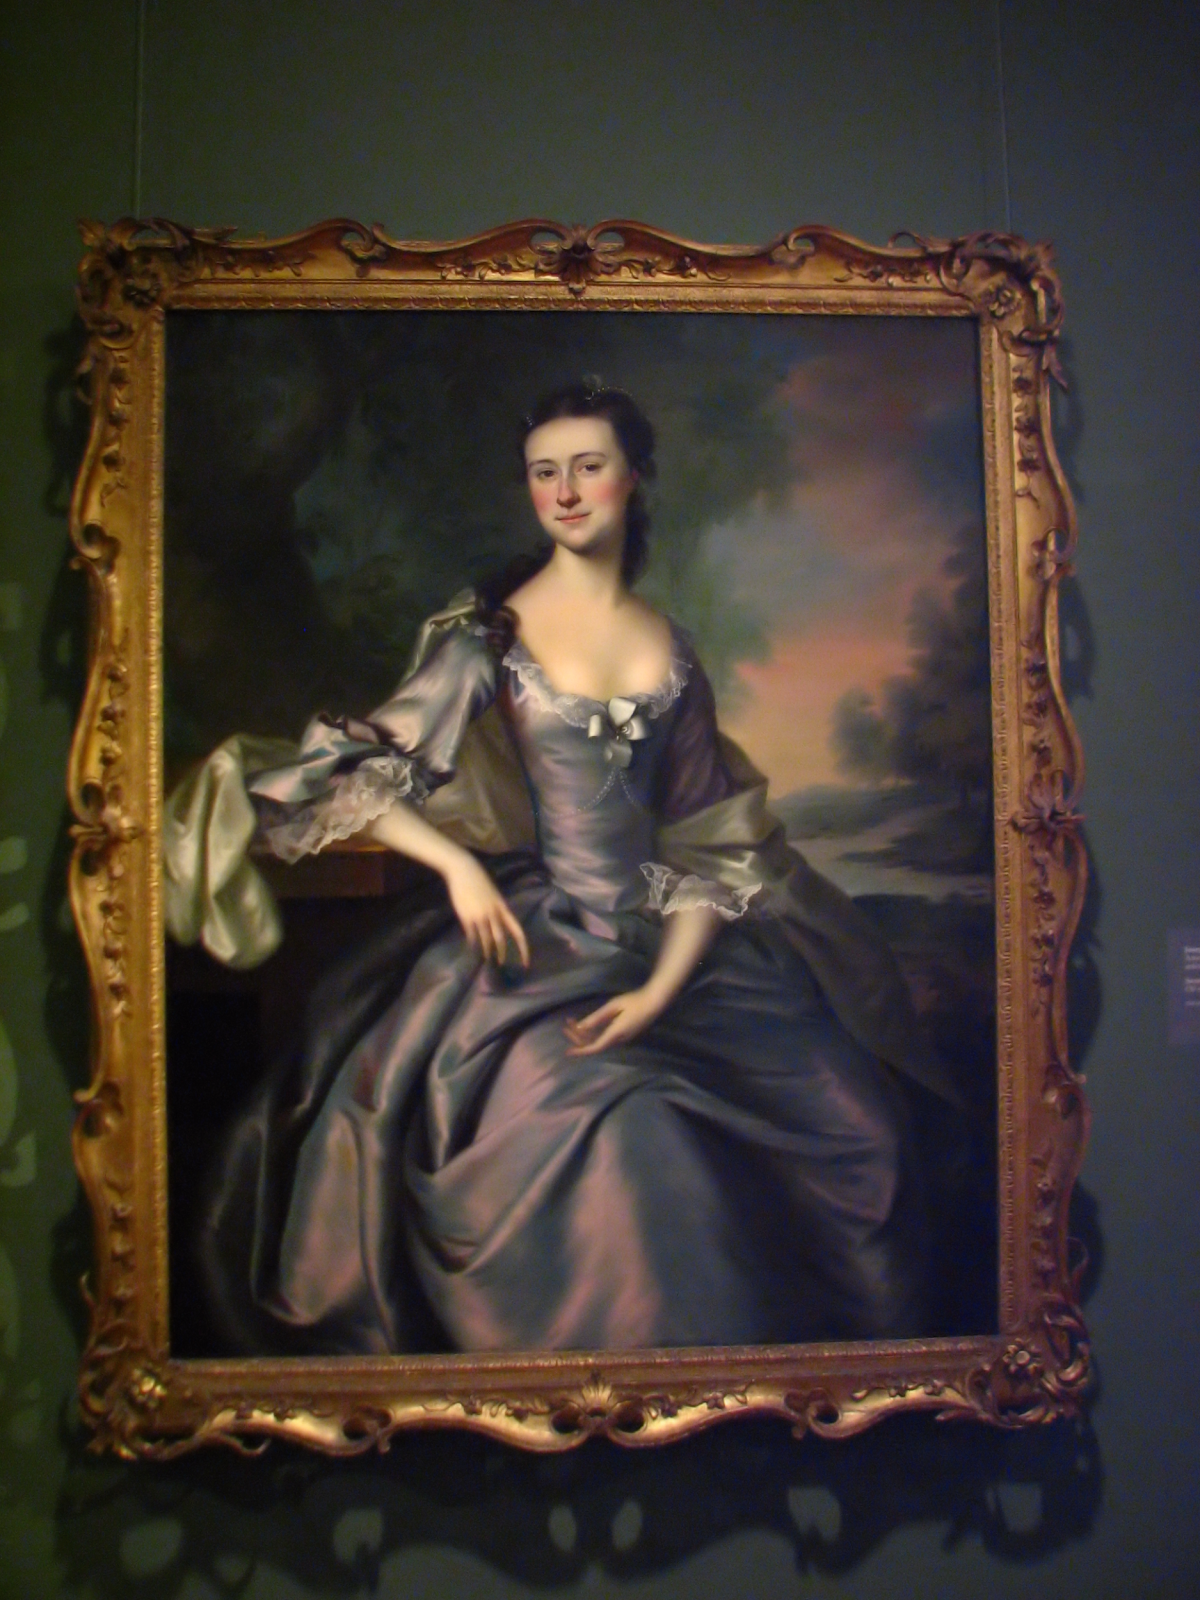
Now we need to adjust lighting, contrast, colour and clarity since the original portrait was featured in a sombre room. Fortunately, the Boston Museum of Fine Art provides us with a sample to compare with.
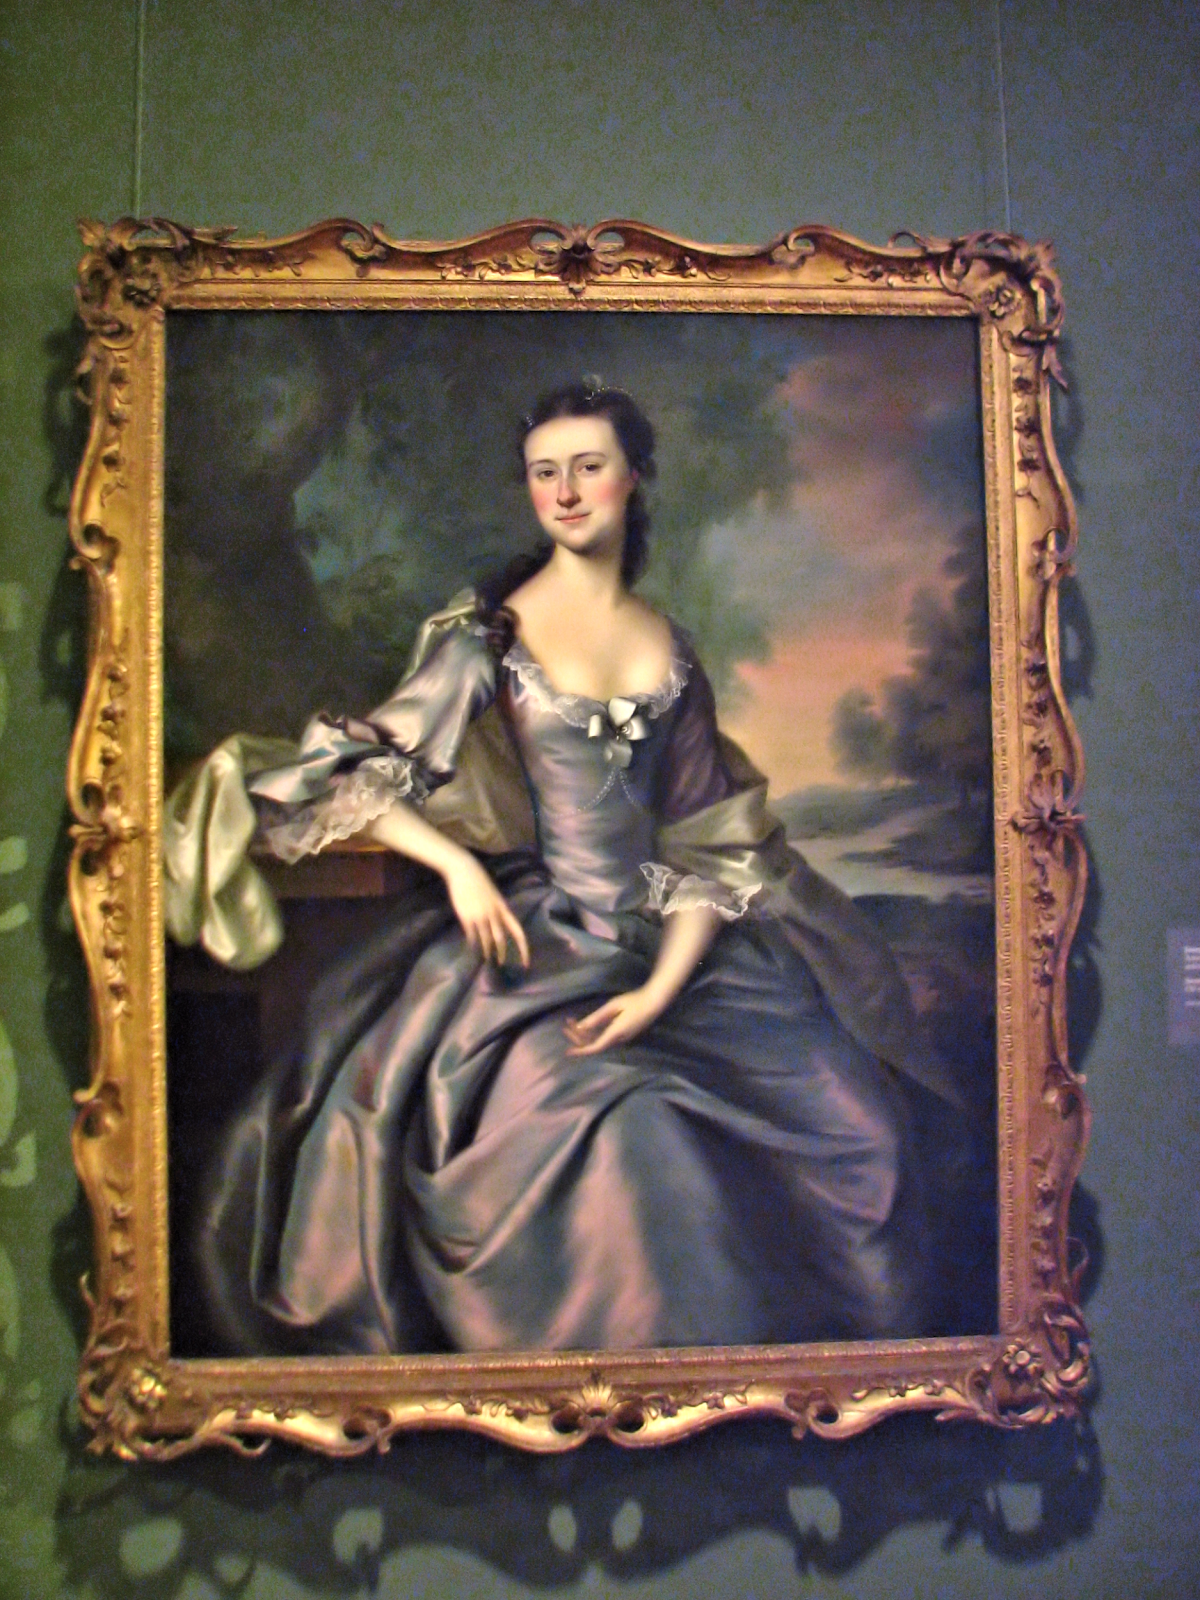
Let us begin with Fill Light and Clarity, from the Adjust menu, select Brightness and Contrast then Fill Light/Clarity.

I find it easier to Preview on Image so I can monitor a change over the whole work. To make use of this capability, click on Preview to hide that feature then select the Preview on Image checkbox.

Fill Light will brighten while Clarify brings out details in the picture. The settings shown above worked well for me; however, you may find alternate settings that better suits your palette.
Next in Part 3 we will experiment with Hue, Saturation and Lightness.
![]() – Fill Light and Clarity by Evelyn Chartres is licensed under a Creative Commons Attribution-ShareAlike 4.0 International License.
– Fill Light and Clarity by Evelyn Chartres is licensed under a Creative Commons Attribution-ShareAlike 4.0 International License.


Leave a Reply