Digital Alchemy – Part 4
This is part 4 of the Digital Alchemy tutorial and where previousy we Isolated the Lady’s Lips.
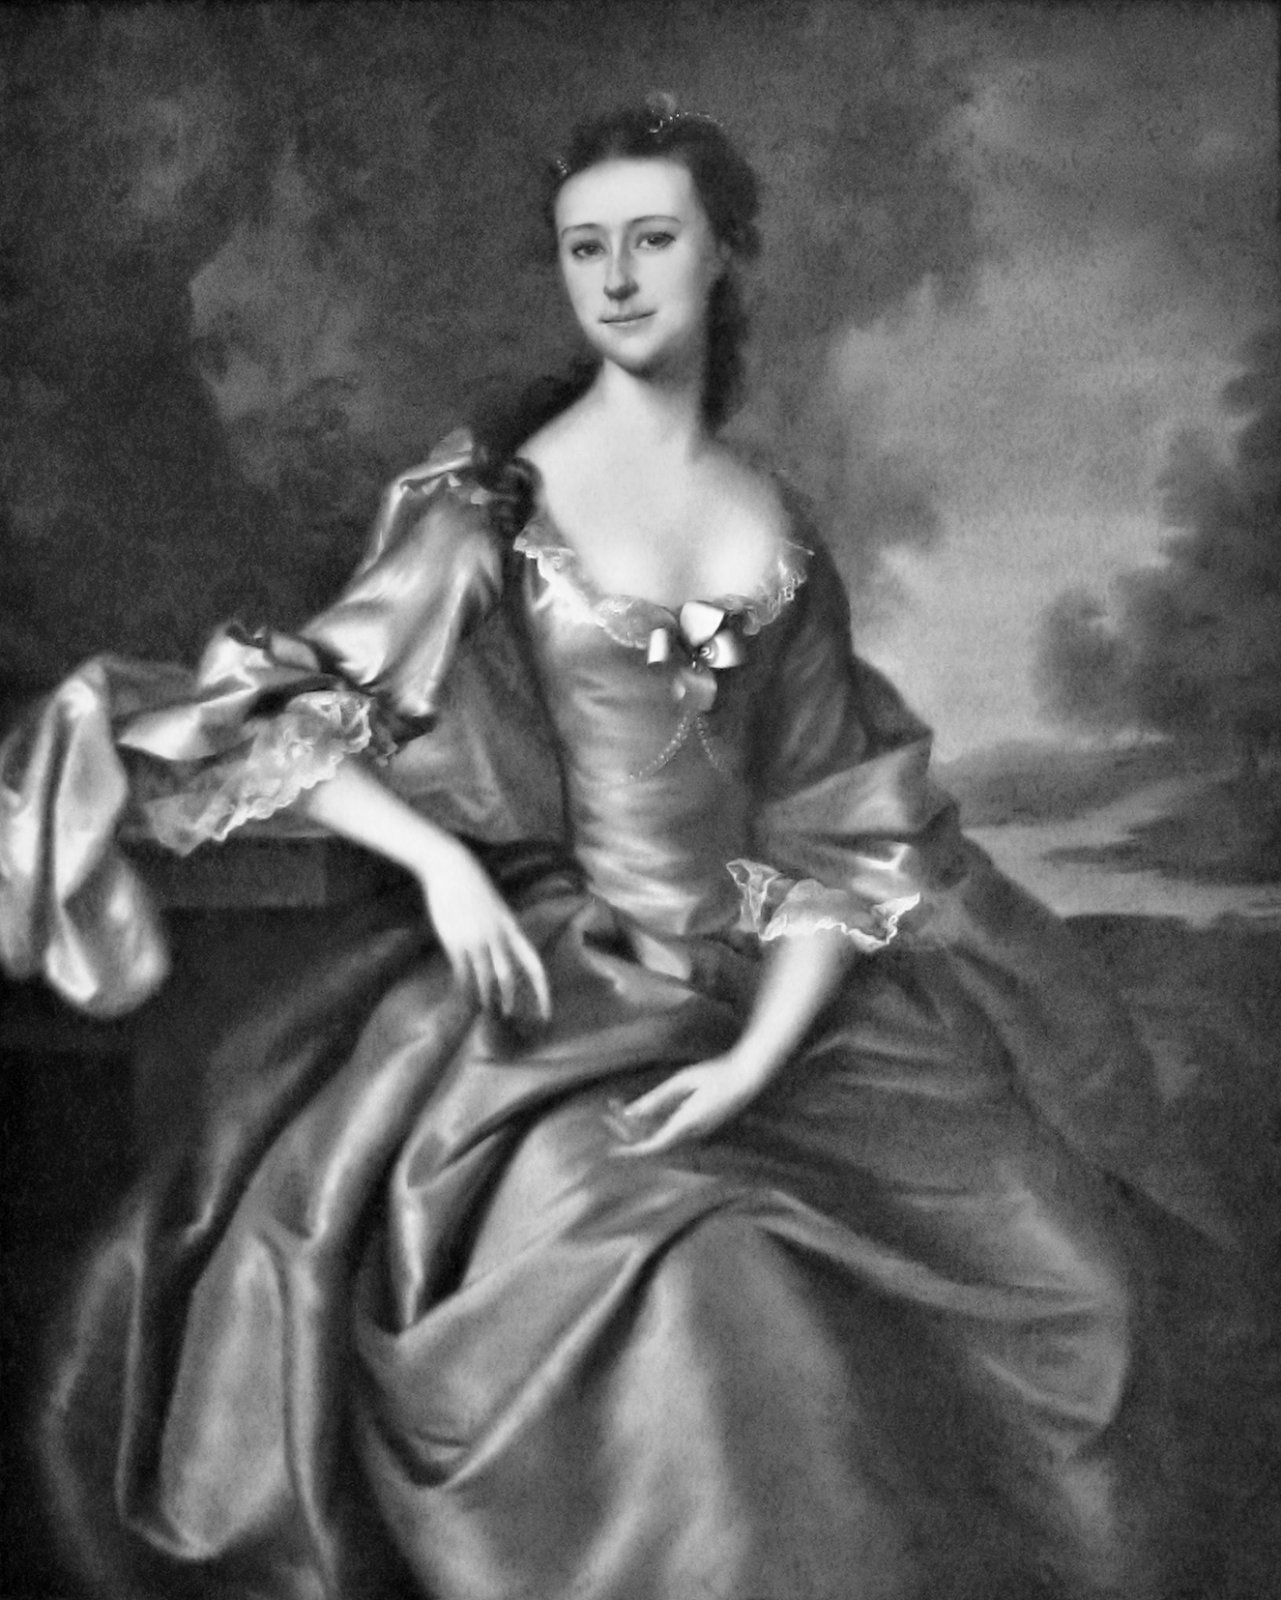
A colourful painting with a sunny background will probably not evoke a sense of dread and horror. The best way to achieve that is to turn the background into the night and we can do that with some basic features of Corel PaintShop Pro and a gradient layer. Since we are dealing with the Background Layer for now, hide all other layers.
The first step is to transform the Background Layer into a Black and White image. While there are a myriad of ways to achieve this step; the easiest is by clicking on the Effects Menu, then Photo Effects and selecting Black and White Film.
|
Note Converting the image to grayscale converts all layers to grayscale as well. |

The Black and White Film window will appear and enables you to fine-tune the process. The BW Normal setting had the desired effect.

When satisfied with the settings, click on OK and you will have the following effect.
Now we have an image that has no colour whatsoever and lacks elements to make it appear as a night scene. Now its time to apply an Infrared Filter, from the Effects Menu, select Photo Effects then Infrared Film.
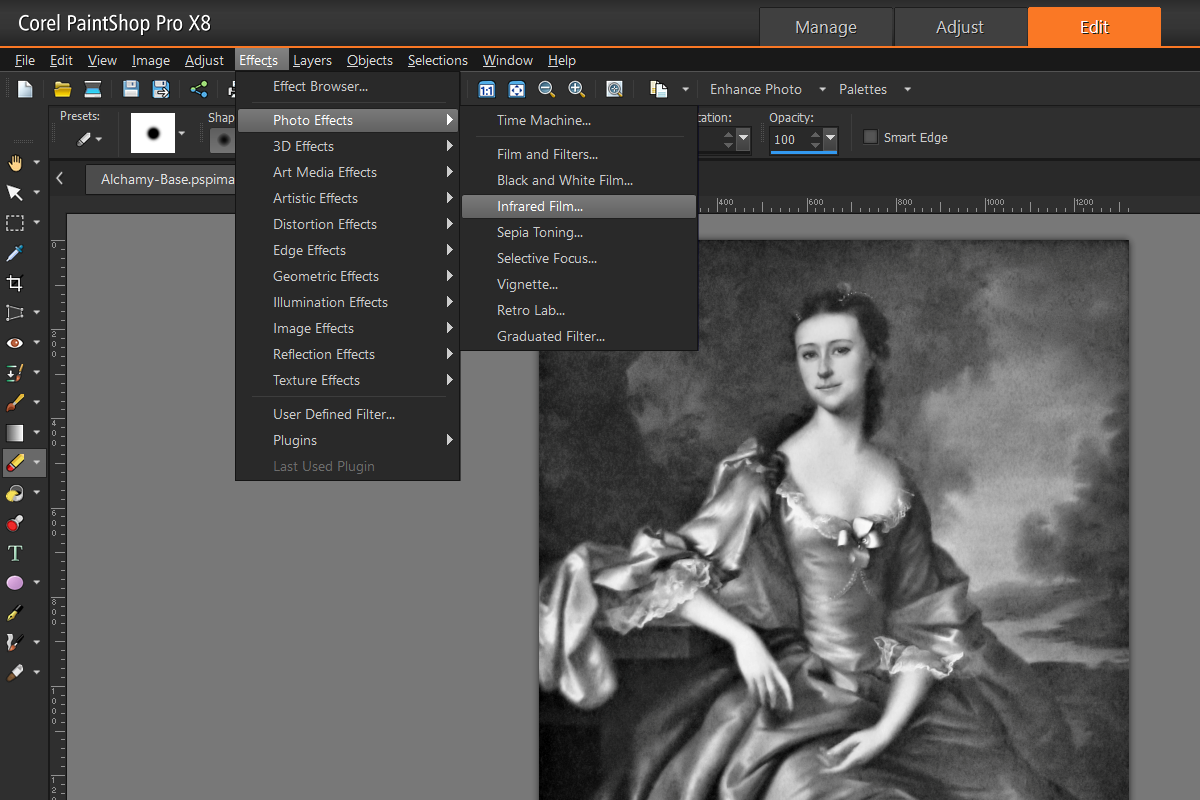
The Infrared Film window will appear and enable you to play with the pre-sets or select one that achieves the desired effect. In this situation, the Strong pre-set from Settings was used as seen below.
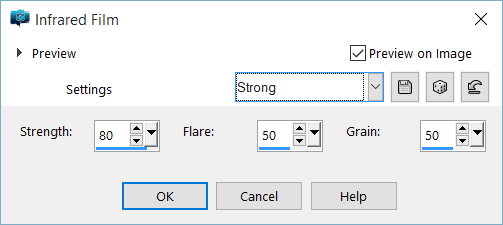
When satisfied, click on OK to get results similar to the image shown below. Now the shot has gotten darker with some elements emitting a silvery hue, a nice effect that provides a haunting look.

Now we need to create the effect of a night sky. Night skies are not uniformly black, especially when light sources like the moon are present. Gradients will add transitions along with varying transparency.
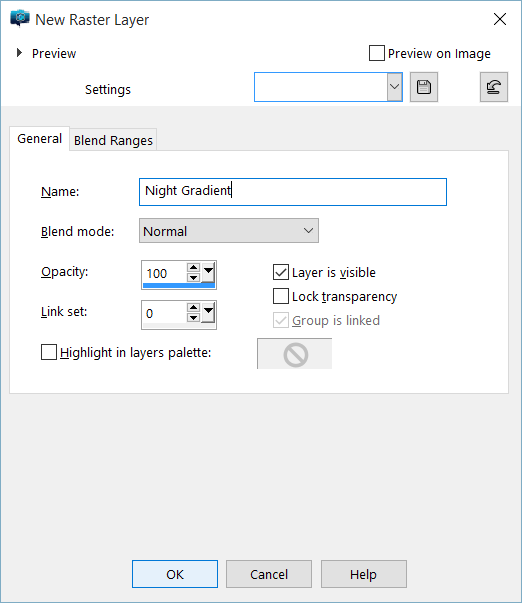
From the Layers Palette, click on New Layer and select New Raster Layer.
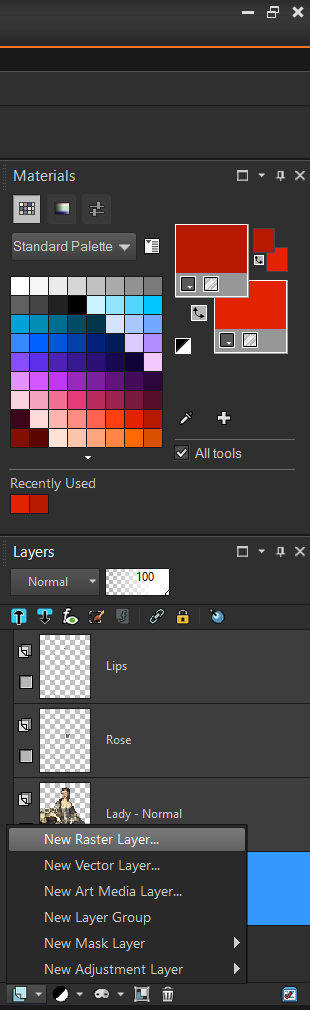
For moment we will not play with Opacity; provide a Name such as Night Gradient as like we find below.
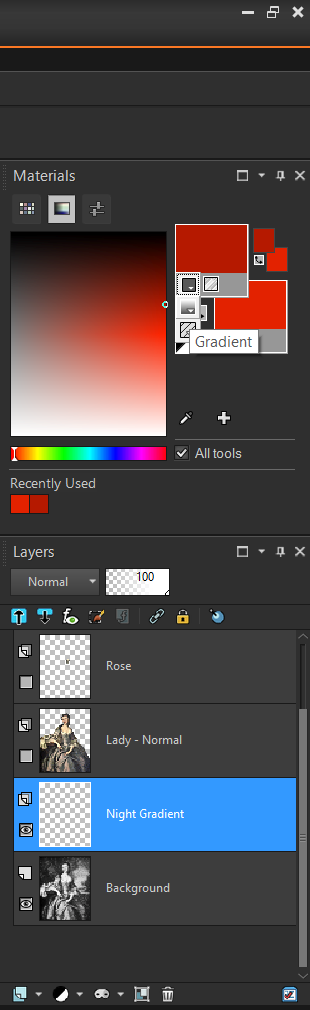
The new layer may appear at the wrong level. Corel PaintShop Pro layers have precedence based on their level; layers nearer to the bottom are overridden by content from higher up.
Prior to this moment, all new layers were placed one atop the other. Now we want to make sure the Night Gradient does not affect layers other than the Background. We need to shift it down, select the Night Gradient Layer by clicking on it then move it just above the Background.
Now it is time to play with gradients, from the Materials Palette click on the Icon on the lower-left of the colour selector (either will do). Select the second option called Gradient, after which you need to hover over the Colour Selector (a dropper icon will appear) then click to select.
This brings up the Material Properties window. Setting up gradients can be daunting at first; to gain some insight, scroll through existing pre-sets available and see how their settings are applied. When you create a New Gradient, it will have no transitions at first.
To add colour transition, click below the bar and a new Transition Point will appear. You can add as many as you want and removed by sliding them off either edge.
New transition will come with two components, the first of which looks like a House and a Diamond. When one clicks on the House, select the colour it will transition to, whereas the Diamond dictates how gradual the transition will be. In our examples, we begin with Black to the middle then transitions to a Dark Blue towards the end.
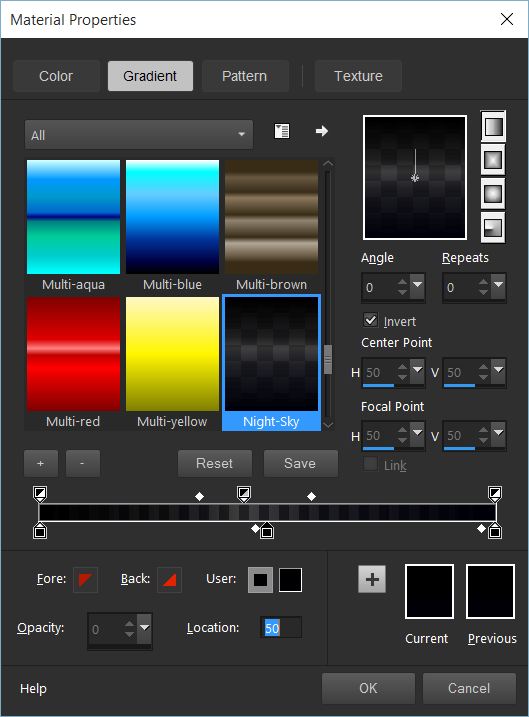
The top of the bar adjusts transparency. Similarly the colour transitions, clicking above the bar to create a new transparency and in out situation we create one then set its Opacity to 75%. The transition will create an area unaffected by the gradient, which coincides with the background body of water and adjourning trees.
|
Note If you create a gradient that is the inverse of what you want, click on Invert check-box to correct the alignment. Alternatively, modify the Angle to achieve the same. |
![]()
From the Tools Bar, select the Flood Fill Tool and then left-mouse click (right-mouse if you used bottom selector) on the Night Gradient Layer. This will fill the layer with the gradient and cover over the Background.
|
Note If you encounter a situation where the Flood Fill Tool only fills a portion of the layer, make sure the Use All Layers option is NOT selected. |

To blend the Night Gradient layer with the Background, adjust transparency from the Layers Palette. Set the Transparency to 60% to get the desired results.
|
Tip If you want fine-grained control over the transparency settings of a layer, double-click on the layer then adjust it from the Layer Properties Window. |
![]()
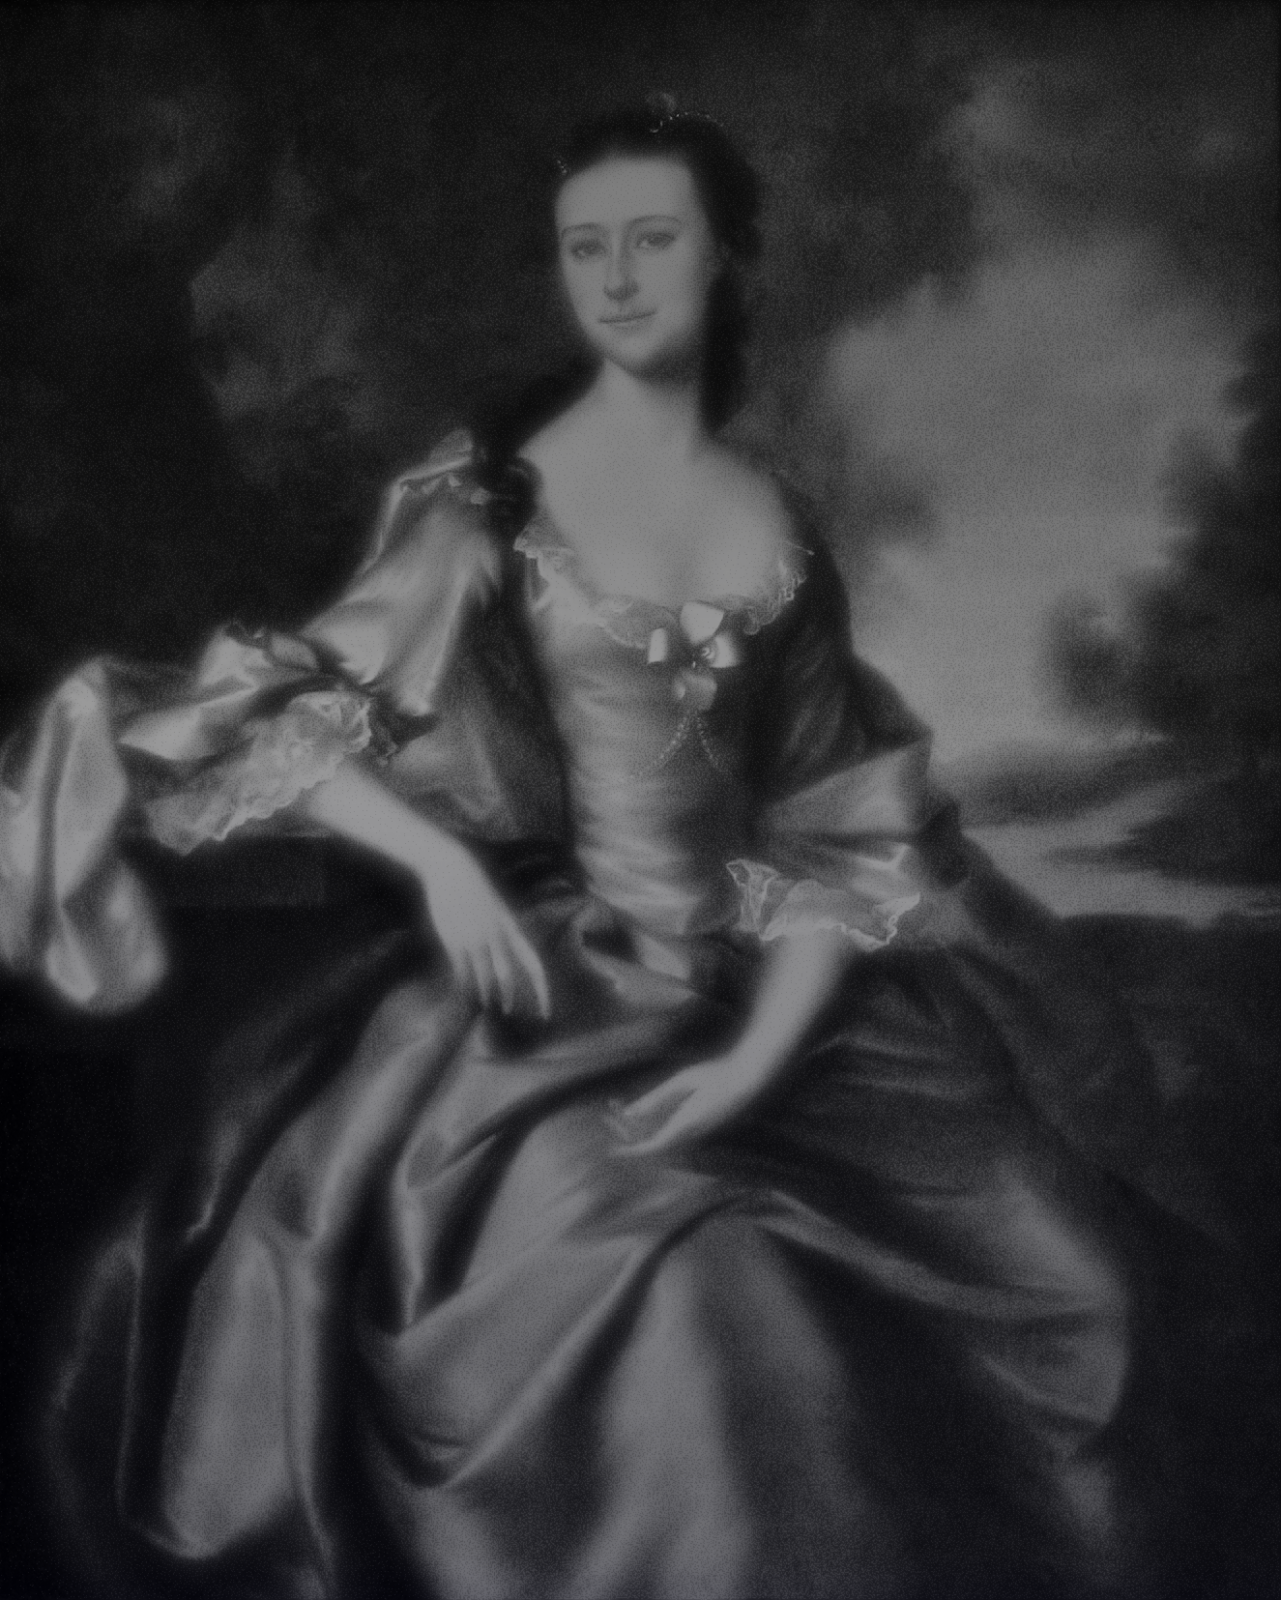
With that the gradient is in place, the background looks more like a night scene. This forms the basis for the future modifications applied to higher layers.
Next in Part 5, Lady Shade will Awaken.
![]() Let There be Night by Evelyn Chartres is licensed under a Creative Commons Attribution-NoDerivatives 4.0 International License.
Let There be Night by Evelyn Chartres is licensed under a Creative Commons Attribution-NoDerivatives 4.0 International License.


Leave a Reply