Digital Alchemy – Part 2
This is part 2 of the Digital Alchemy tutorial and previously we covered Cloning and Layers.
One visual element identified early on in the development process of the cover was to manipulate the flower on the Lady’s dress. Steps outlined below will be reminiscent of those we employed in Part 1 – On Cloning and Layers.
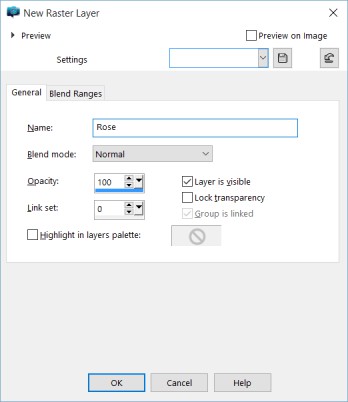
From the Layers Palette select New Raster Layer.
A pop-up will appear, matching the settings below. When complete, click on OK to create the New Raster Layer.
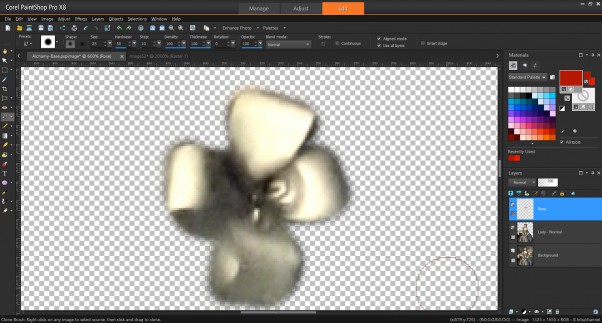
Use the Clone Brush from the Tools Bar and select a Source from the copied image. As done previously, select a Target point on the Rose Layer to make a copy of the Lady’s Rose.
Next in Part 3 we will Isolate the Lips.
![]() Isolating the Rose by Evelyn Chartres is licensed under a Creative Commons Attribution-NoDerivatives 4.0 International License.
Isolating the Rose by Evelyn Chartres is licensed under a Creative Commons Attribution-NoDerivatives 4.0 International License.


Leave a Reply