You want to insert images for print into your manuscript. Using Microsoft Word, the images are inserted, and their size and position adjusted to suit the content. When happy with the end result, you save your work and submit.
After a test print, you realise the quality is lower than expected. Furthermore, attempts to increase their size makes the image blurry, and pixelated. What happened?
By default, Microsoft Word resizes images to reduce the document’s file size. This happens to any image over 220 DPI, a limit that cannot be increased, which is a lower density than most commercial printers’ support.
What can you do?
- Disable this behaviour in Microsoft Word;
- Use Vector Graphics to skirt this issue; and
- Work within the limits;
Details
Follow either link for a sample document that showcases this behaviour in more detail.
[Microsoft Word] [Portable Document Format]
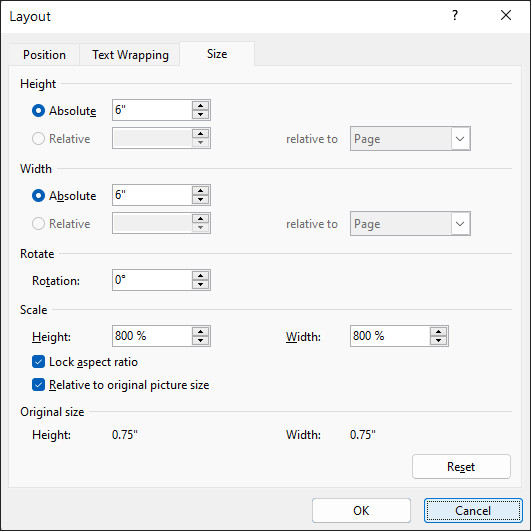
The first page shows the same image at different sizes:

After inserting these images, you have the following properties:
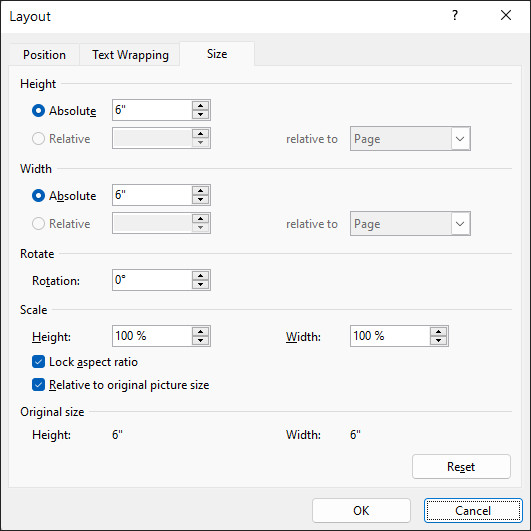
and
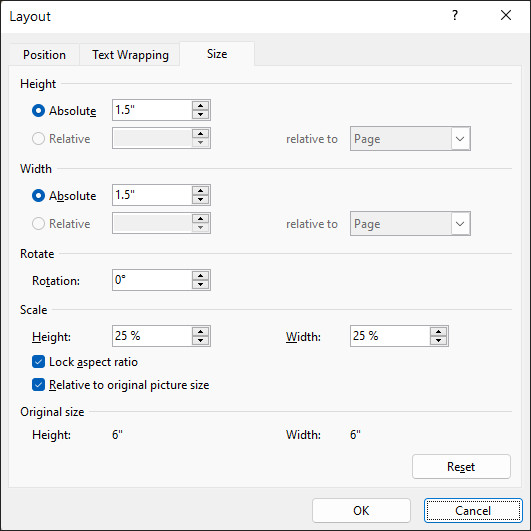
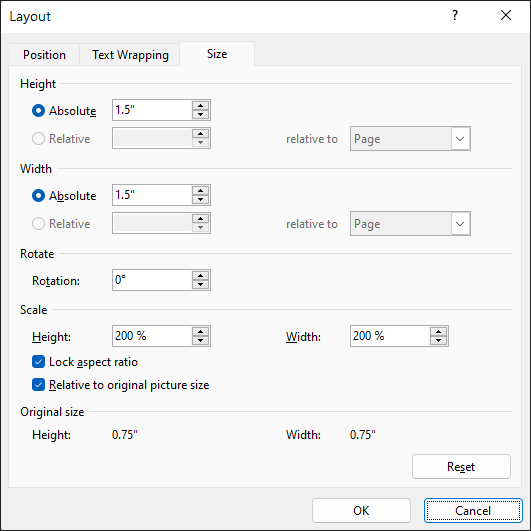
These images were inserted using the same source. Due to the high DPI, the images were resized by Microsoft Word resulting in image scaling distortions. If we check the smaller image’s properties after saving the document, we get:
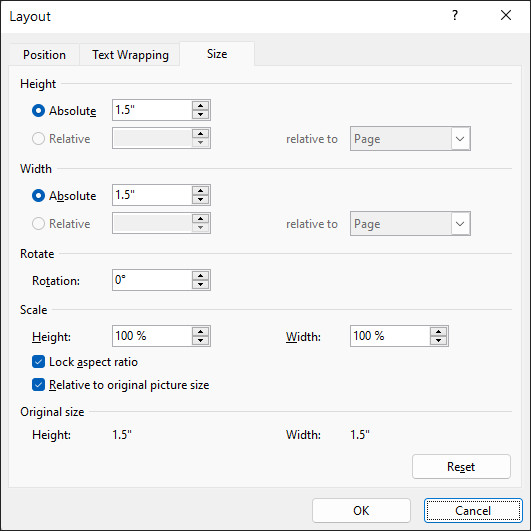
Any attempts to make the image bigger leads to blurring and pixelation. Since the original detail is lost, we need to re-insert the source image to resolve.
How to Fix?
There are three potential ways ahead:
Disable the Default Behaviour
Follow these steps to adjust the default for the document:
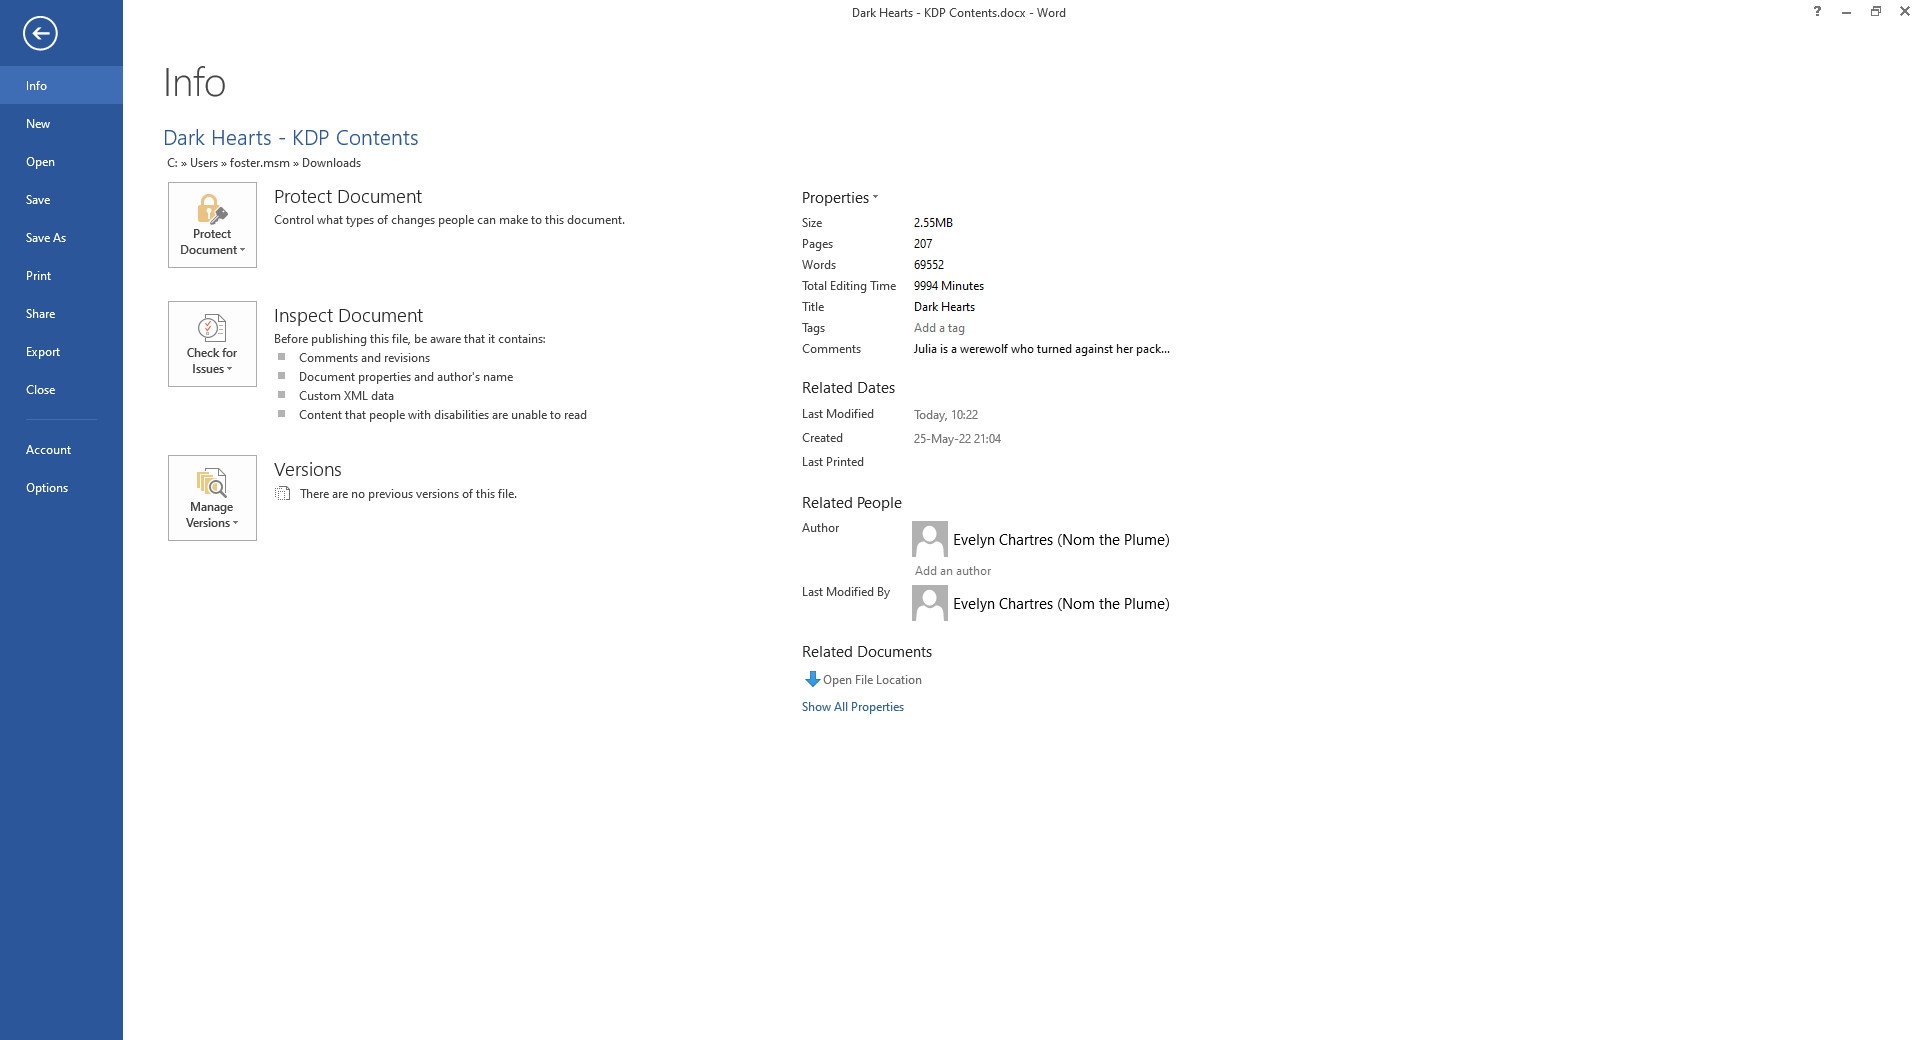
- Click on File in the Ribbon;
- Click on Options, the last one on left side of the window;
- A new Word Options window appears;
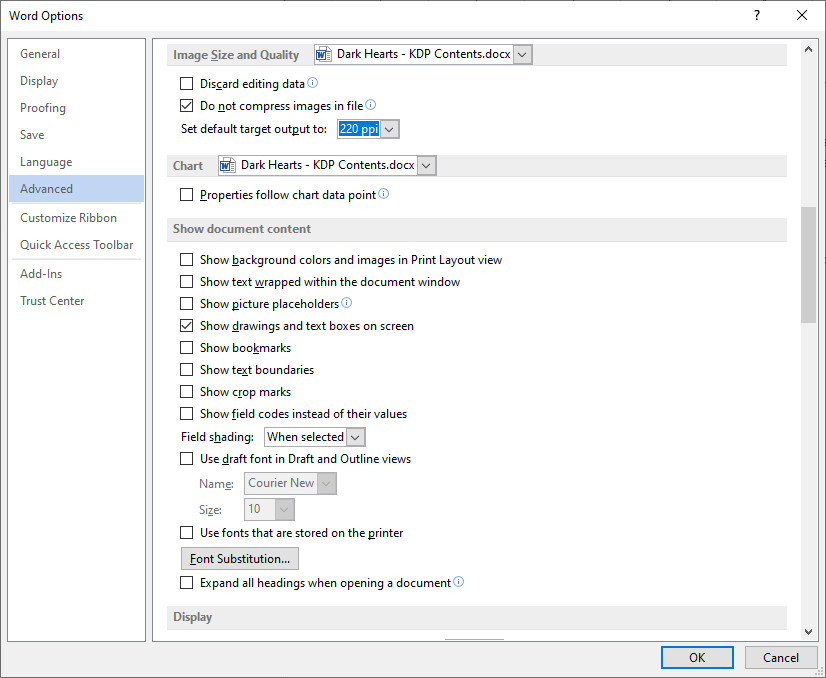
- Click on Advanced to bring up to the Advanced options for working with Word on the right panel;
- Scroll down until you reach the Image Size and Quality section. Check Do not compress images in file; and
- Click on OK to save the changes.
A standard view of the File screen.
These options are easy to miss.
Alternatively, you can select All New Documents for Image Size and Quality. Any document created from your profile will have this feature disabled by default. However, it has no effect on:
- Documents received from other sources; and
- Existing documents which did not have this option set.
Note
The All New Documents option is specific to your profile, changing computers or resetting your profile reverts Microsoft Word to its default behaviour.
Use Vector Graphics
Other than Microsoft’s own Shapes, Charts and SmartArt, the support for Vector Graphics is limited to Microsoft Word 2019 or above, and Microsoft 365.
If the images are available in the Scalable Vector Graphics (SVG) format, the process is straightforward. Use the Insert Picture capability within Microsoft Word and select the SVG variant instead of a bitmap.
With Vector Graphics, concepts like DPI, width, and height don’t apply. The images are made up of group of polygons, lines with paths. Scaling up or down means the image will be rendered accordingly.
In the attached Microsoft Word document, you’ll find the properties for the two images:
and
While both images have been upscaled, there’s no pixelation. This applies when you zoom in on the document itself. Try zooming in on the bitmap images on the first page to compare.
Note
Not every image can be made into a SVG. You may need to use a combination of bitmap and Vector Graphics for your manuscript.
Work Within the Limits
While not a fix, this option works within the limitations. The designer scales the images ahead of time using more powerful tools, that may yield superior results. This means:
- Image sizes must be identified ahead of time;
- Images must scaled to display to 220 DPI or less; and
- Images are embedded into the manuscript optimised for display.
Working within these limits prevents Microsoft Word from resizing the images. However, any changes will require inserting optimized replacements or risk Microsoft Word taking liberties with your images.
That’s it!
![]() Word Takes Liberties With Your Images by Evelyn Chartres is licensed under a Creative Commons Attribution-ShareAlike 4.0 International License.
Word Takes Liberties With Your Images by Evelyn Chartres is licensed under a Creative Commons Attribution-ShareAlike 4.0 International License.


Leave a Reply