Creating the Base – Part 5
This is part 5 of the Creating the Base tutorial and in Part 4 we Adjusted the Red/Green/Blue Balances.
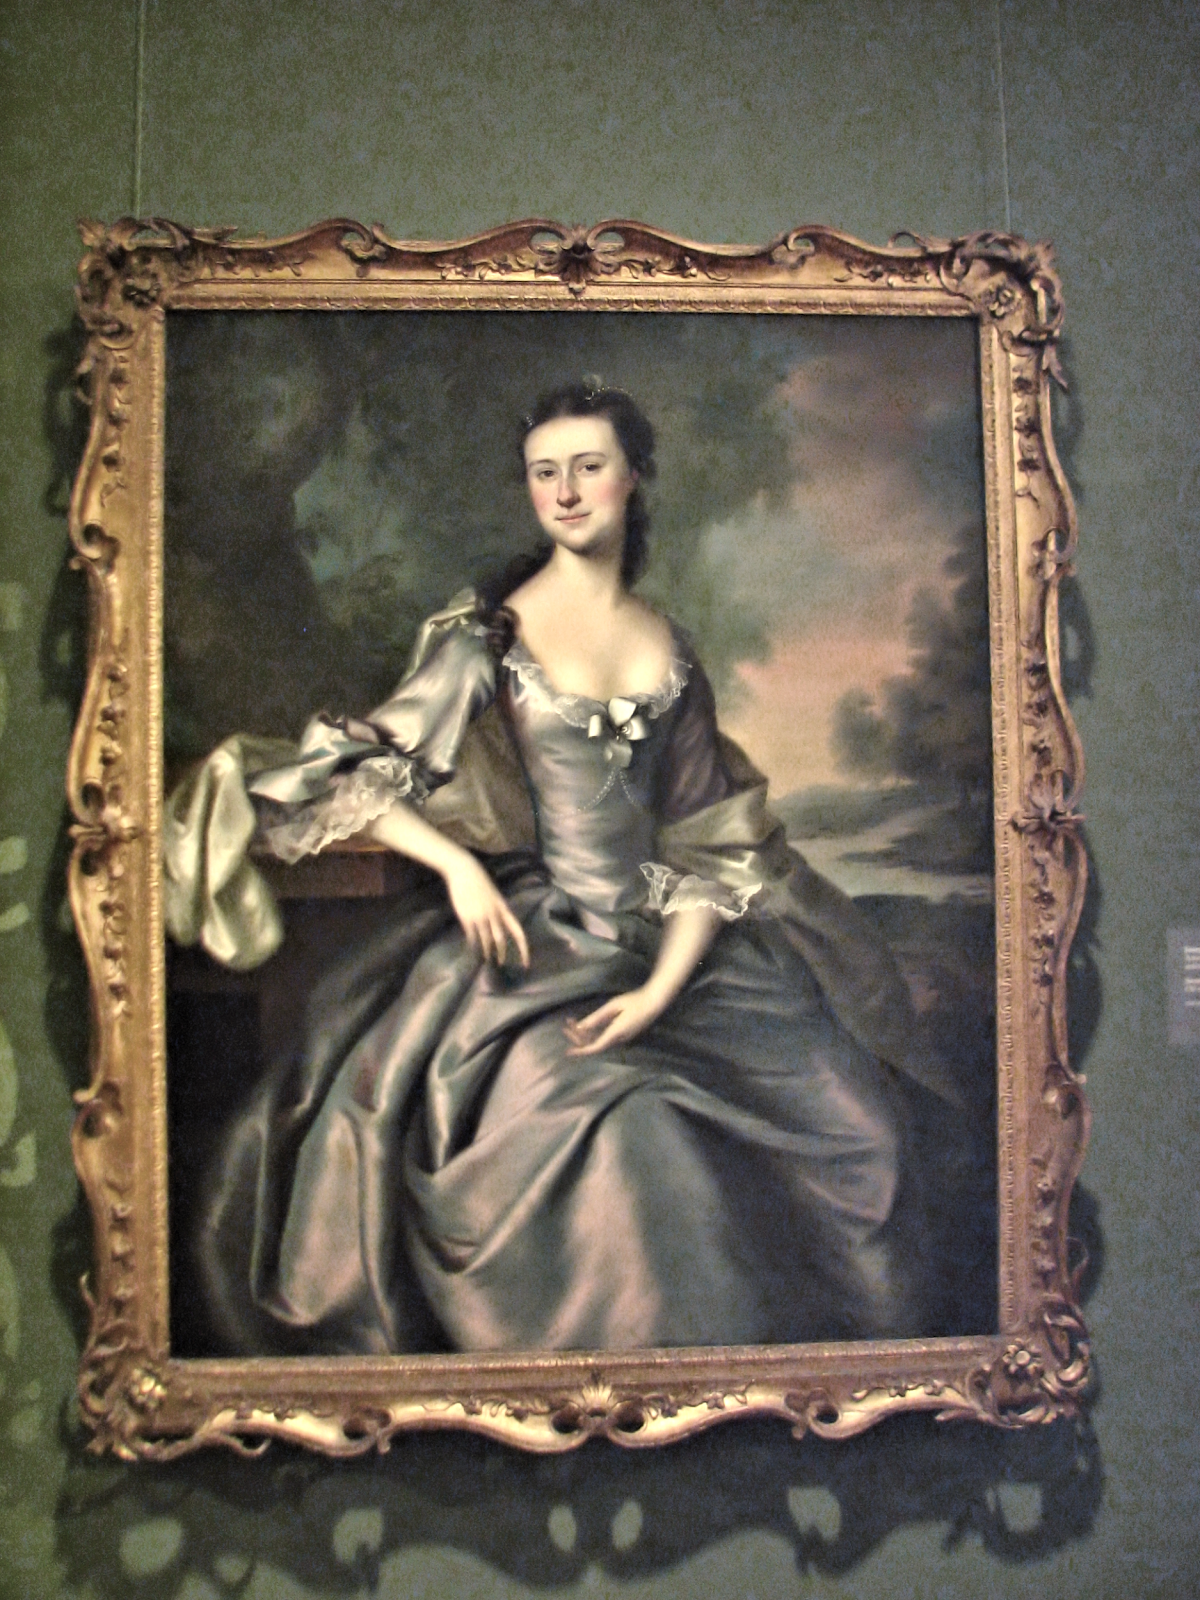
Now that we have an image that more closely resembles the reference image in terms of lightness, saturation and colour balance, we need to correct the perspective. This photograph was taken at a slight angle, skewing the shot.
Click on the Arrow besides the Straighten icon on the Tools Bar and select Perspective Correction. If Perspective Correction is already selected, then click to select.

This will switch the Icons and display an adjustable square area on the image. Move the corners of the box to match the inside of the picture frame, which serves as a reference to correct the Perspective.
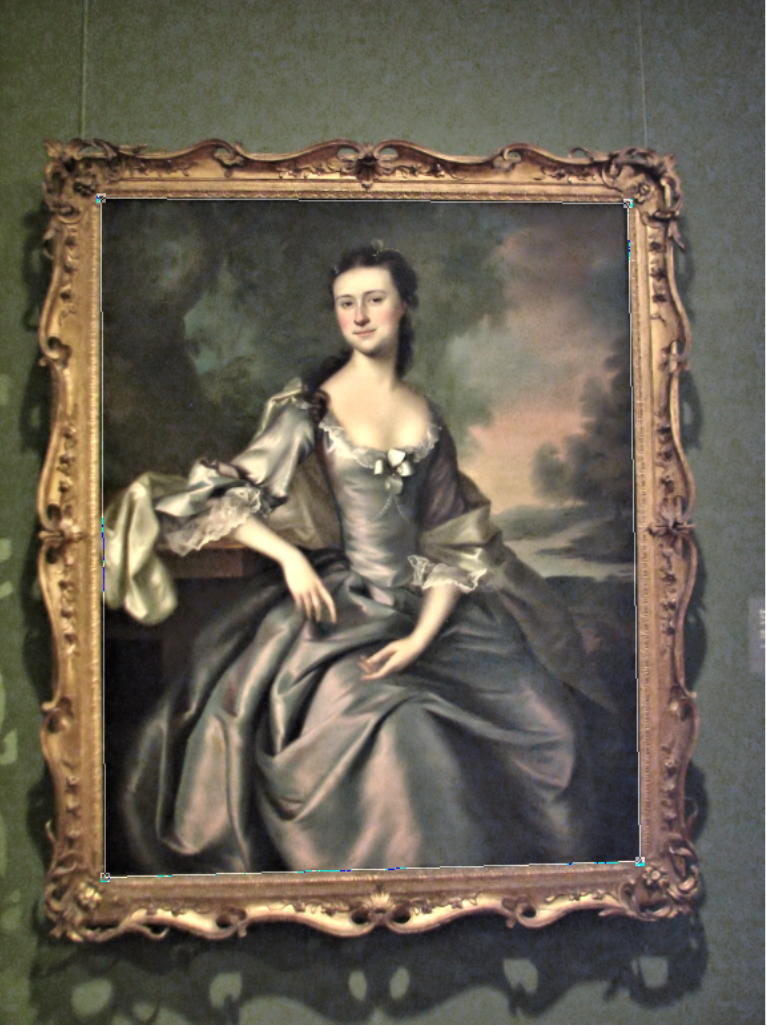
You will probably need to zoom in to accurately fit the section within the frame. Once satisfied, click on Apply to get the result below.

To this point we have maintained the full image, meaning portrait’s frame and surrounding wall are still in the shot. Start by choosing the Selection Tool from the Tools Bar, as you have done with the Perspectives tool previously.
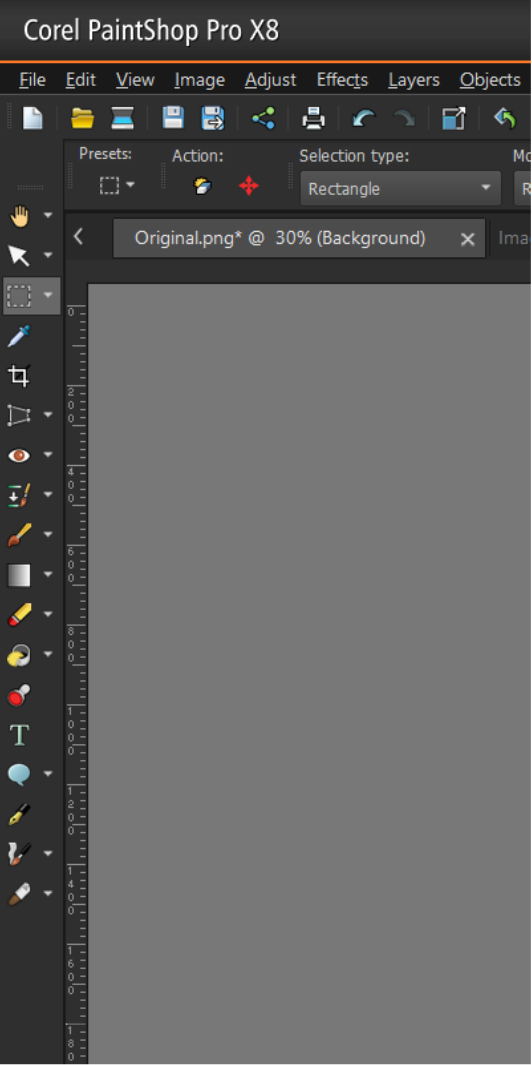
Select the same area used when the perspective was adjusted.
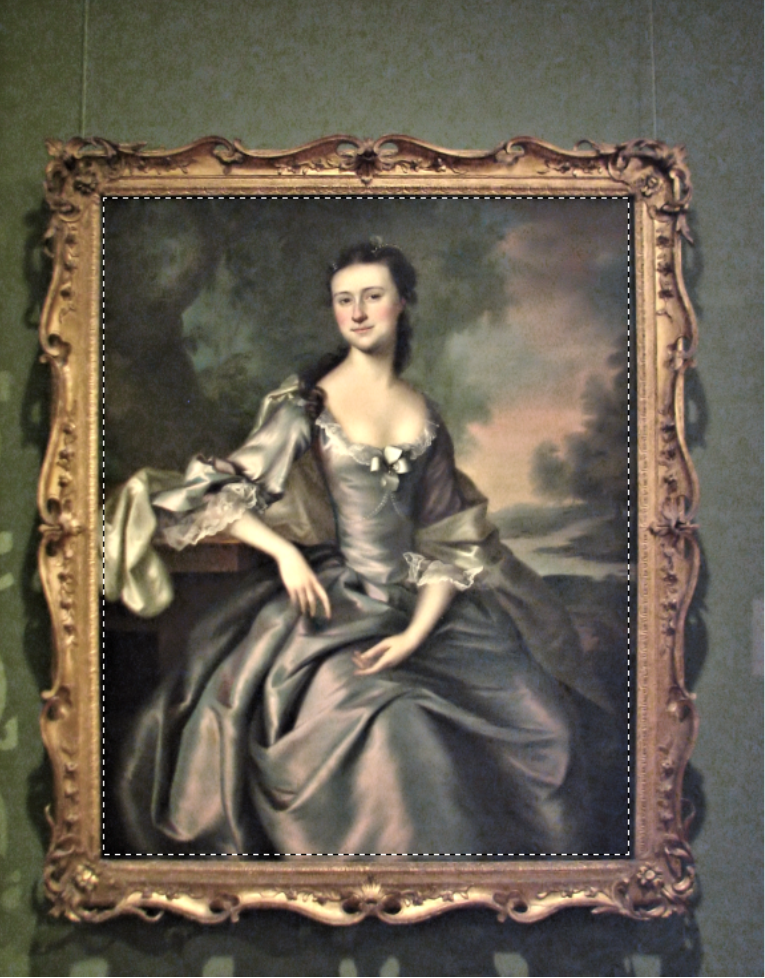
From the Image menu, select the Crop to Selection option.
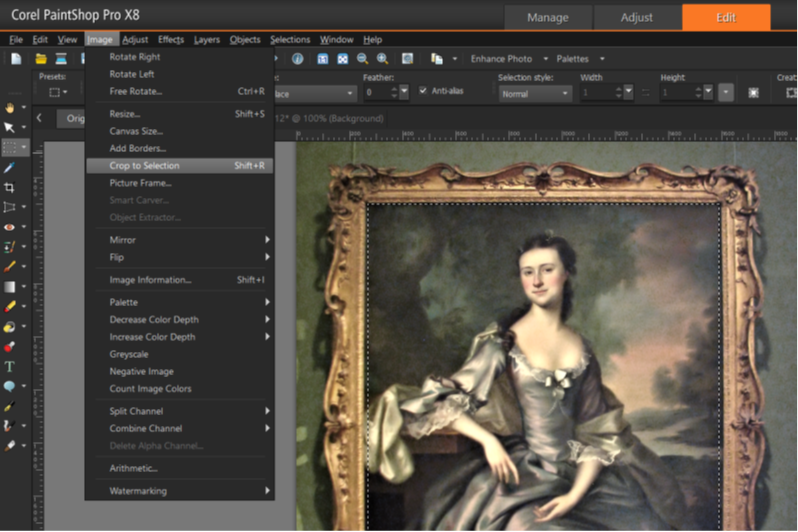
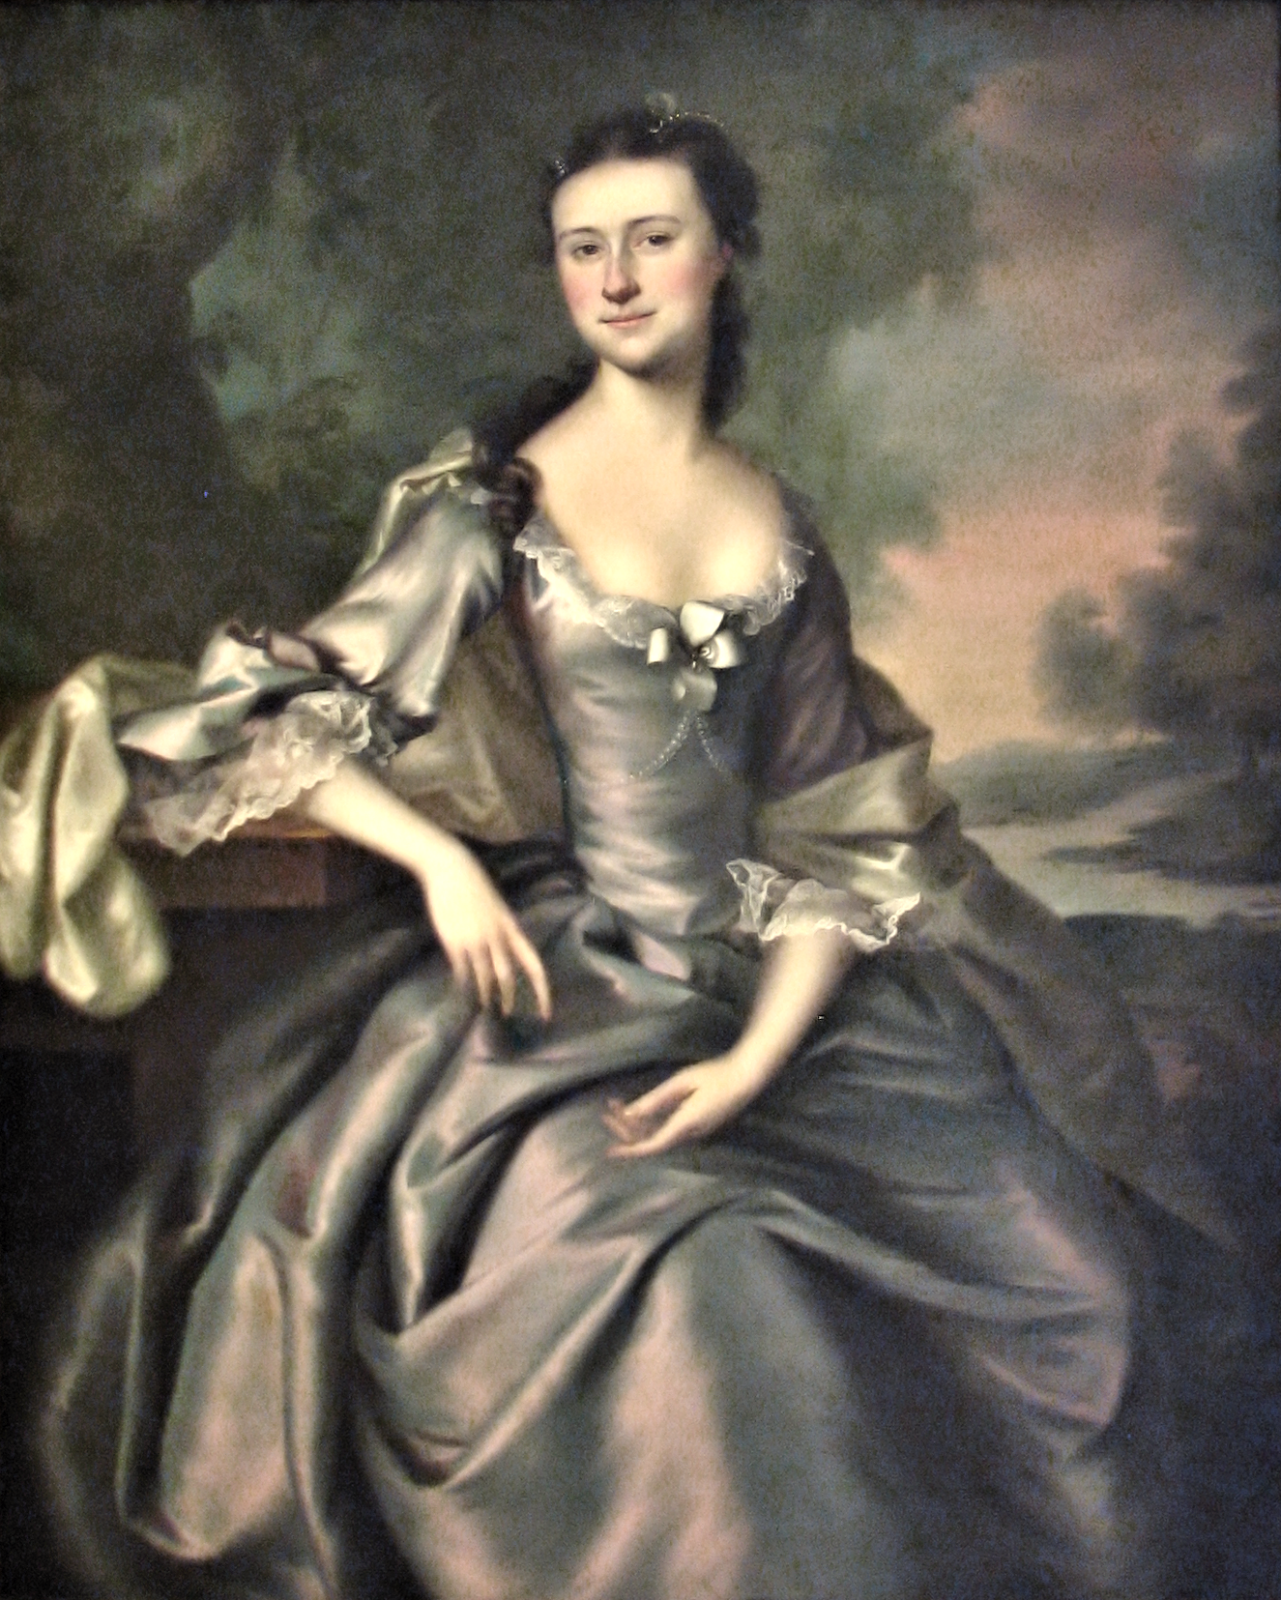
Unlike previous menu adjustments this one has an immediate effect. Cropping of the image generates an image similar to the one below.
Next in Part 6 we will apply Finishing Touches.
![]() Extracting the Frame by Evelyn Chartres is licensed under a Creative Commons Attribution-ShareAlike 4.0 International License.
Extracting the Frame by Evelyn Chartres is licensed under a Creative Commons Attribution-ShareAlike 4.0 International License.


Leave a Reply