Creating the Base – Part 6
This is part 2 of the Creating the Base tutorial and in Part 5 we Extrated the Frame.
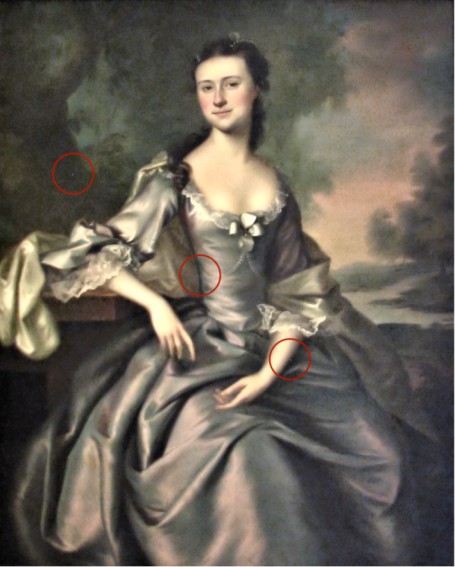
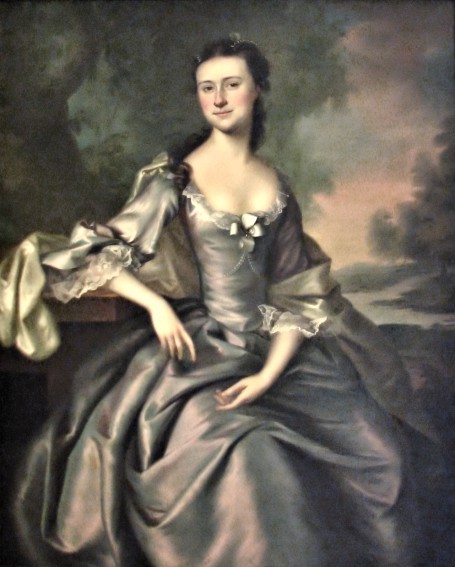
Unfortunately, there are artefacts left over from the original photograph. Some of these have been circled in the image below and can be corrected using the Clone Tool.
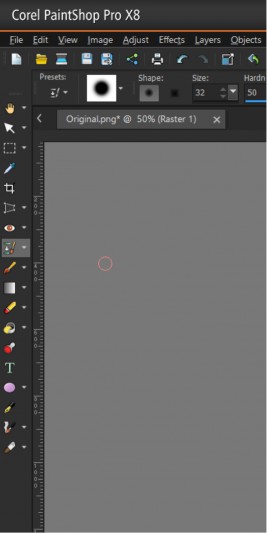
From the Tools bar, select the Clone Tool.
This tool is useful for copying, moving or removing parts of the image. In this situation the Source and Target are the same, however this need not be the case.
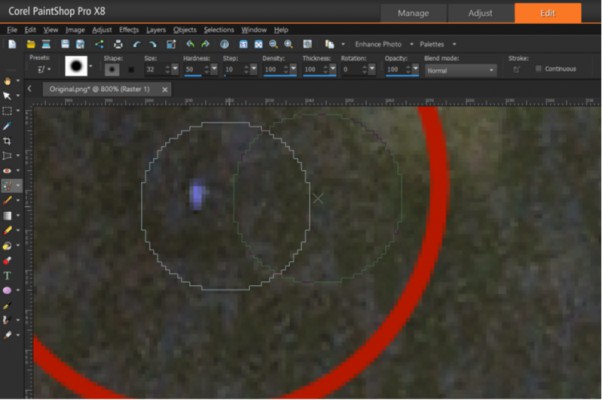
To correct this error, right-mouse click near the offending artefact to select the Source. Be sure to select from an area that has similar characteristics (i.e. colour and tone) to blend.
Once the Source is selected, left-mouse click over the artefact to paint over the Target as shown.
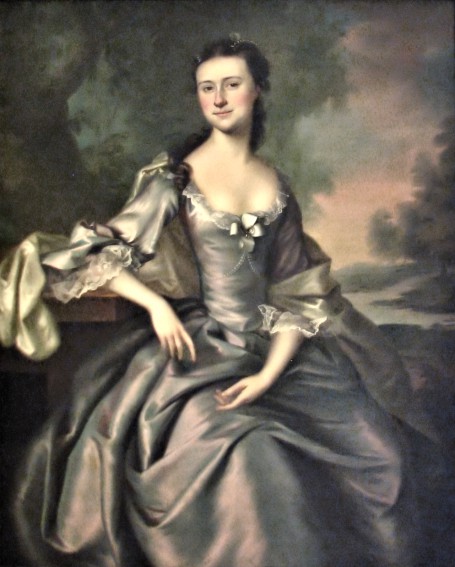
Experiment with Brush Sizes and Source points until you get the desired results. Repeat this process for all other artefacts to get the following end-result.
Unfortunately, the ability to change the face on a whim is not an inherent feature Corel PaintShop Pro. The program that I used was FaceFilter3 by RealIllusion which came bundled with Corel PaintShop Pro X7 Ultimate Edition.
FaceFilter3 is a mixture of intuitive and black voodoo magic, enabling you to adjust any facial feature such as the location of the eyes, makeup and overall shape. After some fiddling I narrowed the face, shrank the nose and added definition for the eyes/lips.
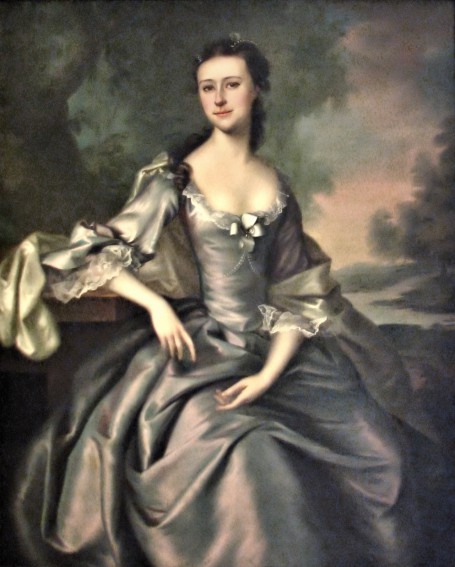
For those who are adept at image manipulation and have a steady hand, you can use the Clone Tool; a complex process which involves trial and error. The completed base with facial reconstruction shows up as follows.
While the above forms the base for The Portrait’s cover, additional modifications are needed to make this a reality. Some of these changes are featured within the Digital Alchemy tutorial.
![]() Finishing Touches by Evelyn Chartres is licensed under a Creative Commons Attribution-NoDerivatives 4.0 International License.
Finishing Touches by Evelyn Chartres is licensed under a Creative Commons Attribution-NoDerivatives 4.0 International License.


Leave a Reply