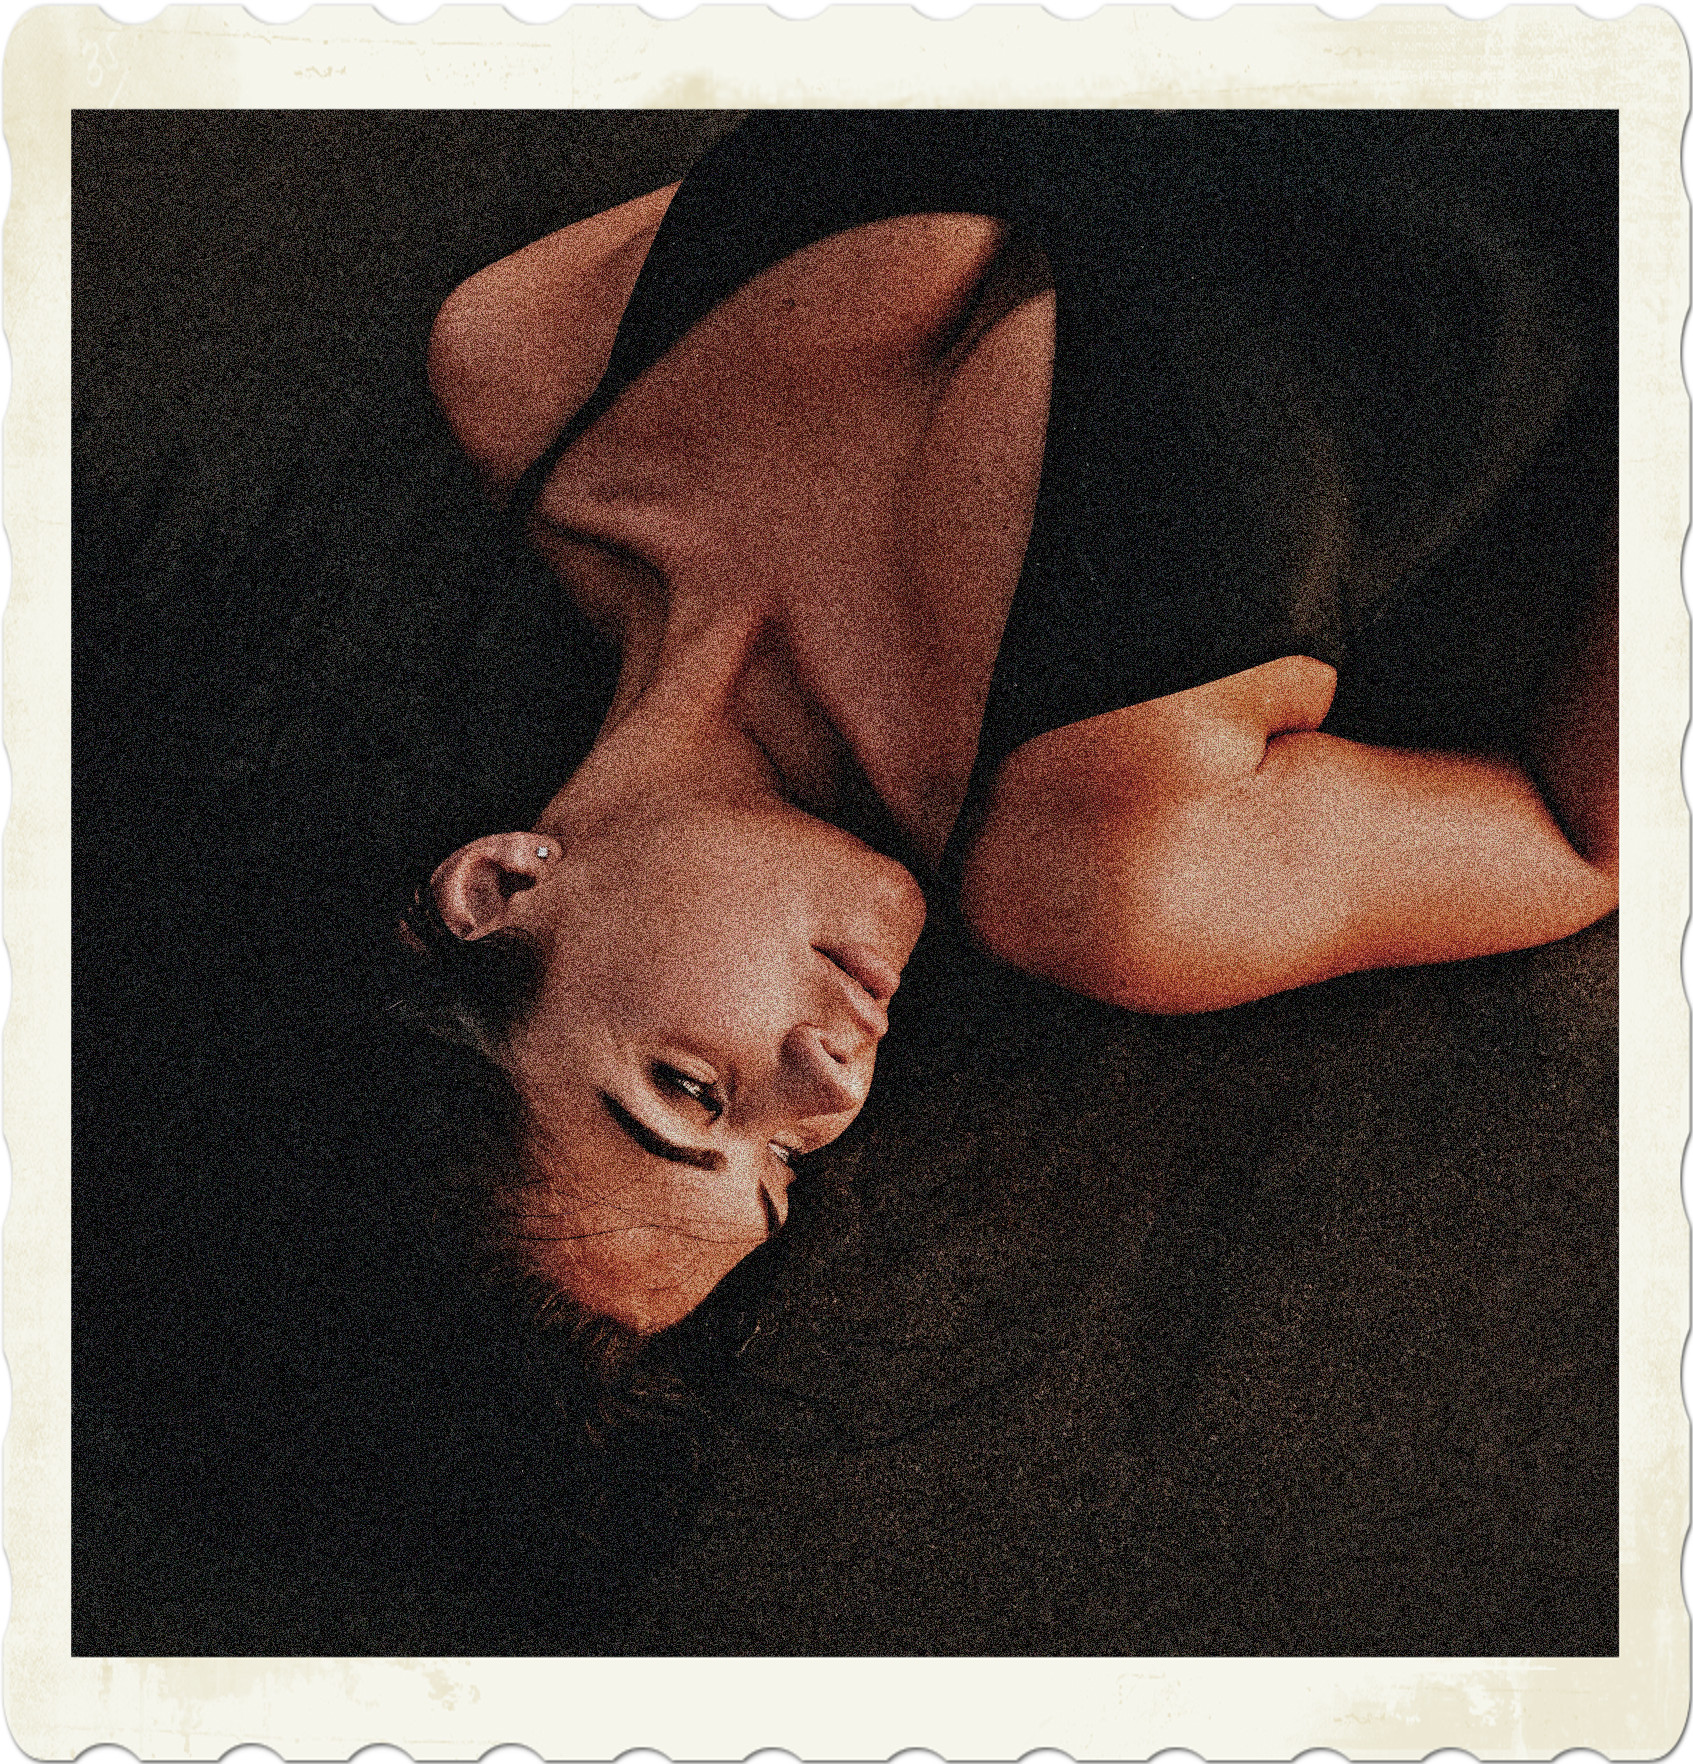
There was a crooked smile on that face, as though everything had gone to plan. Clara twirled, the walls became a blur until she slammed head first into the nearest one. For several heartbeats, her face slid down the hardwood panelling.
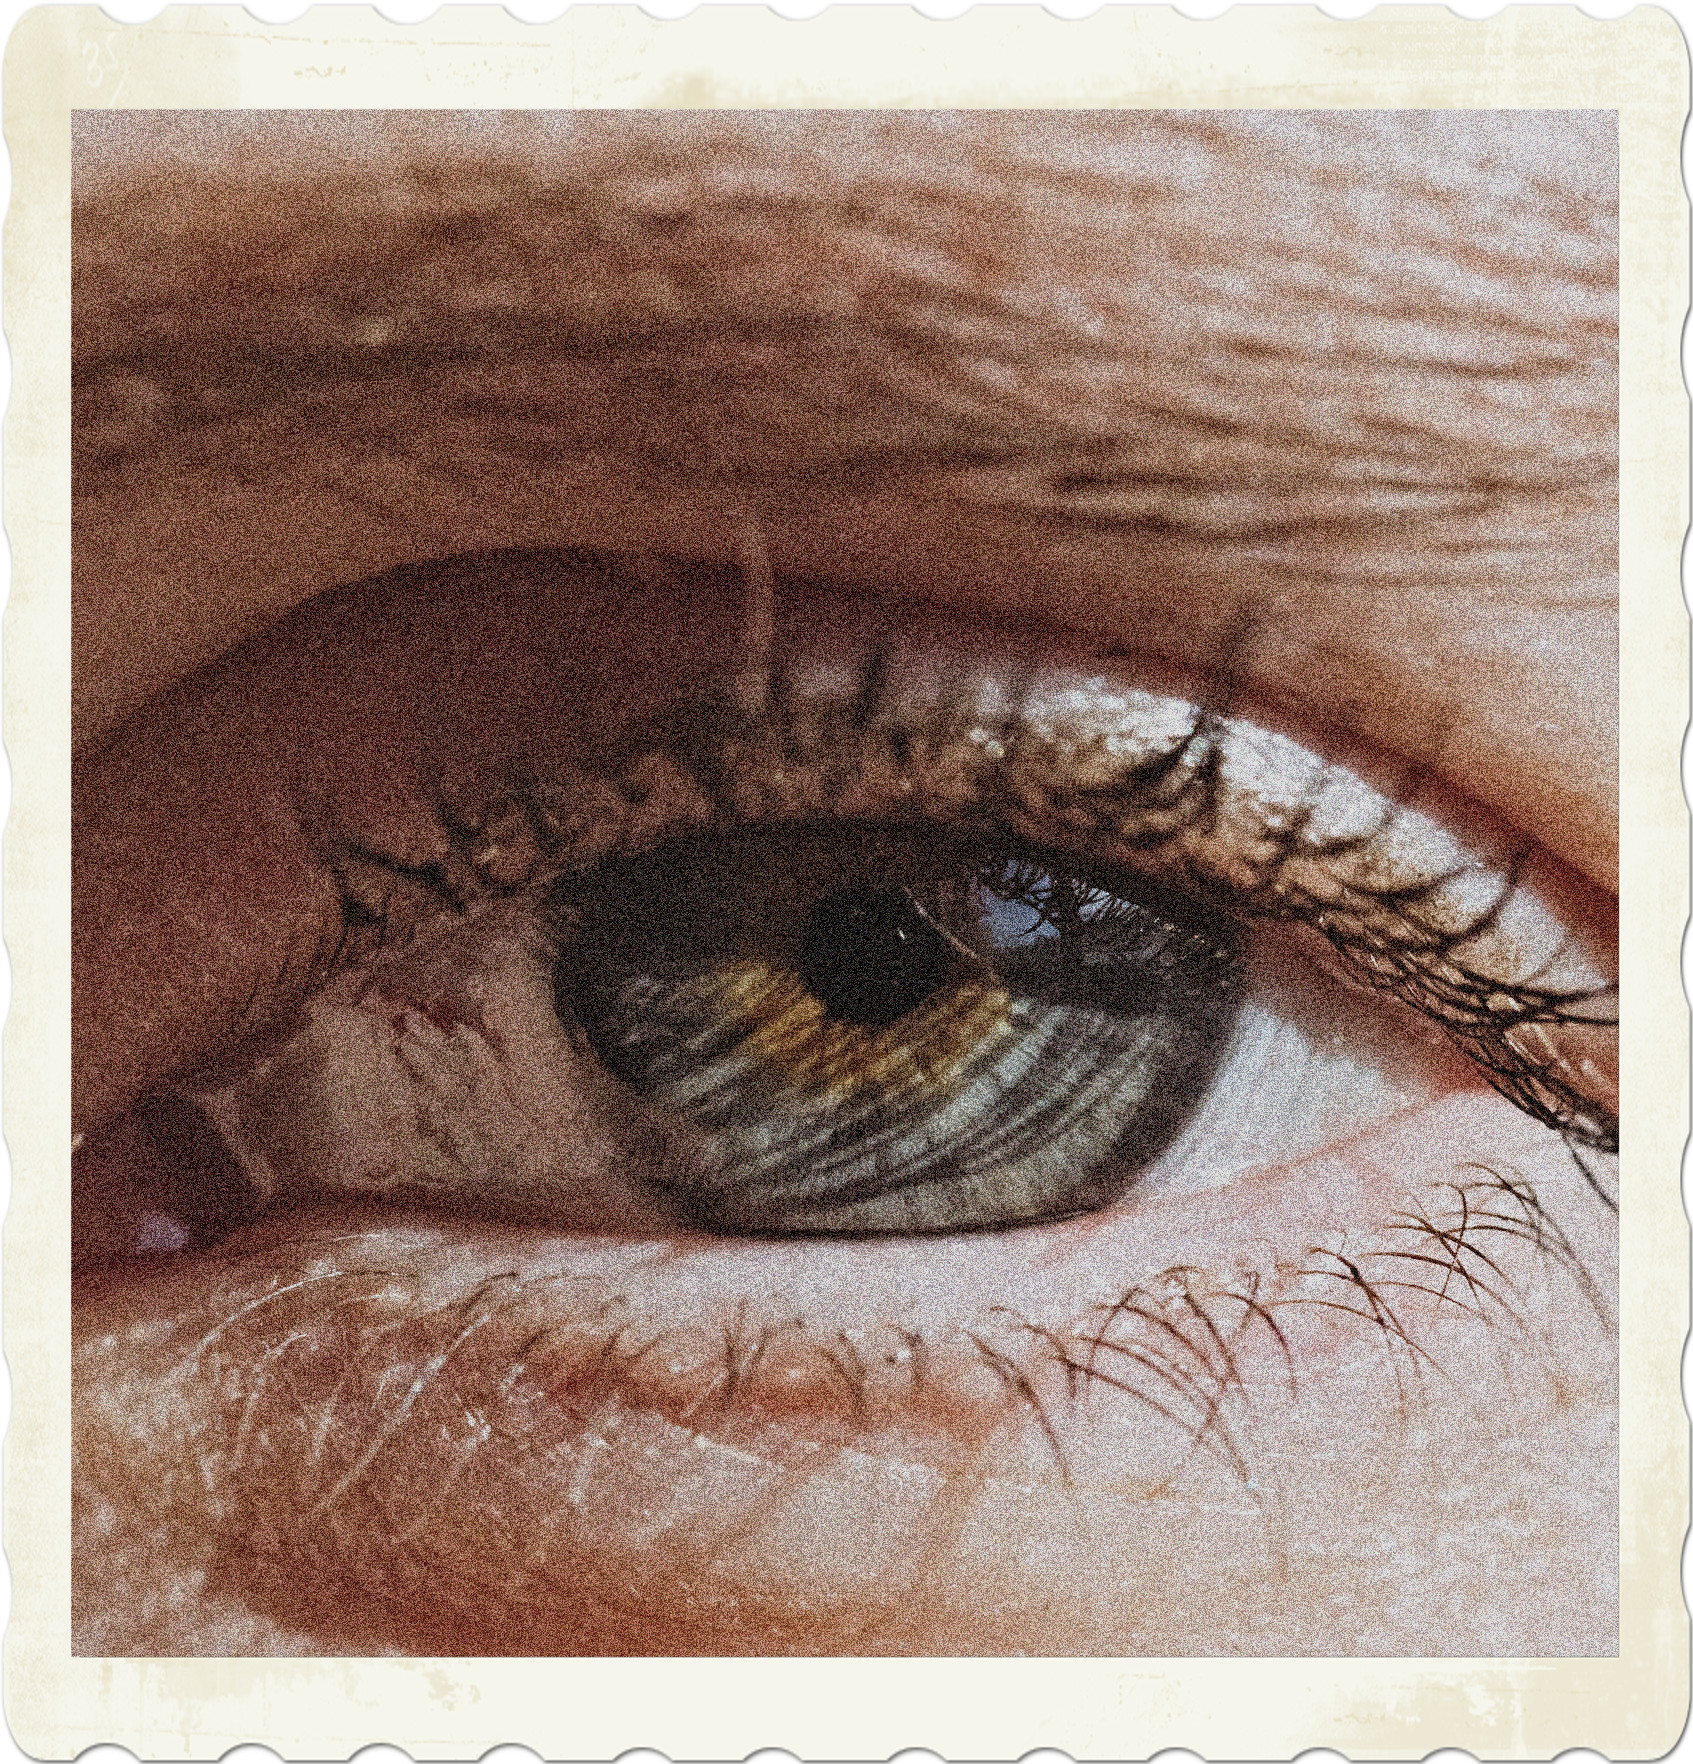
When her mind checked out, her knees gave out and she crumpled onto the floor with her chest facing the ceiling. Those steel-grey eyes may have been open to the world, but there was no one home.
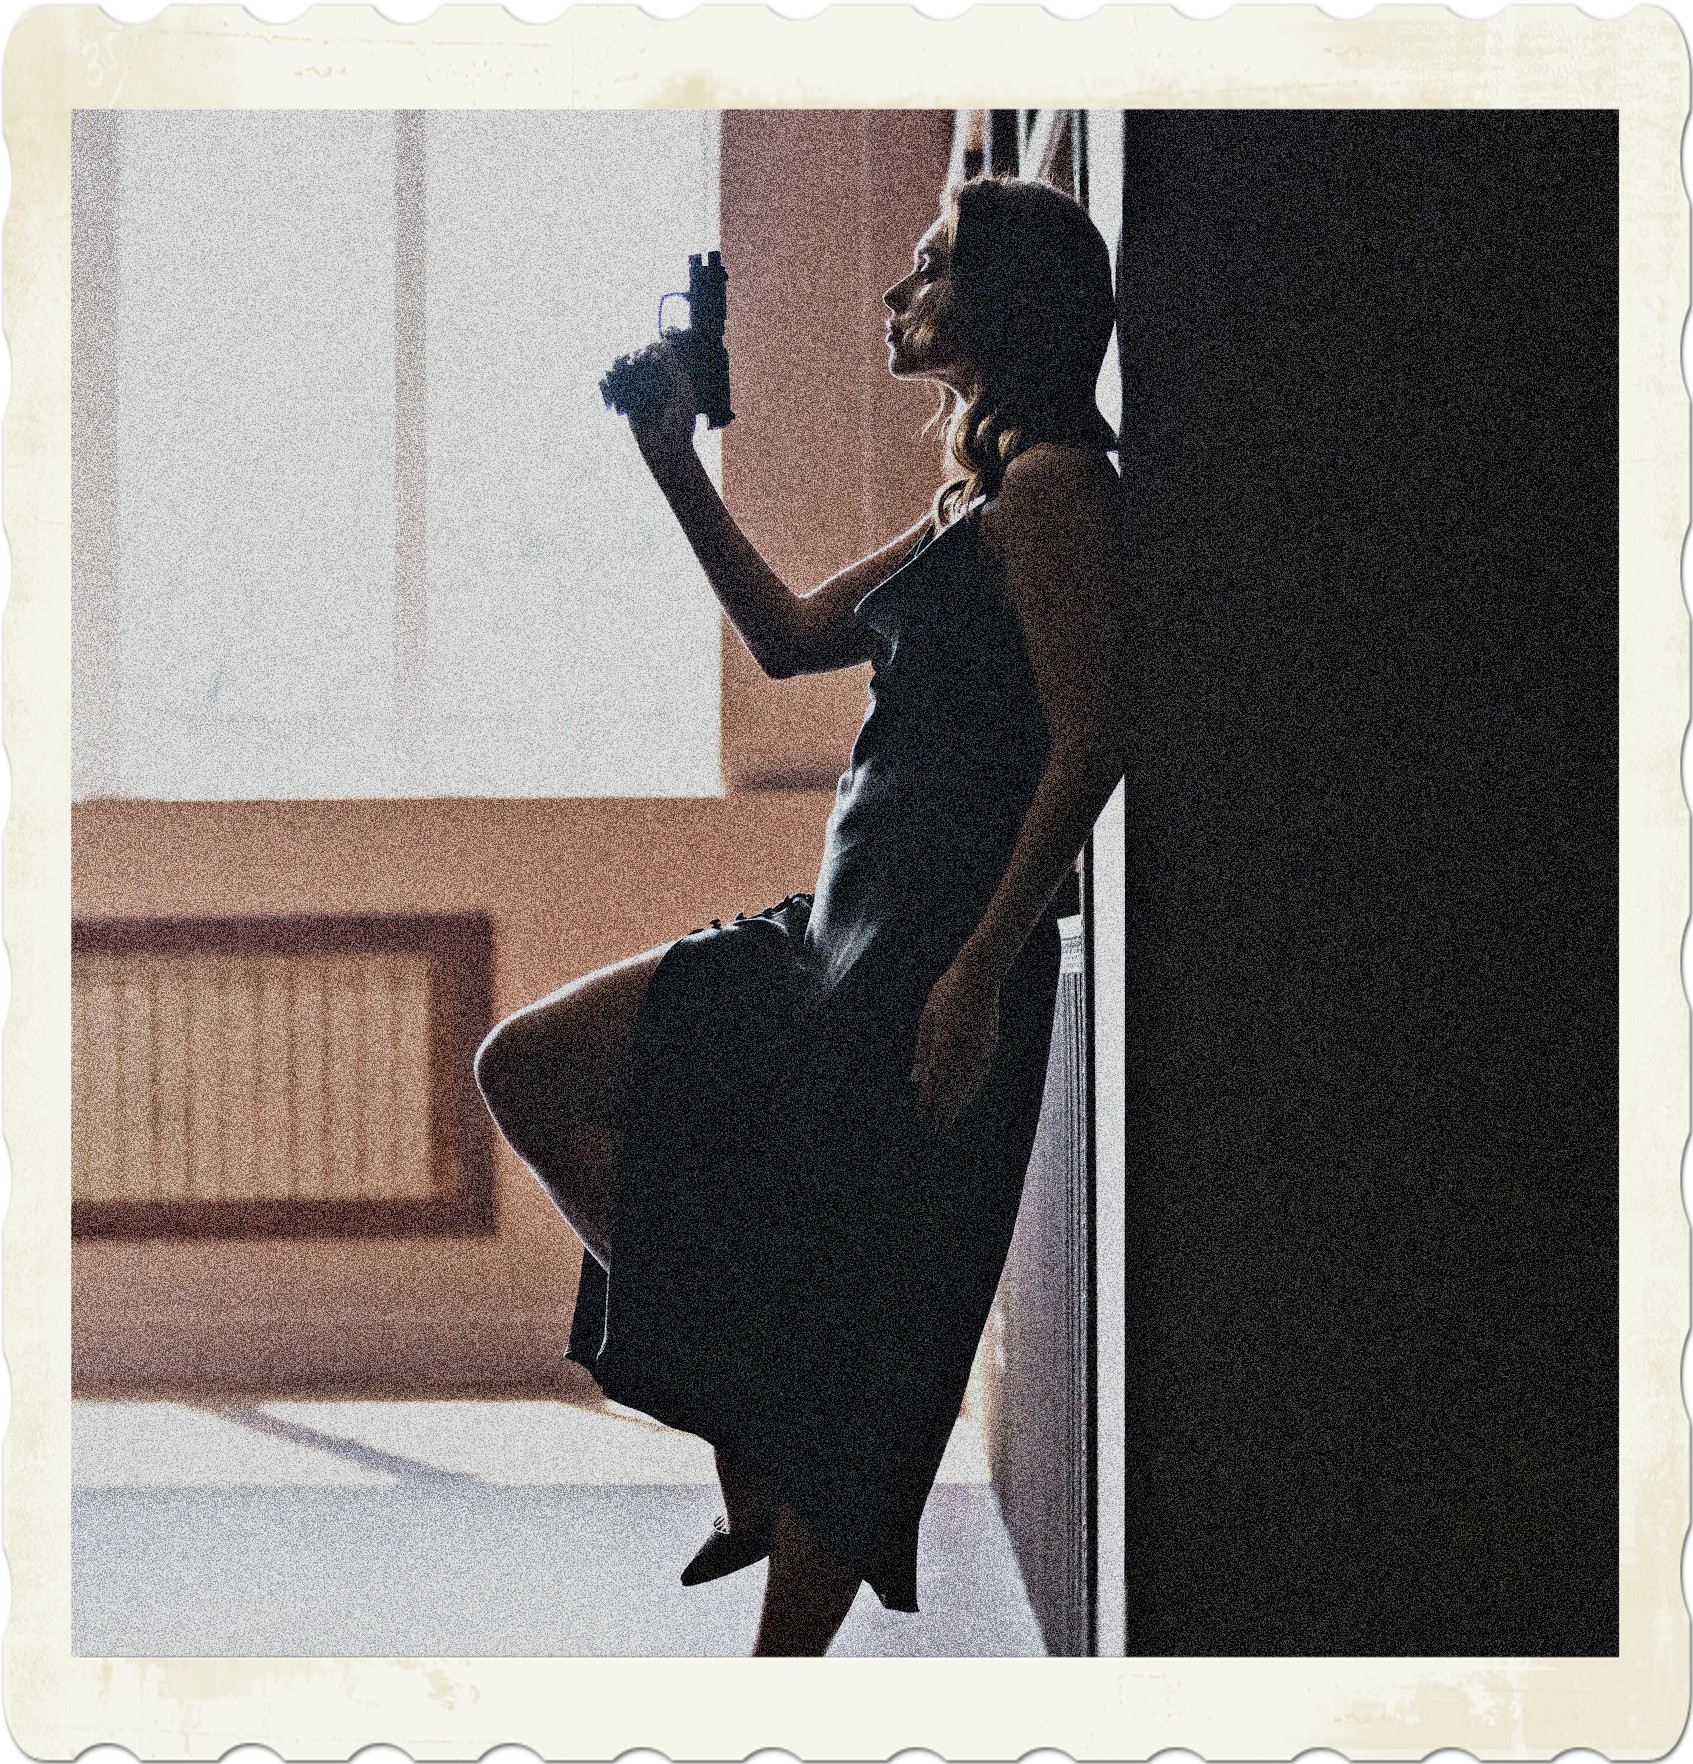
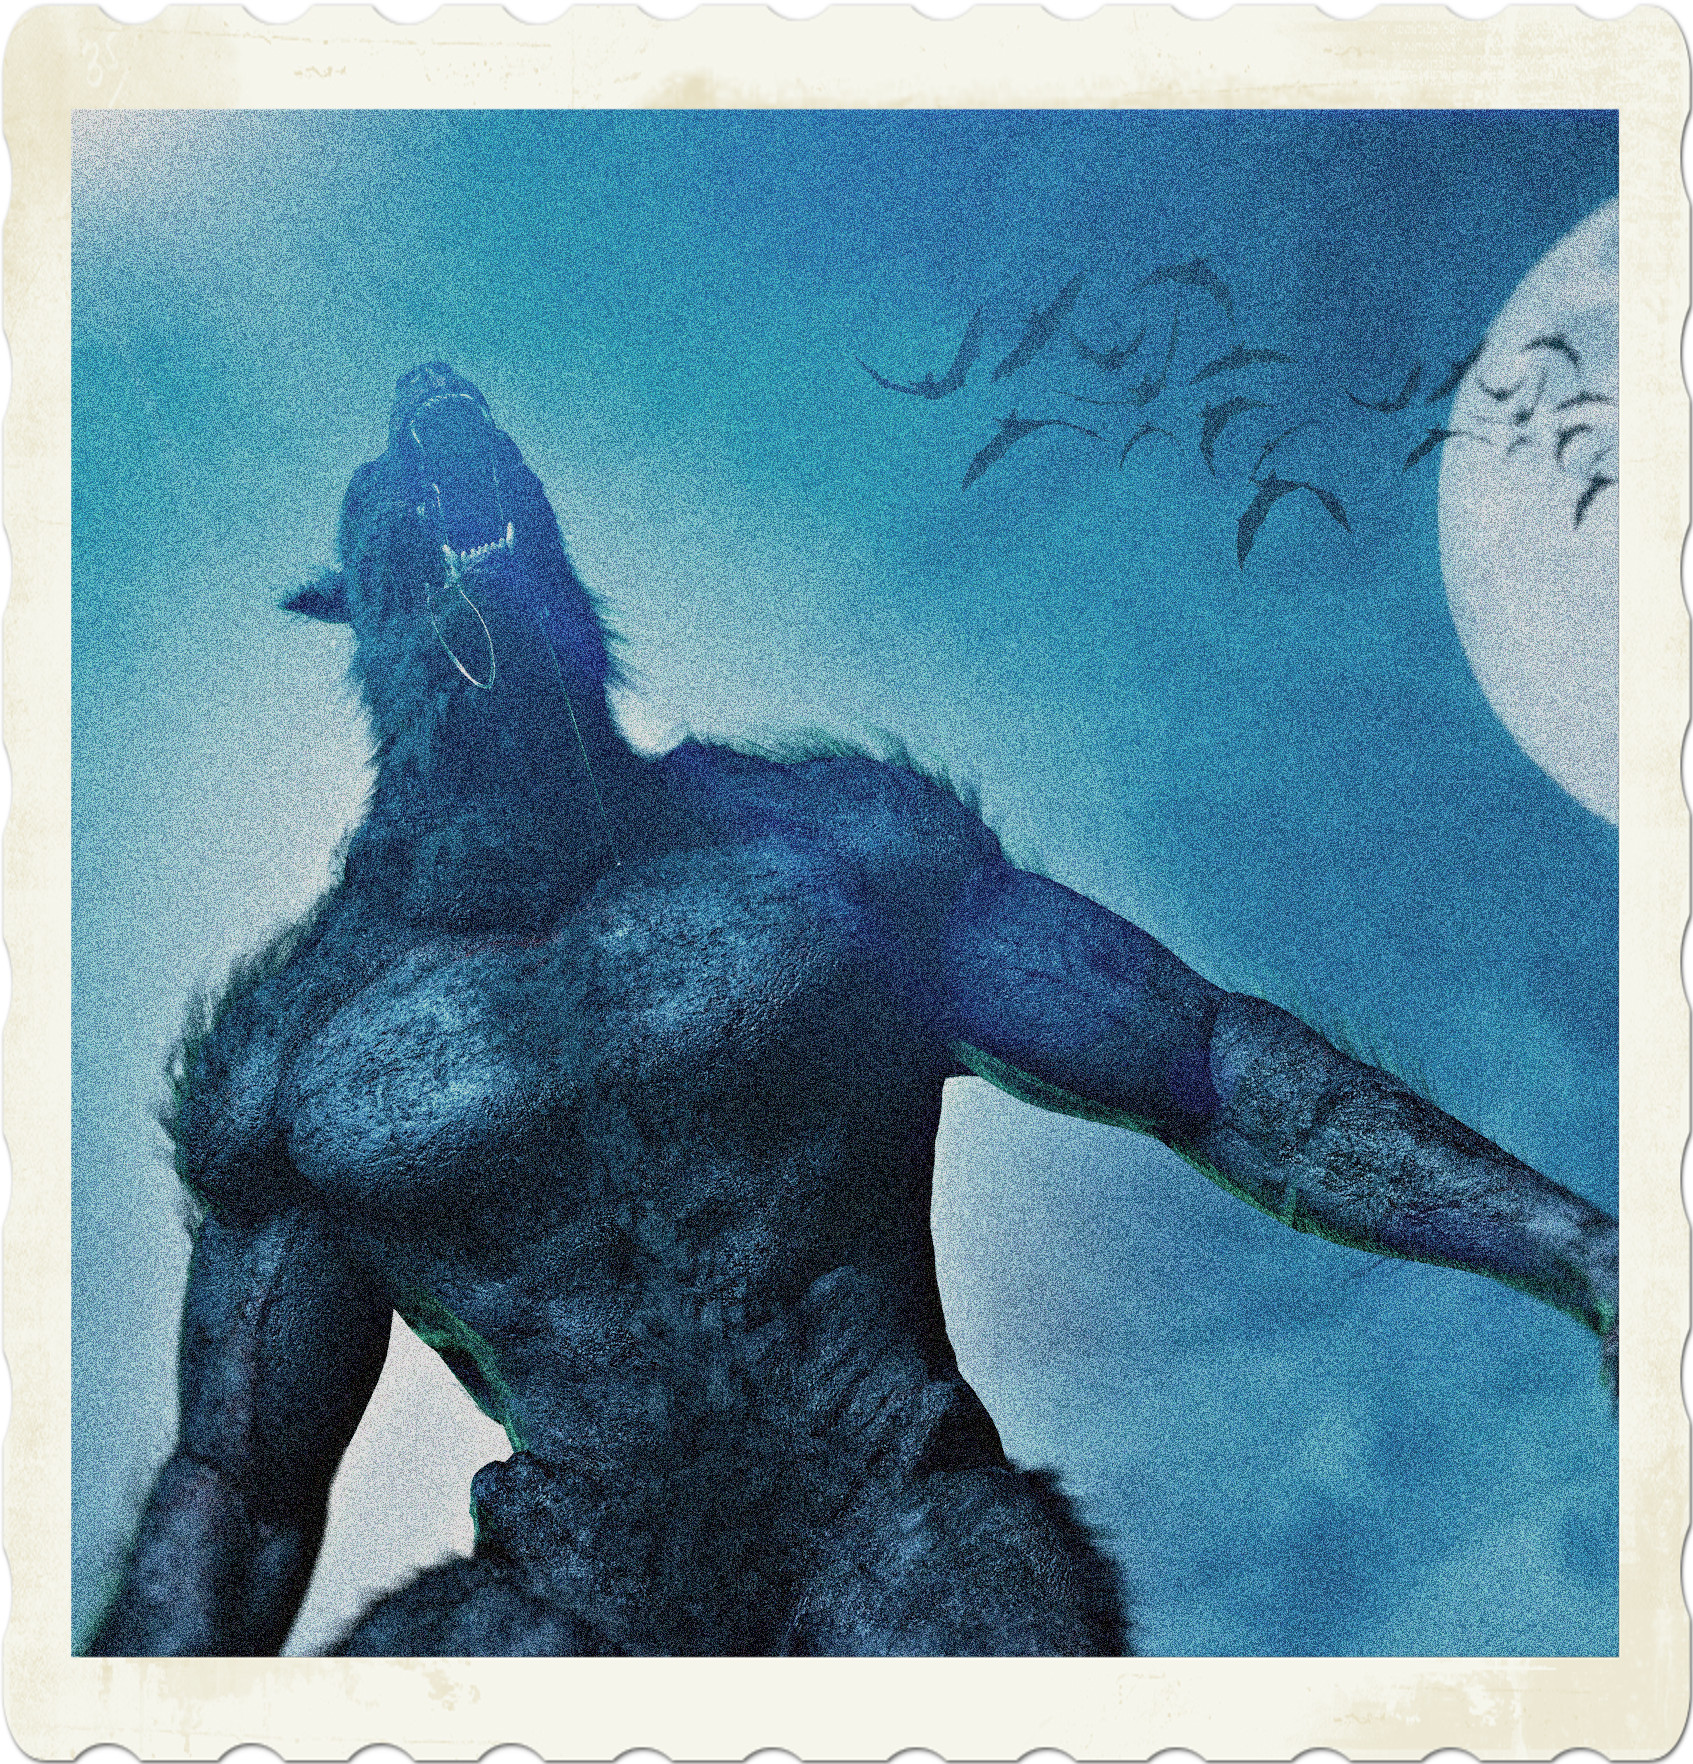
 Disclaimer: This excerpt from The Van Helsing Impetus is currently in development. There may be typos, errors, omissions, inconsistencies and so forth. The image is sourced from Pexels.
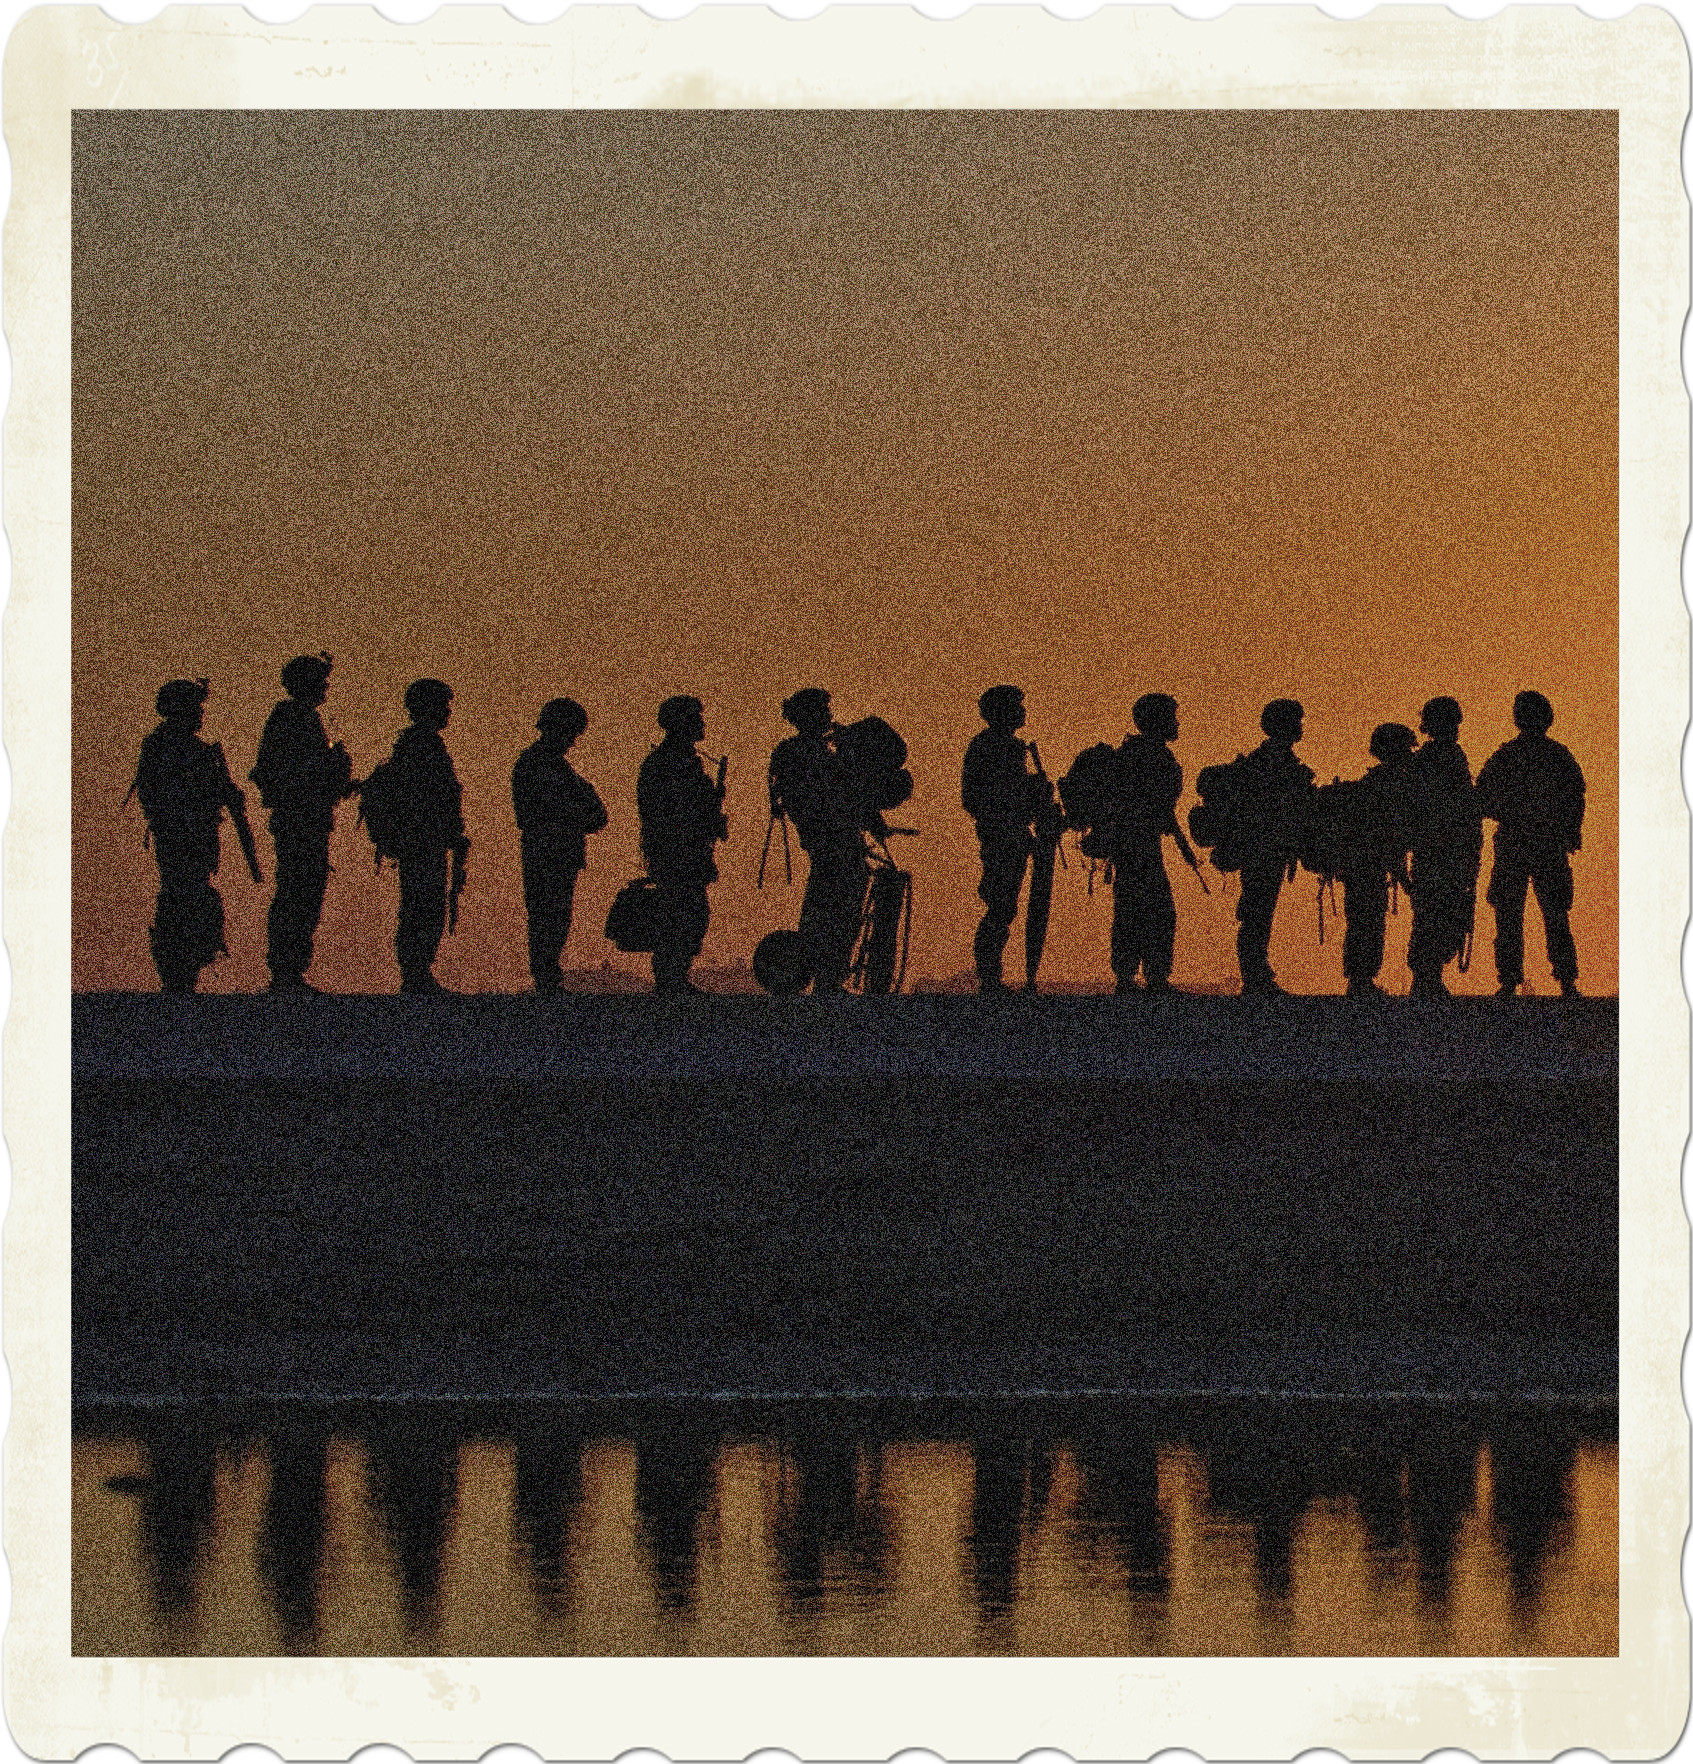