Tag: Brush

  • Removing the Lady’s Glow

    Digital Alchemy – Part 10

    This is Part 10 of the Digital Alchemy tutorial and previously we Took a Bite out of Lady Gray.

    In the process of creating an eerie night scene, a glow was introduced on the left side of the Lady’s face. This glow detract from the overall effect, so best to remove it!

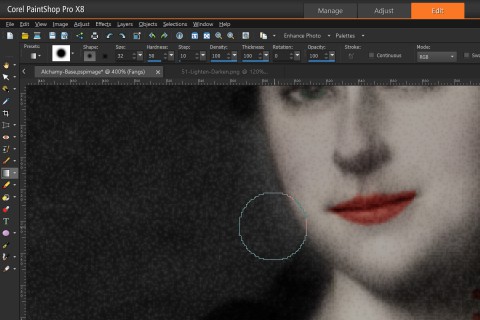
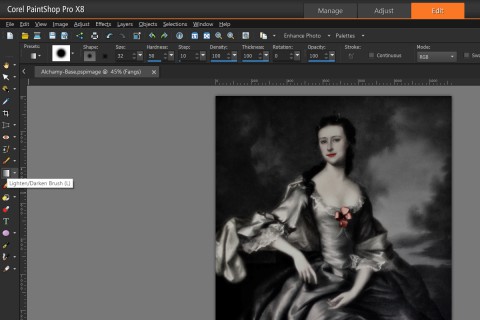
    From the Tools Bar, select the Lighten/Darken Brush to address this problem.

    Note

    Since the Soften Brush is already selected, click on the arrow besides the icon to show tools selectable within that group.

    Select the Background then zoom in on the area. Since this is a combination tool, the left-mouse click will Lightenen the area while a right-mouse click Darkens. Darken the area on the background while with the Lady Shade layer remains visible to gauge the effectiveness of the correction.

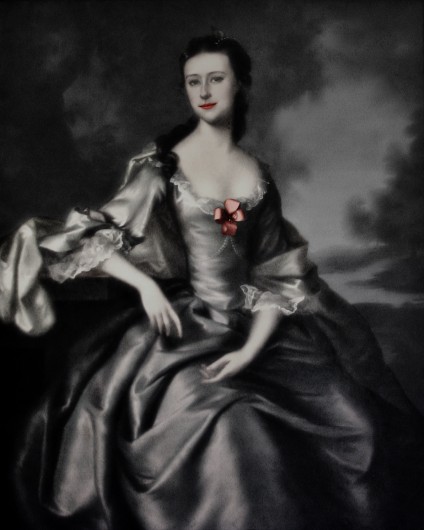
    Once pleased with the results, you should end with the following end-result.

    Next in Part 11, we will create an Ethereal Night.

  • Taking a Bite Out of the Lady

    This is Part 9 of the Digital Alchemy tutorial and previously we made the Lady Green with Envy.

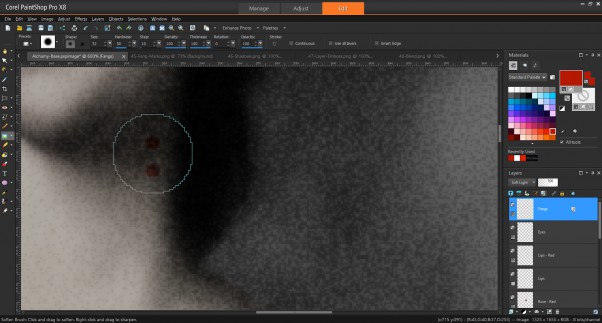
    Lady Shade may share the undead’s skin-tone, but lacks something linking her with vampire lore. Early on in the cover’s design it was decided that the effect should be subtle to provide the viewer with a clue. This made fangs too obvious, however puncture marks hidden in the shadow of her neck seemed appropriate.

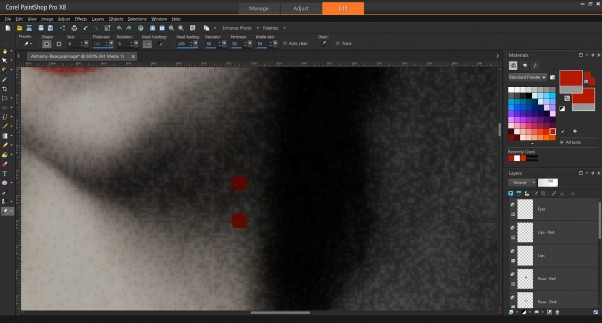
    Using the Brush tool from the Tools Bar, place two marks in the appropriate area as shown below:

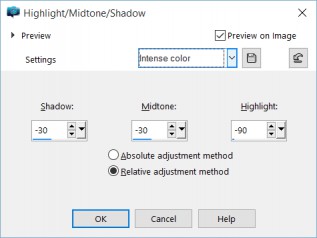
    A new layer was created when those brush marks were made. From the Adjust menu, select Brightness and Contrast then Highlight/Midtone/Shadow. When you select Highlight/Midtone/Shadow, you will be requested to convert to a Raster Layer, agree and continue.

    Set the elements as shown below or select Intense colour pre-set from Settings.

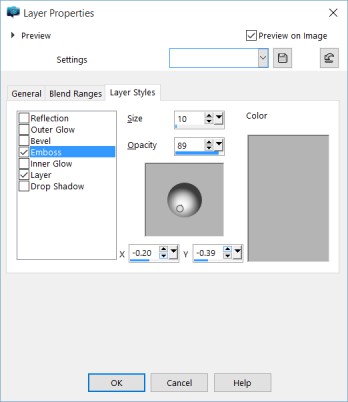
    Double-click on the Fangs Layer then click on the Layer Styles tab. We are going adjust the Emboss settings to add shadows and depth. Either replicate what you see below or experiment to add a unique flare.

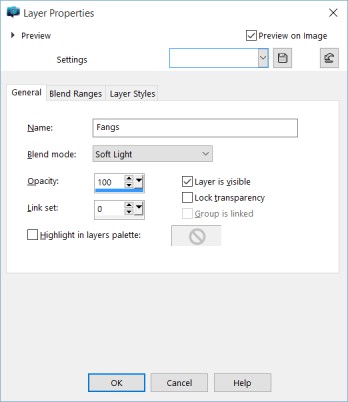
    Double-click on the Fangs Layer then click on Blend Ranges tab. Select Soft Light as the Blend mode for this example.

    From the Tools Bar, select the Soften Brush. This feature smooths-out elements within the affected area, a useful feature for removing the jagged edges.

    Hover over the area then click to apply the effect, continue until satisfied. Remember to use CTRL-Z to Undo when necessary.

    When complete the effect should produce an image that looks like the one below. Not only is the end result subtle, but should make this clue worth finding.

    Next in Part 10, we will Remove the Lady’s Glow.


  • Green with Envy

    This is Part 8 of the Digital Alchemy tutorial and previousy we gave the Lady Lips to Die For.

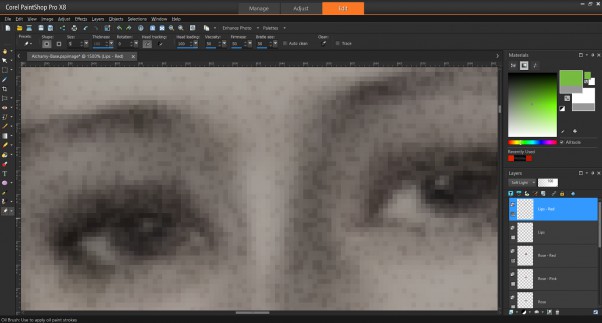
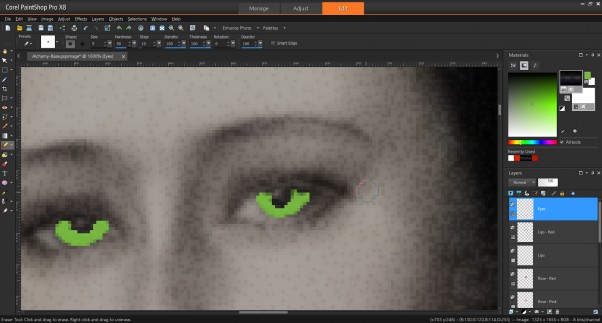
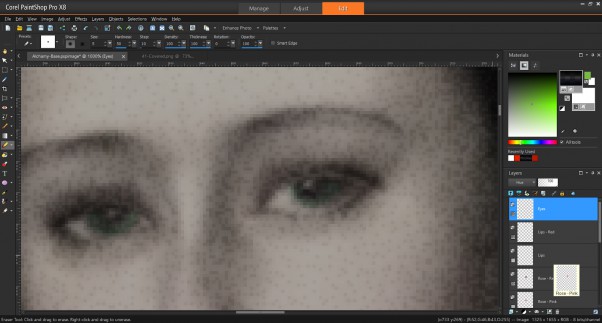
    Now it is time to add a bit of colour to her eyes. This process can be accomplished using the Brush tool from the Tools Bar. Select a colour you wish to use from the Materials Palette (in this case a bright green), then zoom-in on Lady Shade’s eyes.

    Use the Brush tool to paint over the iris.  Cover them as best you can, we can fine-tune during the next step.

    Note

    There is no need to create a New Layer since one will be created automatically when you use the Brush tool.

    Select the Eraser tool from the Tools Bar to adjust the iris fill as necessary. Using the Eraser tool will convert the layer to a Raster Layer; this feature is desirable since it enables setting Blend Mode to Hue.

    Next in Part 9, we will Take a Bite out of the Lady.


Search