Tag: Shadow

  • Taking a Bite Out of the Lady

    This is Part 9 of the Digital Alchemy tutorial and previously we made the Lady Green with Envy.

    Lady Shade may share the undead’s skin-tone, but lacks something linking her with vampire lore. Early on in the cover’s design it was decided that the effect should be subtle to provide the viewer with a clue. This made fangs too obvious, however puncture marks hidden in the shadow of her neck seemed appropriate.

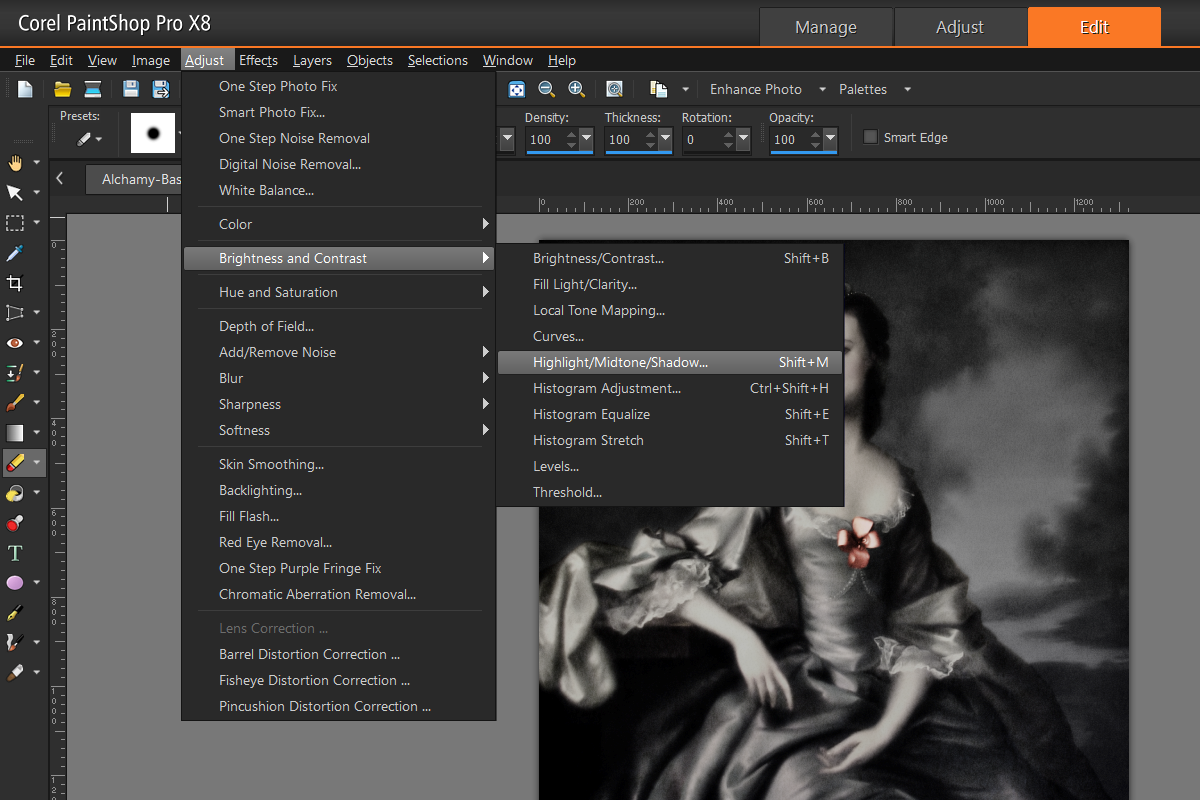
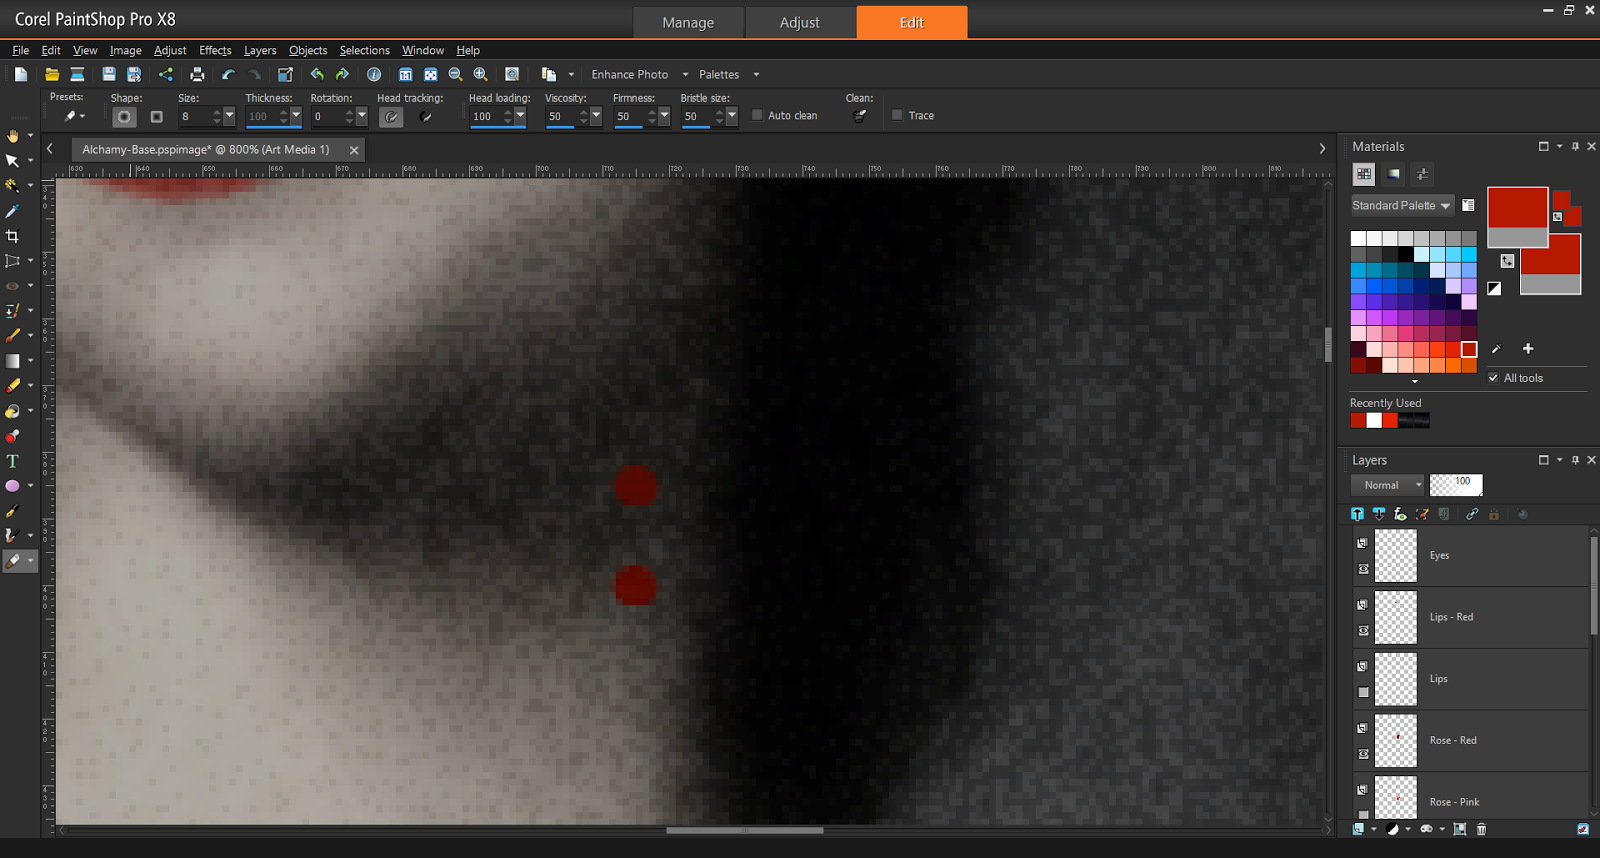
    Using the Brush tool from the Tools Bar, place two marks in the appropriate area as shown below:

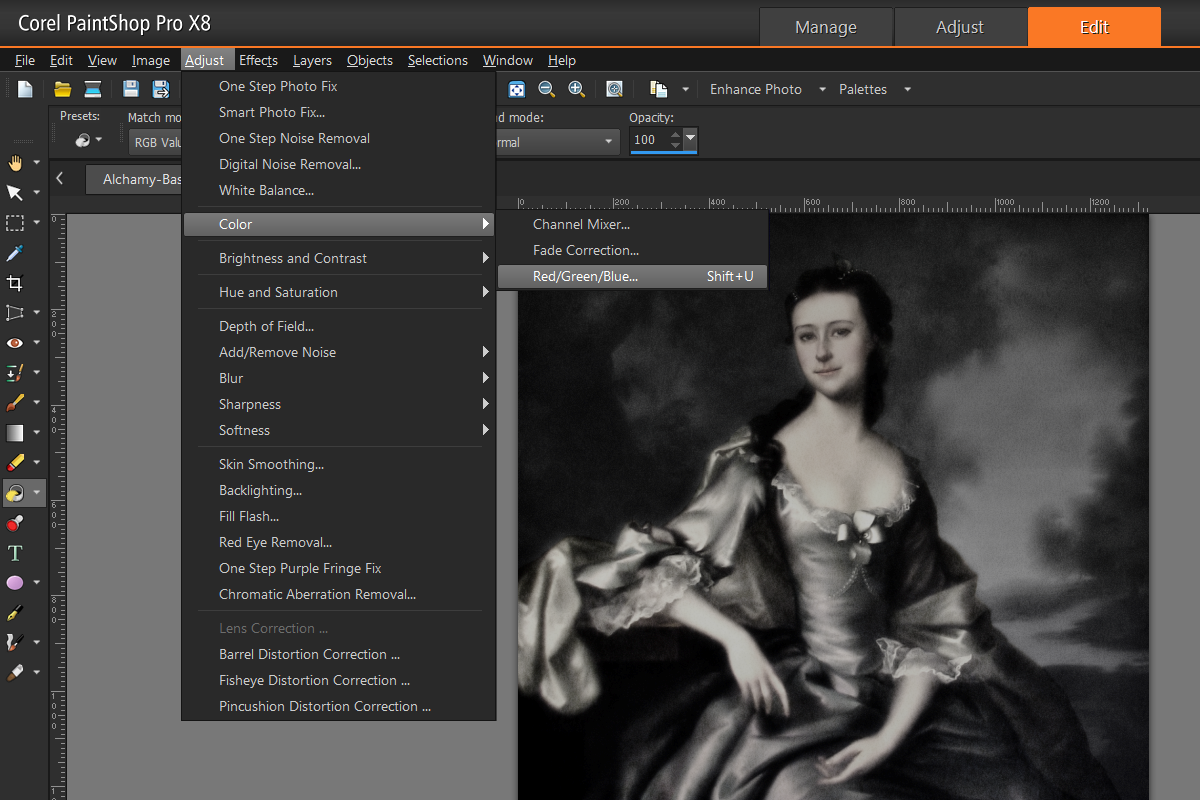
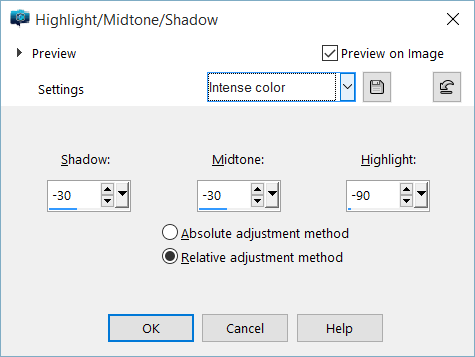
    A new layer was created when those brush marks were made. From the Adjust menu, select Brightness and Contrast then Highlight/Midtone/Shadow. When you select Highlight/Midtone/Shadow, you will be requested to convert to a Raster Layer, agree and continue.

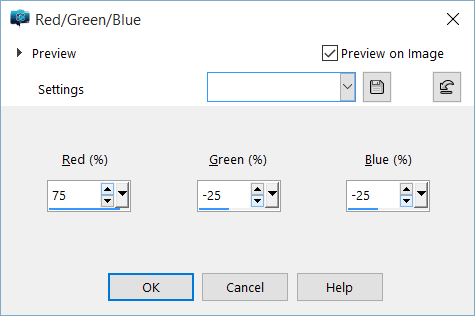
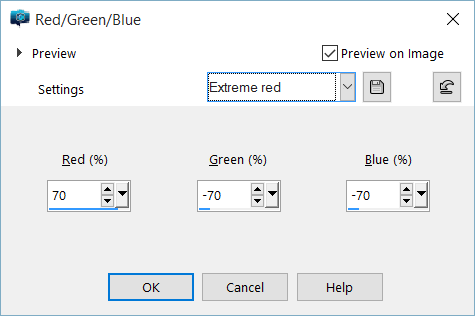
    Set the elements as shown below or select Intense colour pre-set from Settings.

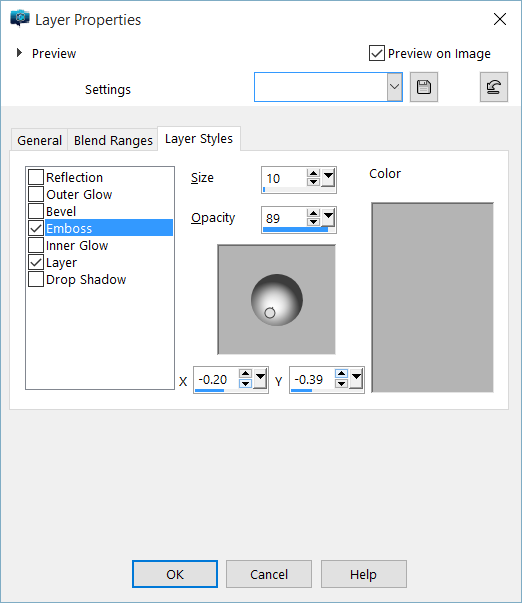
    Double-click on the Fangs Layer then click on the Layer Styles tab. We are going adjust the Emboss settings to add shadows and depth. Either replicate what you see below or experiment to add a unique flare.

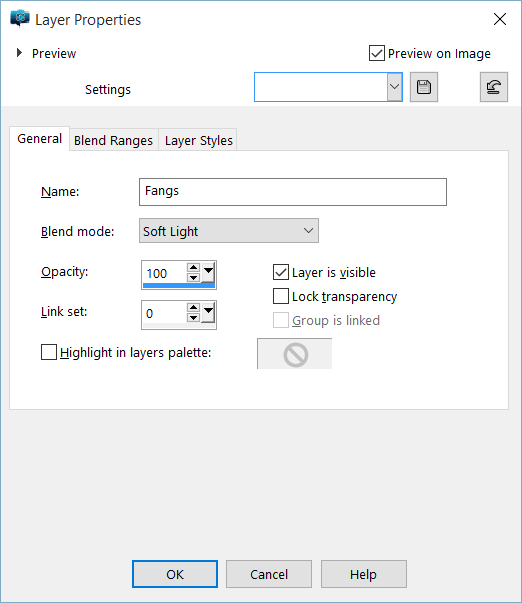
    Double-click on the Fangs Layer then click on Blend Ranges tab. Select Soft Light as the Blend mode for this example.

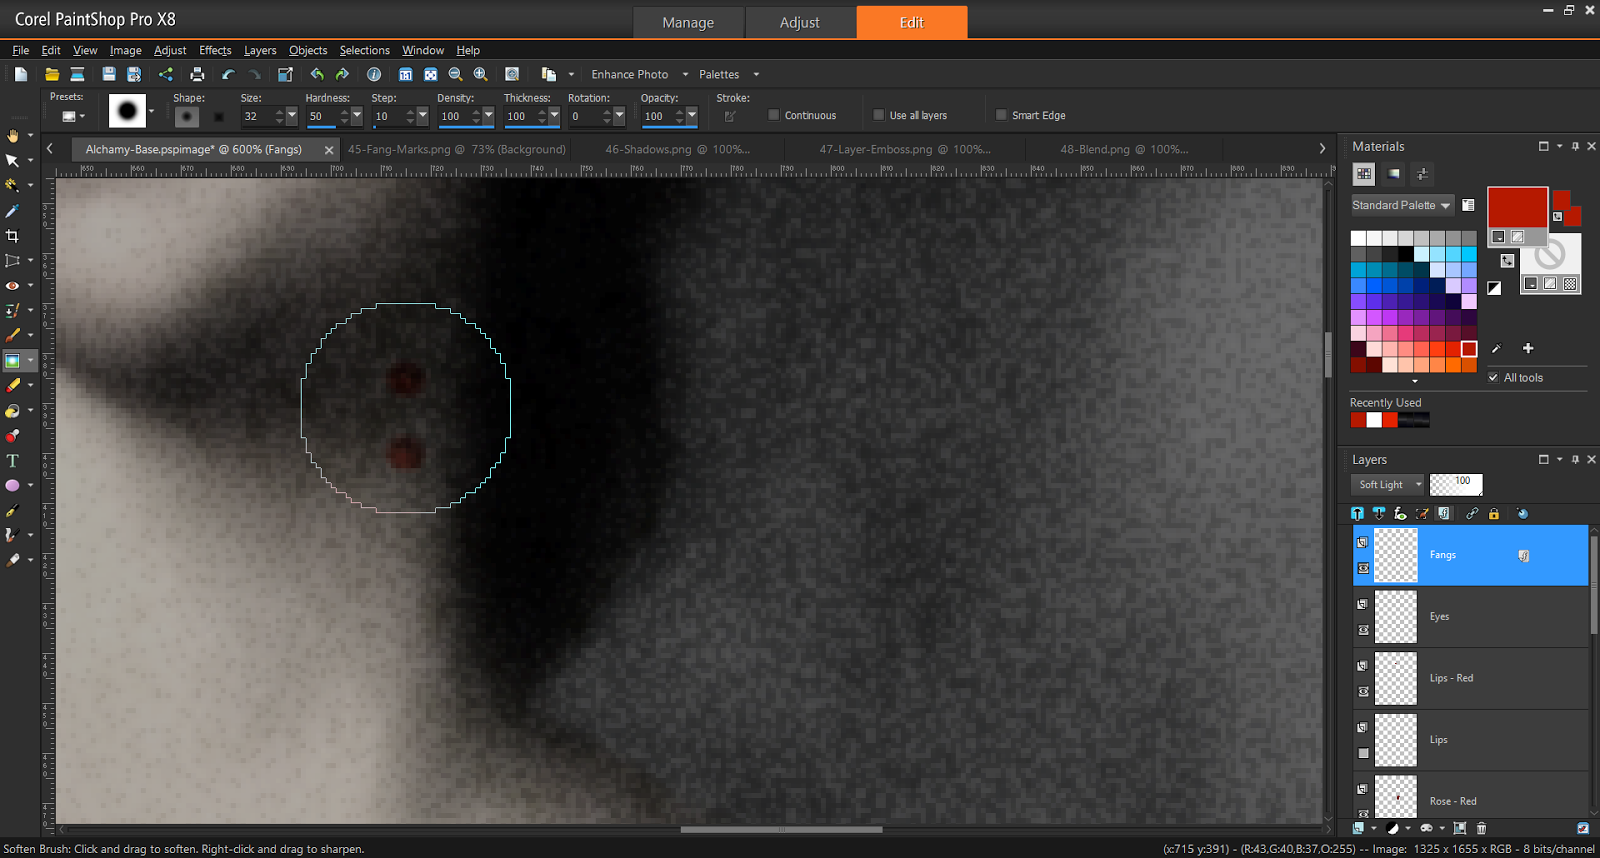
    From the Tools Bar, select the Soften Brush. This feature smooths-out elements within the affected area, a useful feature for removing the jagged edges.

    Hover over the area then click to apply the effect, continue until satisfied. Remember to use CTRL-Z to Undo when necessary.

    When complete the effect should produce an image that looks like the one below. Not only is the end result subtle, but should make this clue worth finding.

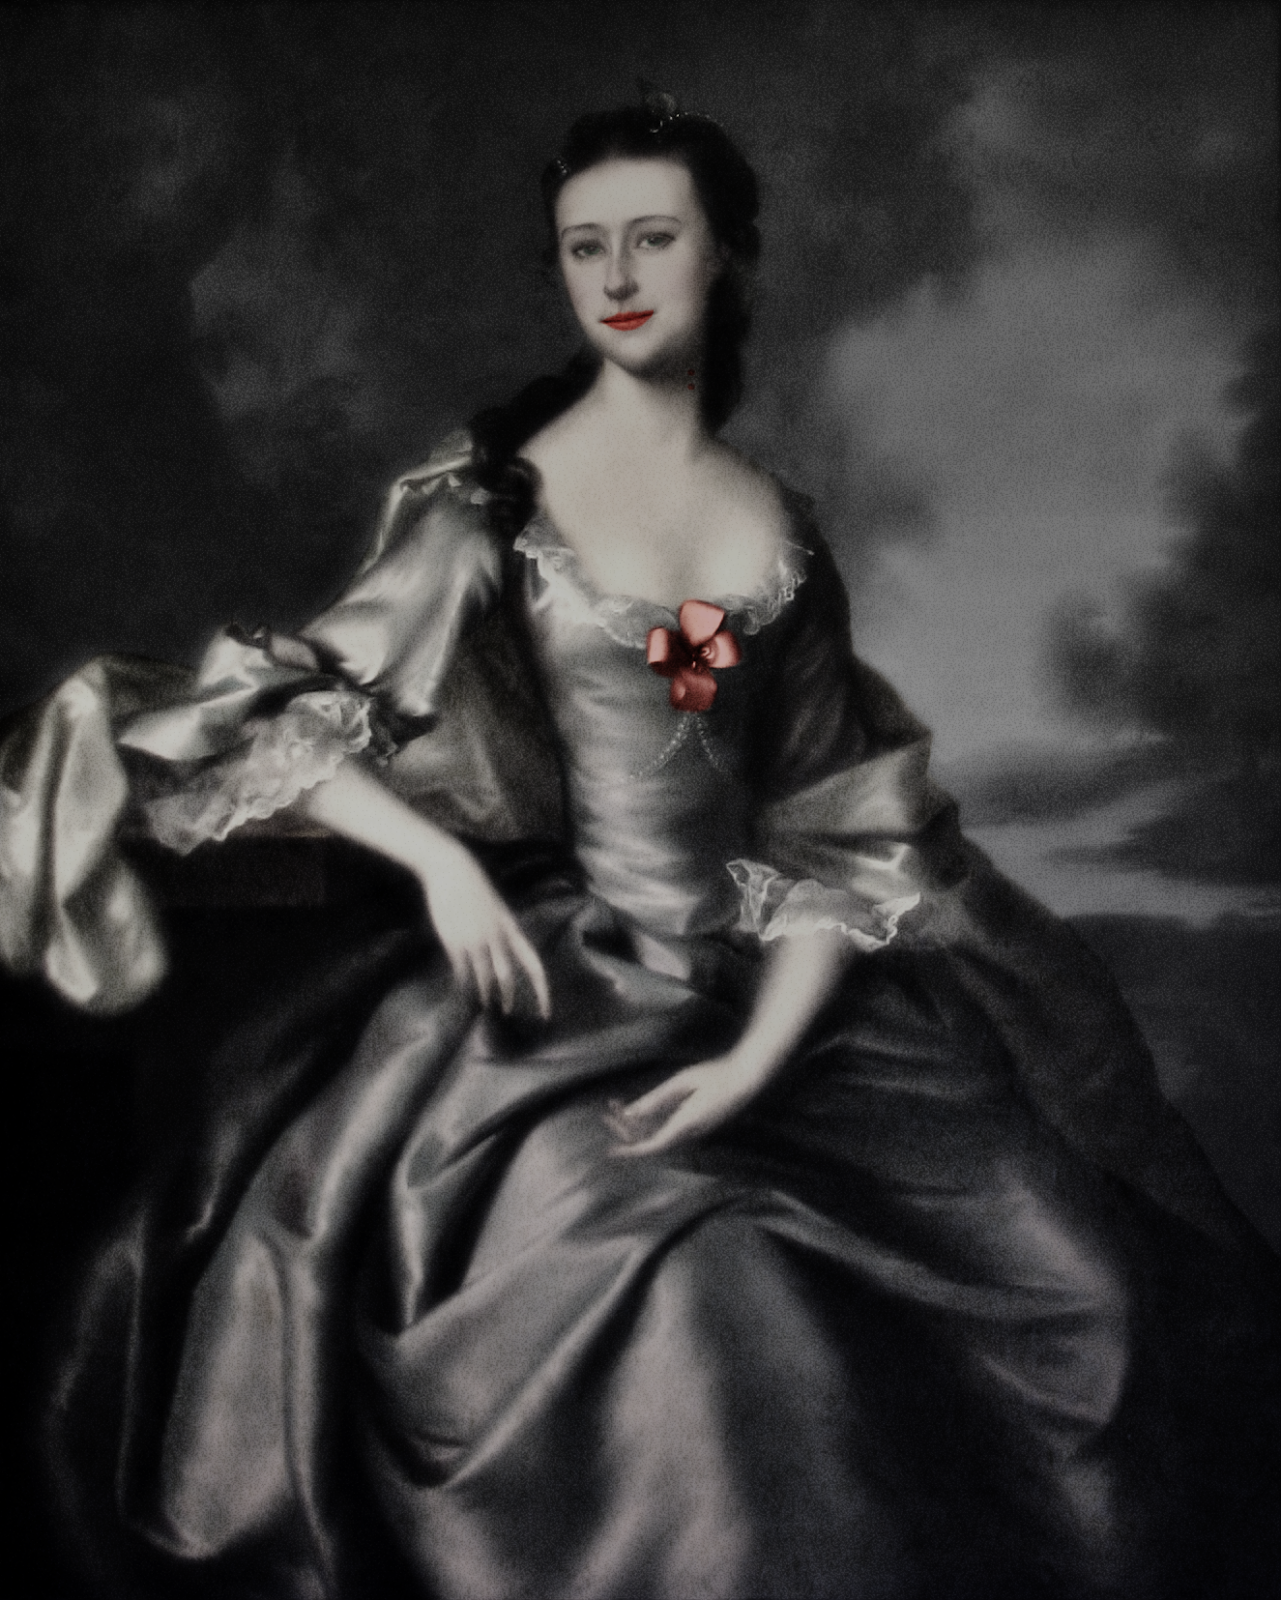
    Next in Part 10, we will Remove the Lady’s Glow.


  • Give the Lady a Flower

    Digital Alchemy – Part 6

    This is Part 6 of the Digital Alchemy tutorial where previously Lady Shade Awoke.

    Lady Shade is washed out as she has no colour to make her stick out. In previous sections, we created layers for her lips and the flower. Now is the time to bring some colour back to the Lady, so let’s start with the flower adorning her dress.

    Make sure the Rose Layer is visible prior to selecting it. From the Adjust menu, select Color followed by Red/Green/Blue. When the Red/Green/Blue window appears set the options as follows:

    This above imbues the Rose Layer with a pink hue. If you are interested in having the Rose Layer take on more of a blood red colour, use the settings shown below instead. It is recommend you place these variants in separate layers so you can transition from one to the other.

    Now that the colours have been changed, we will enhance the shadows within that layer. From the Adjust menu, select Brightness and Contrast then Highlight/Midtone/Shadow.

    From the newly opened Highlight/Midtone/Shadow window; set the options as you see them below or select Intense color under Settings.

    When done, click on OK to apply this effect to the layer. Now adjust the Blend Mode by selecting Soft Light. Note, you can experiment and see how the different filters apply.

    Next in Part 7, Lady Shade will get Lips to Die For.


  • Lips to Die For

    Digital Alchemy – Part 7

    In Part 7 of the Digital Alchemy tutorial and previously we Gave the Lady a Flower.

    Modifying the lips follows the same procedures used in Give the Lady a Flower. First adjust Red/Green/Blue then Highlight/Midtone/Shadow followed by setting Blend Mode to Soft Light.

    In this case you will need to use the Eraser tool from the Tools Bar to clear out excess material. Once satisfied, your image should approximate the one below.

    Next in Part 8, Lady Shade will be Green with Envy.


Search